Leather-making is an ancient practice that has continued to exist for many centuries. This time-honored craft of turning raw animal hide into something strong and durable greatly relies on one certain phase: the leather tanning phase. This step is what turns rawhide into the reliable material we all know and love, and understanding it reveals the remarkable intersection of science, tradition, and human ingenuity.
Key Takeaways
-
Leather tanning is essential for transforming perishable animal hide into durable, useful material through chemical and physical processes.
-
The choice between vegetable and chrome tanning methods affects both the quality of the final product and environmental impact.
-
Modern tanning has become more efficient through industrialization, though traditional methods are still practiced in places like Morocco.
-
The process involves multiple phases, each crucial for creating specific leather characteristics and qualities.
-
Environmental considerations are becoming increasingly important in the leather industry, particularly regarding chemical tanning methods.
The Moroccan Legacy
A visit to a Moroccan tannery is not only a visual impression that stays; the smell is also unforgettable. The procedure of making leather has not changed much over the last decades and even centuries, neither have the working conditions, we were told. In Marrakesh, the tannery is an enterprise run by about 50 families. The reputation of Moroccan leather was so great that the French word "maroquinerie" has become the general term for everything made from leather.
Understanding the Leather Making Process
Making leather is a long process that requires years to master and perfect. It involves quite a handful of steps in transforming raw hide into strong, durable, and beautiful leather products. There are also various ways to make leather, with different methods involved in transforming rawhide to leather. If you simplify the leather-making process, there are merely three steps: preparing the animal skin, tanning the skin, and finishing the leather product. However, the tanning process is where the actual transformation happens. It is where animal skin becomes something great. For many centuries, the tanning process has turned animal skin into useful things like clothes, shoes, and tools. Even if it is an ancient practice, you can make and tan your own leather with a little bit of knowledge and a whole lot of time and practice.
The Essence of Leather Tanning

Tanning is simply the process of treating the skin or hide of the animal to make leather. The place where the tanning process usually happens is at the leather tannery. A tannery, like the one in Morocco, is usually large-scale, with numerous drums capable of tanning hundreds of animal skins at the same time. Additionally, the tannery in Morocco is really old, serving as proof that tanning and leather production is an ancient art form. Likewise, two ancient civilizations like Sumer and India have also been practicing leather tanning for thousands of years.
Tanning is not just an ancient art form. While the animal skin soaks up the tanning agent, it goes through chemical and physical change. Research has shown that tanning relies heavily on chemical reaction mechanisms that modify the protein structure of hides, thereby hindering decay and improving both durability and flexibility (Mamun et al., 2016; Ramamurthy et al., 2015). The end product is leather; however, not all leather will have the same quality. This is because tanning involves different techniques and methods, and each technique or solution applied to the leather will produce a different result. This is what makes the leather tanning process both interesting and important to learn.
The Necessity of Tanning
The answer is really simple: tanning keeps the animal skin or hide from rotting, decomposing, and putrefying. Once the animal is dead, the skin will take its natural course and begin to break down. There are many elements that usually break down and decompose the animal skin, including bacteria that eats away the flesh and environmental elements that harden the skin. Tanning, therefore, prevents all of this from happening.
Tanning will permanently alter the protein structure of the animal skin, making the skin more durable and less likely to decompose. Different solutions offer different changes to the skin, such as changes in color, flexibility, softness, or strength. However, whatever method or technique you use, the primary purpose of tanning is to preserve the skin. Tanning, therefore, preserves the animal skin and creates leather in the process. Additionally, tanning will not only preserve the skin but also protect it from the elements, including decomposition when it gets wet.
Methods of Leather Tanning
| Tanning Method 🌿⚗️ | How It Works 🔄 | Time Required ⏱️ | Leather Characteristics & Feel 🧴 | Best Uses & Notes 📌 |
|---|---|---|---|---|
| Vegetable Tanning 🌱 | Natural tannins from tree bark, leaves & plants soak hides in progressive-strength pits/drums | 2–6 months (traditional slow process) | Firm at first → softens with use • Rich color • Sweet woody scent • Develops deep patina | Luxury bags, belts, saddles • Eco-friendly • Most traditional & premium |
| Chrome (Chromium) Tanning ⚡ | Hides soaked in acidic chromium salt baths → "wet blue" hides produced | 1–2 days (very fast with modern machines) | Soft, flexible, lightweight • Excellent water resistance • Blue-gray when wet | Most commercial leather (shoes, bags, upholstery) • Cheaper & faster production |
| Alternative Chemical / Synthetic Tanning 🧪 | Uses aldehydes, aluminum, zirconium, titanium, iron salts, or combinations (often with chrome/veg) | Fast (days or less) | Very soft "wet white" hides • Often used for car seats | Automotive upholstery • Soft luxury goods • Usually combined with other methods |
| Mineral Tanning 🪨 | Primarily chromium salts (similar to chrome) or other minerals | Hours to days (very quick) | Soft, pliable, lightweight leather | Lightweight goods • Often overlaps with chrome tanning |
| Tawing (Alum Tanning) 🥚 | Uses alum/aluminum salts + binders (egg yolk, flour) – not true tanning (no permanent bond) | Days to weeks | Very soft, stretchy, pliable • White color • Less permanent | Gloves, ancient clothing • Soft & supple but not as durable long-term |
| Brain Tanning 🧠 | Traditional native method – brain mashed with water, rubbed in, then smoked | Labor-intensive – days to weeks | Soft, supple, smoke-scented • Very natural & traditional | Deerskin, elk, moose hides • Historical & artisanal use only |
| Natural Bog Tanning (Bog Bodies) 🏞️ | Accidental preservation in acidic, cold, oxygen-poor bogs | Centuries to millennia (natural process) | Dark, tanned appearance • Leather-like preservation | Archaeological – not a modern production method |
Being an ancient form of art, many have developed different methods or techniques of tanning. There are however two methods that are the most common: the vegetable tanning method and the chrome tan or chromium tanning method. There are also other alternative tanning methods that we will briefly discuss below.
Vegetable Tanning Process
A tanning method that has been in practice since ancient times, the vegetable tanning method uses natural tannins from the bark and leaves of trees and plants. After the animal skin has been skinned, cleaned, and prepared, the hides are placed in the tanning pit. These tanning pits are usually drums that contain tannin solutions of various strengths.
The vegetable tanning method takes time. The animal skin soaks inside the tanning pit for a period of two to three months. According to ancient practice, the tanners move the animal skin from one drum to another, typically to the next drum that has a solution progressively stronger than the last. The tanning agents penetrate the skin as the solution gets stronger. Additionally, since this method uses an organic solution, fermentation occurs. This gives the leather its distinct color and appearance, as well as a distinctive sweet and woody fragrance that typically indicates real leather.
Natural Tanning Methods
Natural tanning happens when specific conditions occur, usually present in bogs. The conditions include highly acidic water, low temperature, and a lack of oxygen. These conditions preserve the skin, though they can leave a severe tan that is similar to or identical to that of mummified dead bodies, also known as bog bodies.
Brain Tanning Process
Another form of natural tanning, the brain tanning technique is quite difficult to pull off and is a labor-intensive way of tanning animal hides. This method usually uses skin from deer, elk, or moose. Tanners use the natural tannic acid from the animal to tan its own hide. First, they clean the skin thoroughly by scraping all the flesh, fat, and membrane off the skin. The tanner then washes the skin and stretches it on a frame to dry. What is so unique about this method is its fascinating tanning solution: a mixture of warm water and the mashed-up animal brain. Once they finish applying the solution, they smoke the skin to complete the process.
Chrome (Chromium) Tanning Process
Unlike the ancient practice of vegetable tanning, chrome tanning or chromium tanning is relatively recent and is one of the most practiced methods of tanning leather. This recent method of tanning leather has two stages. The first stage involves soaking the animal skin in baths containing acidic salts until they are ready for the next step. The next step is the chrome tanning proper, where the animal skins soak inside a bath containing chromium tanning agents such as chromium sulfate and chromium salts. The acidity of the bath is reduced until the hide begins to absorb the chromium tanning agents, producing blue hides known as "wet blue hides."
The advantage of chrome tanned leather is that it is faster than vegetable tanned leather. Vegetable tanning usually takes a few months to finish, however chrome tanning can take as little as one day with the aid of modern machinery. Chrome leather also costs less because it is less labor-intensive to manufacture.
Alternative Chemical and Synthetic Tanning
This technique is the frequent alternative to chrome tanning and is not applied on its own but together with other tanning solutions. Tanners usually combine it with either vegetable or chrome tanning solutions. This method of tanning uses artificial tanning agents such as formaldehyde, glutaraldehyde, phenols, and acrylates. These types of leather are called wet whites. Wet whites can also be made using aldehydes, aluminum, zirconium, titanium, or iron salts, or a combination of any of them. This method is likely to produce very soft leathers that are usually found on car seats.
Mineral Tanning
Another method that uses chromium salts is mineral tanning. This method also speeds up the tanning process to days or even hours, and it usually produces soft, pliable leather that is light.
Tawing Process
This method uses alum and other aluminum salts together with binders such as egg yolk or flour to tan the skin. This process is known to increase animal skin pliability, stretchability, softness, and quality.
Modern Leather Tanning Industry
Today, the leather tanning industry is a more industrialized process. While some traditional methods persist, modern tanneries utilize advanced technology and precise quality control to create superior leather products. At Steel Horse Leather, we have experienced this evolution firsthand through the development of our leather bags. During the selection process for our premium products, we carefully evaluate different tanning methods to ensure the full-grain leather meets our exacting standards for both durability and sophistication. If you are looking for beautifully crafted leather goods that reflect the highest tanning standards, explore our full collection at Steel Horse Leather.
The Leather Tanning Process Overview
There are several steps involved in the ancient art of tanning leather, and it also involves different techniques and methods that produce varying colors, textures, and finishes. To easily understand the tanning process, we have divided it into four different phases: the Beamhouse phase, the Tanyard phase, the Retanning phase, and the Finishing phase. The leather tanning process naturally takes months to complete; however, different methods can speed up the process considerably.
There are certain steps to take before the actual tanning process begins. Naturally, we start with the preparation stage, which mainly involves skinning the animal once it arrives from the farm or slaughterhouse. In this stage, the skin is detached from the animal and any scraps of flesh left from the process are removed.
Beamhouse Operations
According to the Merriam-Webster dictionary, a beam house is a part or section of the tannery where the hides are prepared. This first phase focuses on the animal hide, how to clean it, how to treat it, and why it is necessary to treat the animal hide. While all other steps are important, the first phase is arguably the most critical foundation of the entire process.
The Curing Process
The first step to any leather-making process is to stop the animal skin from decomposing. Decomposition usually begins within the first 5 hours, depending on the elements and bacterial growth. The way to stop the decomposition is to "cure" or preserve the hide. Otherwise, you would just have wet, rotting animal skin.
Storage and Sorting
Once the hides are done curing, they are ready for storing and/or transporting. Storing and transporting the hides will also differ according to the method of curing used. Sun-dried hides must be stored in a dry place, preferably low in humidity, while frozen hides must be stored and transported while still frozen. The hide is also sorted according to its weight and quality, and tanners remove unnecessary or extremely damaged portions. The scraps are either discarded or reused to make lower-quality leather.
Soaking and Washing Process
After curing, the hides are usually salty and very stiff. To make them pliable and ready for tanning, tanners soak them in water to reintroduce moisture to the leather fibers. The water usually contains some chemicals like disinfectants to prevent the risk of bacteria growing.
The Liming Process
In this step, the hide is treated to remove any remaining organic substance, such as the epidermis, the roots of the hair, undesired fats, and soluble proteins. The hide is treated in a mixture of alkali and other additives, which weakens the hair and its roots, proteins, fats, collagens, and more. It basically makes it easier to remove unnecessary things for making leather.
Fleshing and Unhairing Process
After successfully liming the hide, it now becomes easier to remove any unwanted parts of the skin. Most parts of the hide are now weakened and unhairing can begin. The old school way of unhairing was to use hand tools and scraping them off, which was very labor-intensive. These days, unhairing is usually done mechanically with machines, rollers, and blades that do the job efficiently.
After removing the hair, the hide can now be fleshed. Fleshing removes the epidermal layer of the skin as well as the remaining hair roots. This process is generally known as "scudding," which mainly refers to doing it by hand, though it can also be done mechanically. This step is the last of the beamhouse operations, and at this stage, the hide is clean and ready for the next phase of the leather tanning process.
The Tanyard Phase

The second phase of the leather tanning process is also the main leather-making stage. This phase takes the cleaned and disinfected hide and turns it into usable leather material. The time required depends on what method or technique of tanning is being used. Vegetable tanning will usually take around a few months to complete, whereas chrome tanning takes only a few days. Machinery, tools, and the overall manufacturing capability are also factors.
The Bating Process
This step aims to improve the properties of the leather such as its softness and pliability. To do this, tanners must bring down the pH level of the leather to a lower level using buffering salts. This will reverse the previous liming process done during the beamhouse operations, which is usually known as deliming and buffering. The whole process is collectively called Bating, and it is very important in terms of manipulating the preferred end state of the leather and its characteristics. To manipulate the leather, specific enzyme agents are introduced that work better at a lower pH.
The Pickling Process
This step of the leather tanning process is applicable only for chrome tanning. Chrome tanning agents are not soluble under the current pH level at this stage, so the process of pickling drops the chrome tanning pH to 2 to lower the pH of the collagen in the hide. This will allow tanning agents to easily penetrate the hide. For vegetable leather, pickling is not necessary as the tanning can function at a higher or more basic pH level.
The Main Tanning Process
After going through all the steps of preparation, the hides are ready for tanning.
Vegetable Tanning Details
An ancient practice and probably the oldest known common method of tanning, this approach uses a naturally occurring tanning astringent from plants and tree bark. Some examples are chestnut, hemlock, mangrove, and oak bark. This natural solution is better known as tannins. The vegetable tannin will basically bind and cover the collagens on the hide, making it less susceptible to bacterial growth, less water-soluble, and more flexible or pliable. It can also be referred to as bark tanning since it mainly uses tree barks to create the tannin.
Contrary to common knowledge, the vegetable tanning process can take as fast as 2 days in the accelerated process, though it usually takes up to 30 days or more in the standard process. Tanners continue to expose the hide to stronger and stronger levels of the tannins as the process continues. This method of tanning produces soft yet strong and slightly stiff leather that is perfect for leather goods such as saddles, upper leather, tooling leather, sole leather, and belts. The color varies and is available in a few shades of yellow, brown, and even reds.
Chrome Tanning Details
This method of tanning leather has become very popular due to its efficiency. It typically produces leather that is thin, soft, and stretchable, and it is also resistant to shrinking in warm or heated water. Unlike vegetable tanned leather, the tanning liquor not only binds to the collagen but also increases the space between the proteins in the hide. Chromium also penetrates better and at a much faster rate than the tannins. The whole process usually takes less than one day and requires less labor, done in a "one-bath" method where the pH level is around 2 to 4.
The Drying Process
Once the hides absorb all the tanning solutions, they need to dry. There are generally two ways to dry the leather, called wringing. You can squeeze the excess moisture out of the leather with large, heavy rollers, or dry using vacuum suction. After the leather is dry, you proceed to the next step.
The Splitting Process

In order to turn leather into different products, it must be of the right thickness. Leather gloves and wallets require thin leather, while bags and saddles require something thicker. This is why there is a need to split leather. Splitting is the "longitudinal cutting" of the leather into thinner layers, and each layer has different characteristics and quality. The layers are full-grain leather, top-grain, and genuine leather, to name a few. Furthermore, if you want an even more refined or thinner leather, you can do so by shaving.
The Retanning Phase

At this phase, you may consider the tanned hide as usable material. The purpose of retanning is to refine the leather, as there are still tangible qualities that can be influenced after the first tanning session. Qualities such as color, softness, flexibility, pliability, and density can still be manipulated. For efficiency's sake, retanning is done in sequence inside a rotating drum that washes and dries the leather in between steps.
Appearance Alteration
Altering the appearance of leather is nothing new. Leather is often colored or bleached into a wide array of looks. The most common practice is to dye leather. There are two general classifications of dye: water-soluble and oil-based. Dyeing will also affect the properties of the leather, including its flexibility, softness, and even storage life depending on what kind of dye is used. There are four main types of dye: Acid, Basic, Direct, and Sulfur, each offering different benefits. On another note, vegetable tan leather is generally not dyed, because it already has such a pleasing and natural appearance that dyeing it would detract from the leather's character.
The Fatliquoring Process
After going through so much, the leather tends to become dry and stiff. Fatliquoring applies lubricants to the leather to make it stronger and more flexible.
Setting and Drying
To ensure that the previous treatments result in an even overall finish, the leather is set out to dry. The usual practice is to air dry the leather, with the leather stretched and/or mounted to expose it to as much airflow as possible. However, mechanical drying is also available, done similarly to wringing where they press the leather with large, heavy rollers to push the moisture out. Vacuum suction is likewise another viable method.
The Finishing Phase
The final phase of the leather tanning process focuses mainly on refining the leather to a specific quality intended for a specific use.
Conditioning Process
For leather to last as long as it should, conditioners are applied. Conditioners help the leather retain some helpful moisture and oils that keep its fibers in great shape over time. Different types of conditioners will vary upon different types of leather.
Staking Process
If what is intended is a smoother, more supple material, leather usually goes through the process of staking. Staking is like tenderizing your meat with a mallet; machines beat the leather to soften its texture. You can also do this manually, although it will cost more time and manpower.
Buffing Process
Buffing is usually done when you want the leather to have a smoother touch, which also gives the leather a more grainy look. The process of buffing usually involves sanding down the leather in a sanding drum.
Surface Pressing
Another technique that greatly changes the appearance of leather, surface pressing uses rollers to imprint a pattern into the leather and create texture on the surface. A common example of surface pressing is embossing.
Advantages and Disadvantages of Leather Tanning
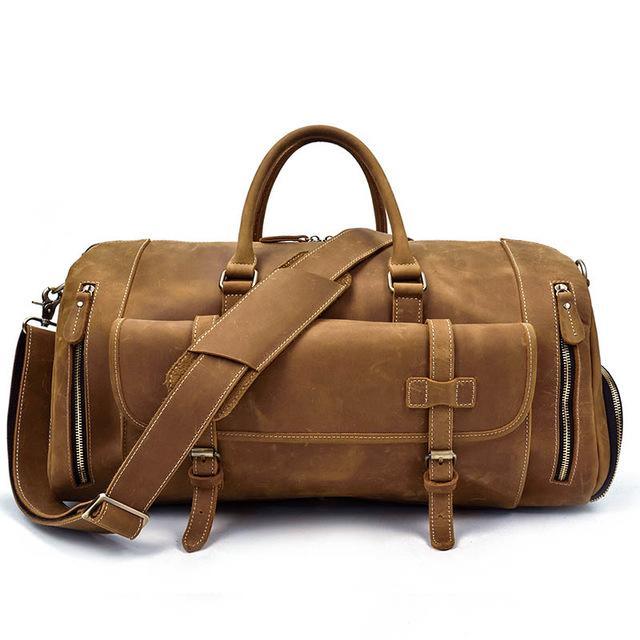
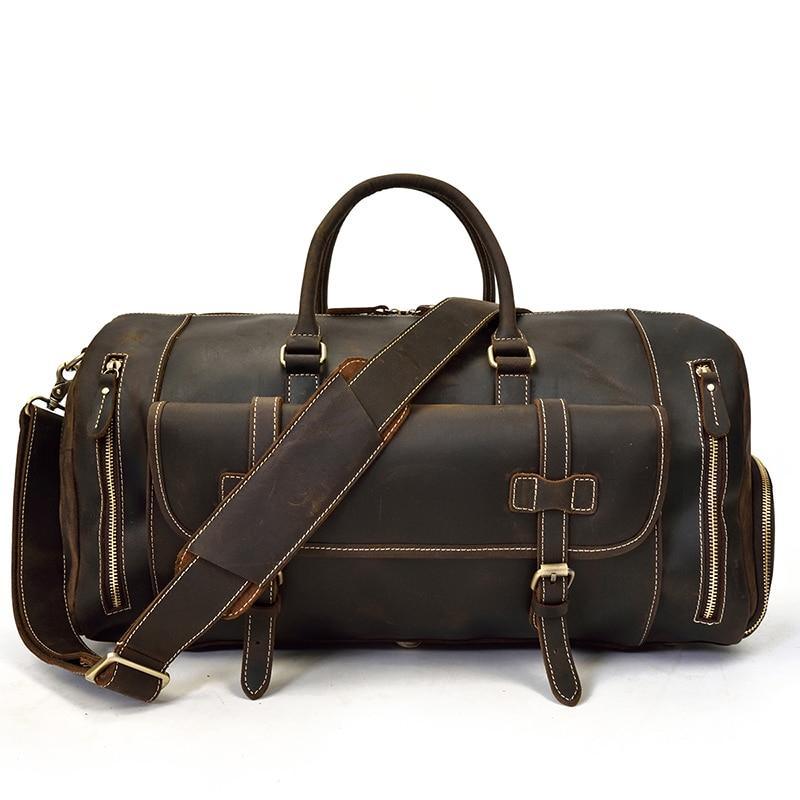
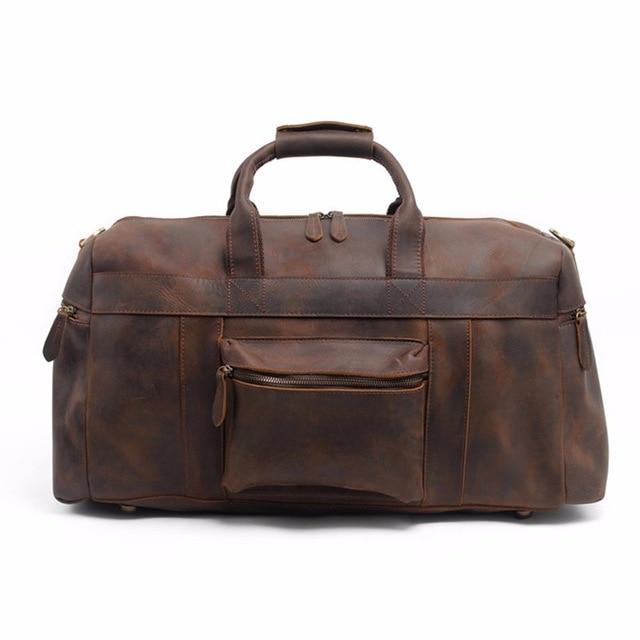
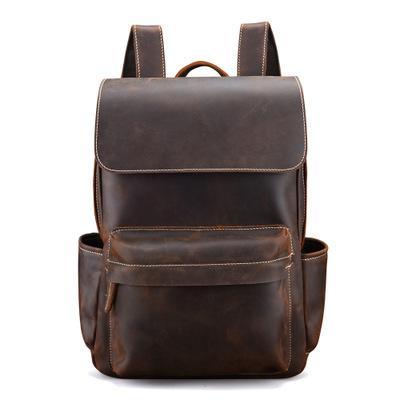
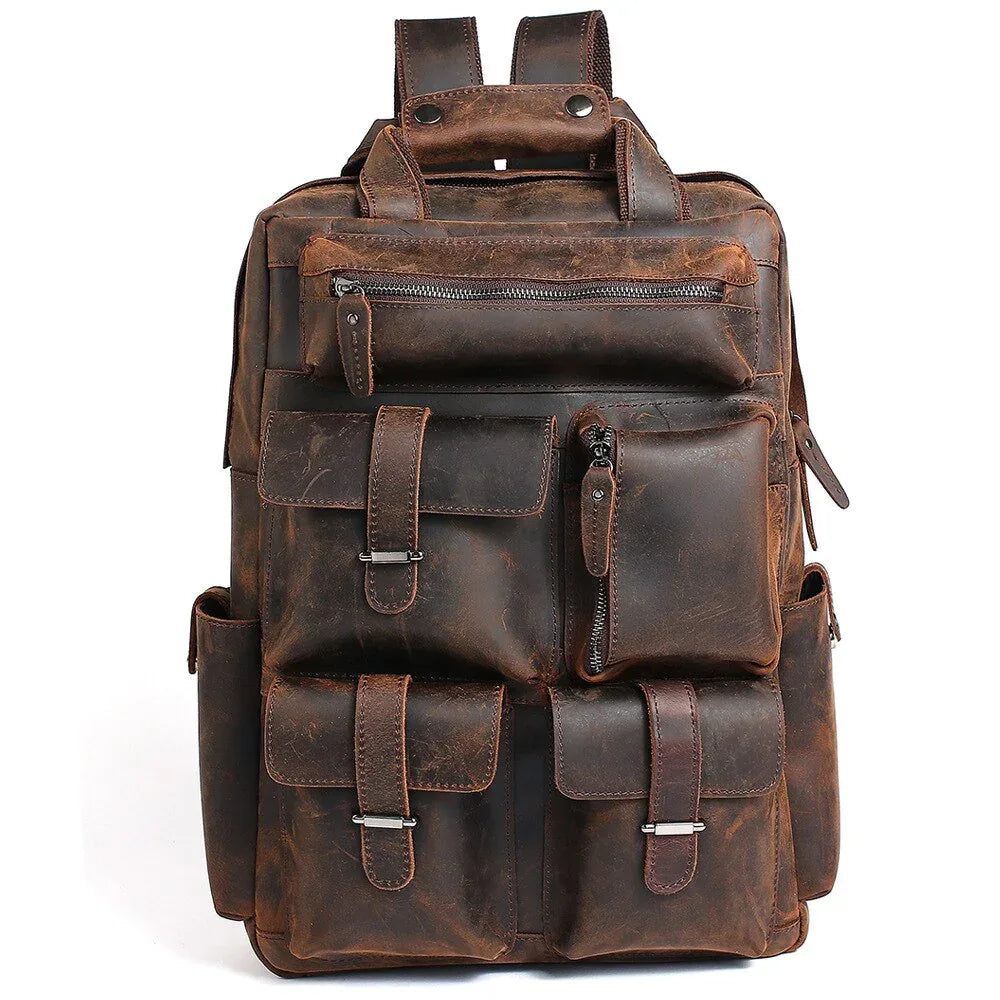
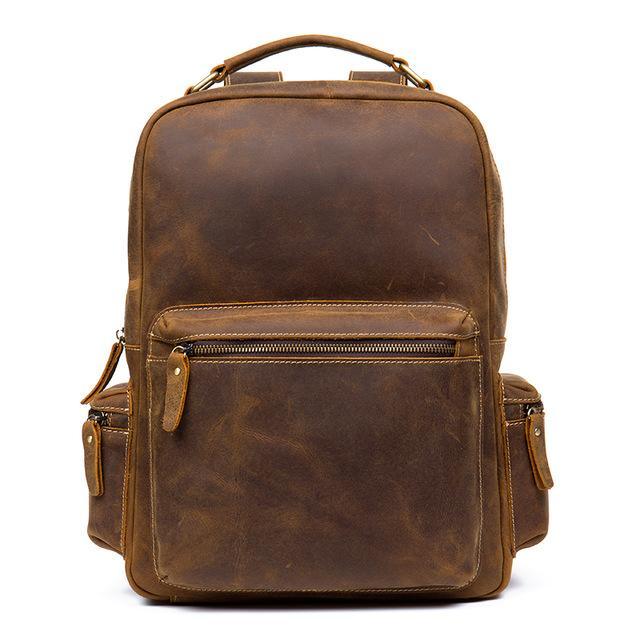
Leather tanning is great because it creates leather, a material that is not only strong and durable but beautiful as well, and that can be turned into many things from accessories to clothing to furniture. Whether you are considering a sturdy leather backpack or a refined leather tote bag, the tanning process directly influences the quality and character of the finished product. While there are many great things that come out of leather tanning, there are also drawbacks. For example, leather tanning promotes the killing of animals to harvest their leather, which is why many turn to alternatives such as vegan leather. It is also a smelly process, which is historically why tanneries used to be far away from towns or communities.
Environmental Impact
Leather tanning has been called out for its environmental impacts, mainly due to water pollution. Vegetable tanning has a smaller impact on the environment since it mainly uses biodegradable and organic materials, and after tanning, the solutions are usually dumped into bodies of water where they eventually dissolve. Industrial advancements have significantly streamlined tanning processes, with chrome tanning now capable of finishing leather in as little as one day compared to the several weeks required for vegetable tanning. However, this efficiency comes with environmental trade-offs, particularly regarding toxic waste generation (Saravanabhavan et al., 2003; Cui and Qiang, 2019). To address these concerns, the industry is increasingly adopting cleaner production initiatives that employ enzymatic processes to minimize chemical use and reduce wastewater contamination from tanning operations (Shi et al., 2016).
Chrome tanning is what causes major environmental problems. It uses harmful chemicals that will affect health and the environment, and it is especially harmful to the ecosystem where chemical wastes are disposed. Moreover, studies found that frequent exposure to these chemicals carries serious health risks; workers at tanneries are therefore very vulnerable. Frequent and long exposure may lead to cancer and other diseases (Hansen et al., 2003).
The leather tanning industry is evolving toward more sustainable practices, driven by both consumer demand and stricter regulatory standards. Modern approaches include the use of metal-free tanning agents and enhanced waste management techniques aimed at mitigating the industry's environmental footprint (Cui and Qiang, 2019; Hansen et al., 2003). These innovations represent a crucial shift toward balancing the ancient craft of leather-making with contemporary environmental responsibilities.
Our Mastery in Traditional Leather Craftsmanship
At Steel Horse Leather, our deep understanding of leather tanning and craftsmanship comes from years of hands-on experience and dedication to preserving traditional leather-making techniques. We have developed strong relationships with tanneries and leather suppliers worldwide, giving us unique insights into both traditional and modern tanning processes. Our team has personally visited and vetted numerous tanning facilities, allowing us to understand the nuances of different tanning methods from ancient vegetable tanning techniques to modern chrome tanning processes. This expertise is applied daily in our workshop, where we transform carefully selected leather into durable, beautiful products that showcase the best qualities of properly tanned leather.
Conclusion
Leather tanning is a marvelous process that involves science and human innovation. It is a process that requires knowledge, skill, and experience, as well as a great deal of time to finish and to perfect. From the ancient tanneries of Morocco to modern industrialized facilities, the core purpose remains the same: to transform raw animal hide into a beautiful, durable material that stands the test of time. The next time you reach for your leather bag, jacket, or belt, take a moment to appreciate the remarkable journey that every piece of leather has taken to reach you. If you are ready to experience the result of this centuries-old craft for yourself, browse our curated collection of handcrafted leather bags at Steel Horse Leather.
References
Cui, L., and Qiang, X. (2019). Clean production for chrome free leather by using a novel triazine compound. Journal of Renewable Materials, 7(1), 57 to 71. https://doi.org/10.32604/jrm.2019.00118
Hansen, M., Johansen, J., and Menné, T. (2003). Chromium allergy: significance of both cr(iii) and cr(vi). Contact Dermatitis, 49(4), 206 to 212. https://doi.org/10.1111/j.0105-1873.2003.0230.x
Mamun, M., Hosain, M., Ahmed, S., Zohra, F., Sultana, R., Khan, M., and Hoq, M. (2016). Development of an alternative enzyme-assisted dehairing method of animal skins using proteases from bacillus licheniformis mzk05m9. Bangladesh Journal of Microbiology, 33 to 37. https://doi.org/10.3329/bjm.v32i0.28475
Ramamurthy, G., Ramalingam, B., Katheem, M., Sastry, T., Inbasekaran, S., Thanveer, V., and Mandal, A. (2015). Total elimination of polluting chrome shavings, chrome, and dye exhaust liquors of tannery by a method using keratin hydrolysate. ACS Sustainable Chemistry and Engineering, 3(7), 1348 to 1358. https://doi.org/10.1021/acssuschemeng.5b00071
Saravanabhavan, S., Aravindhan, R., Thanikaivelan, P., Rao, J., and Nair, B. (2003). Green solution for tannery pollution: effect of enzyme based lime-free unhairing and fibre opening in combination with pickle-free chrome tanning. Green Chemistry, 5(6), 707. https://doi.org/10.1039/b305285k
Shi, J., Puig, R., Jun, S., and Lin, W. (2016). A comprehensive evaluation of physical and environmental performances for wet-white leather manufacture. Journal of Cleaner Production, 139, 1512 to 1519. https://doi.org/10.1016/j.jclepro.2016.08.120
Frequently Asked Questions
What is the purpose of leather tanning?
Leather tanning prevents animal skin from decomposing and rotting by permanently altering its protein structure. This process makes the skin more durable, less likely to decompose, and resistant to water damage while creating usable leather material.
What are the main methods of leather tanning?
The two primary methods are vegetable tanning, which uses natural tannins from tree bark and plants, and chrome tanning, which uses chromium sulfate and salts. Vegetable tanning takes several months but produces naturally colored leather, while chrome tanning is faster and more cost-effective.
How long does the tanning process take?
The duration varies by method. Traditional vegetable tanning can take 2 to 3 months, while modern chrome tanning can be completed in as little as one day. The total time also depends on the specific techniques and machinery used.
What are the environmental impacts of leather tanning?
While vegetable tanning has minimal environmental impact due to its use of biodegradable materials, chrome tanning can cause significant environmental concerns due to chemical waste and water pollution (Saravanabhavan et al., 2003). Chrome tanning also poses potential health risks to workers through prolonged chemical exposure (Hansen et al., 2003).
What are the different phases of leather tanning?
The leather tanning process consists of four main phases: Beamhouse (preparation and cleaning), Tanyard (actual tanning), Retanning (refinement and color treatment), and Finishing (final conditioning and surface treatment).
What is the difference between full-grain and top-grain leather?
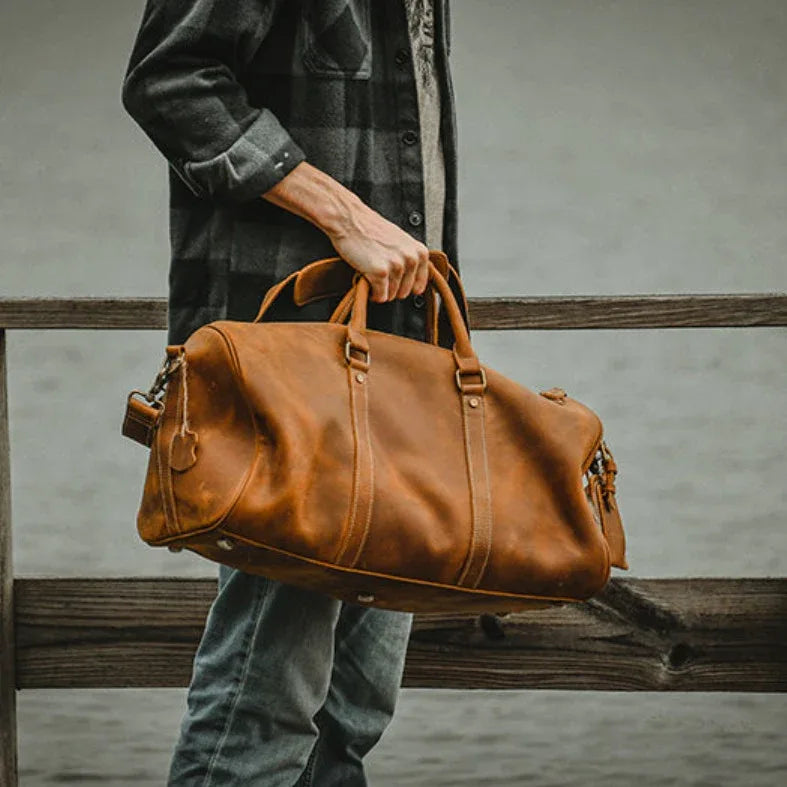
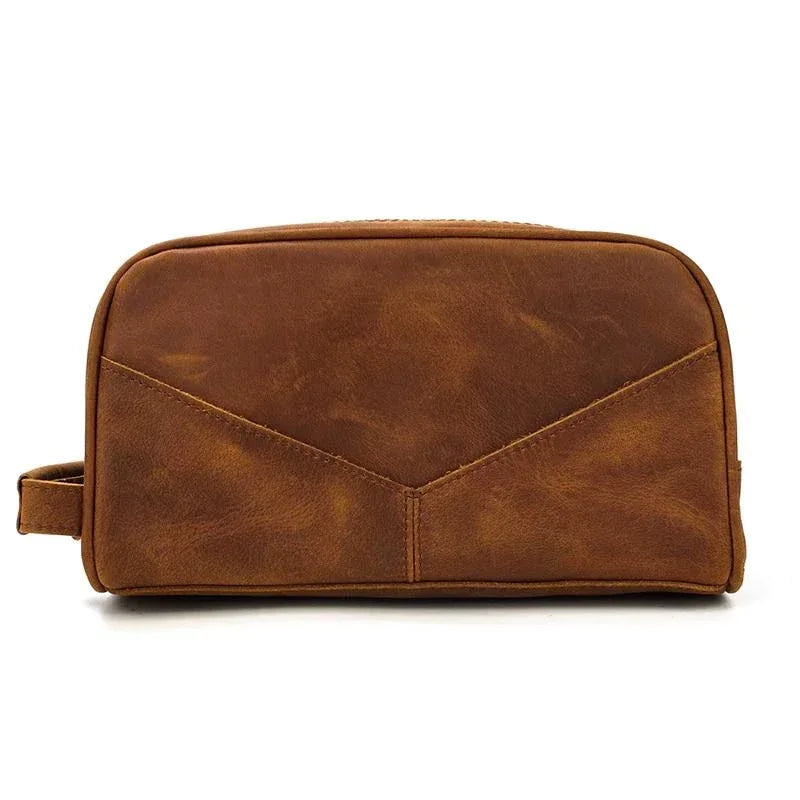
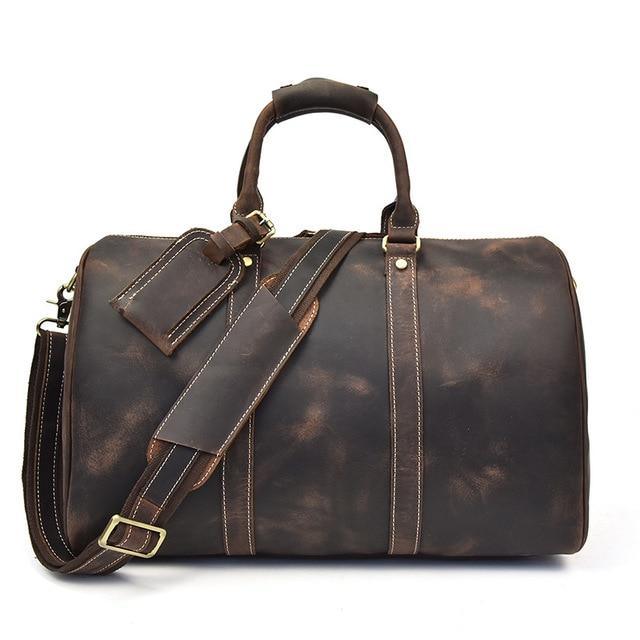
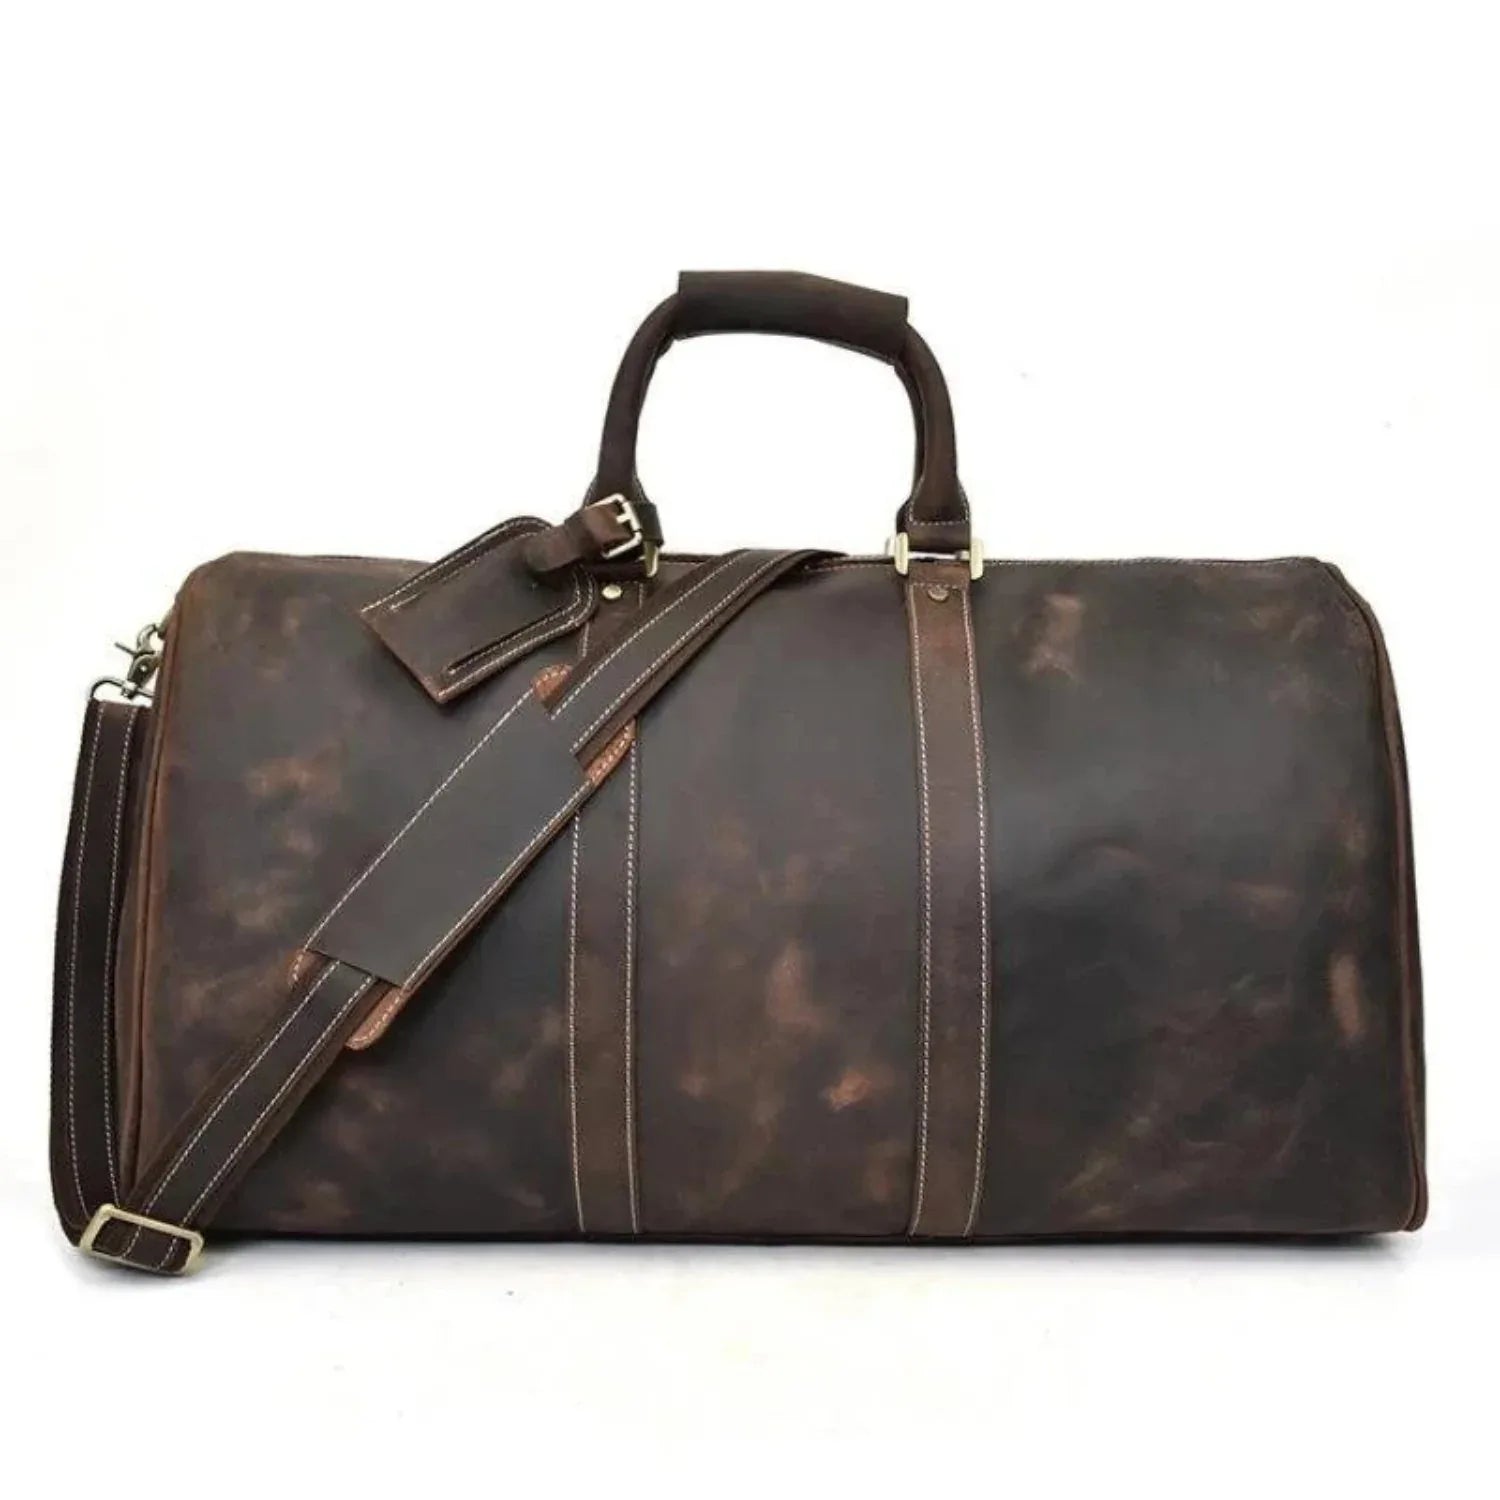
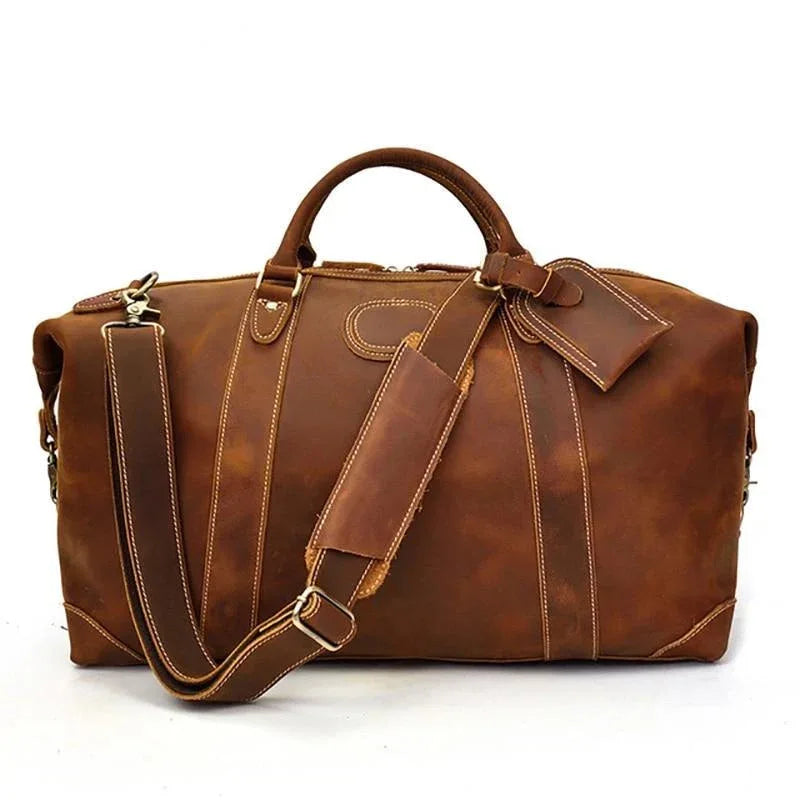
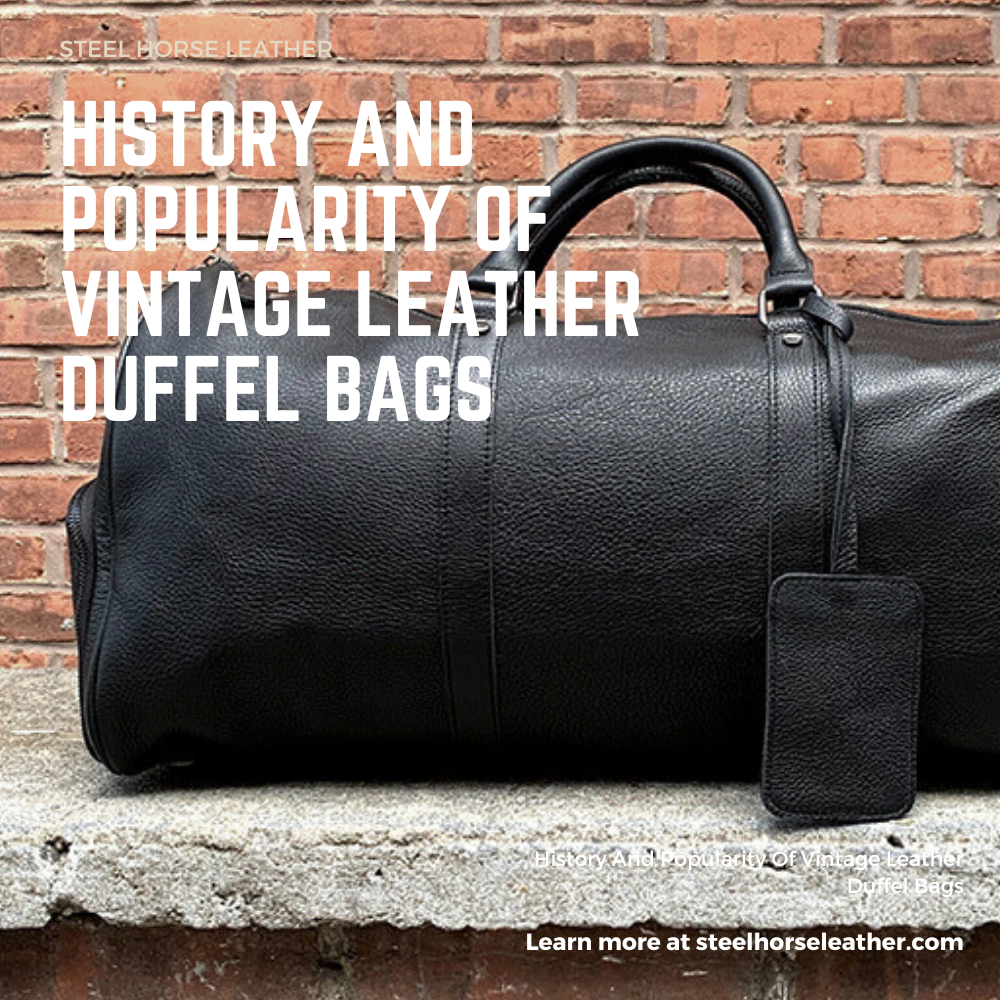
Full-grain leather is the highest quality layer of the hide, retaining its natural surface and markings, while top-grain leather has been split and sanded to remove imperfections. Full-grain leather is more durable and develops a richer patina over time, making it the preferred choice for premium leather goods like those found in our leather duffle bags collection.
Is vegetable tanned leather better than chrome tanned leather?
Vegetable tanned leather is considered premium for its natural appearance, durability, and the beautiful patina it develops over time, though it costs more and takes longer to produce. Chrome tanned leather is softer, more uniform, and less expensive, making it suitable for a wide range of everyday products. The best choice depends on the intended use and personal preference.
Can I tan leather at home?
Yes, it is possible to tan leather at home, particularly using brain tanning or small-scale vegetable tanning methods. However, the process is labor-intensive, time-consuming, and requires practice to achieve quality results. Home tanning is generally best suited for small hides and hobbyist projects rather than large-scale production.
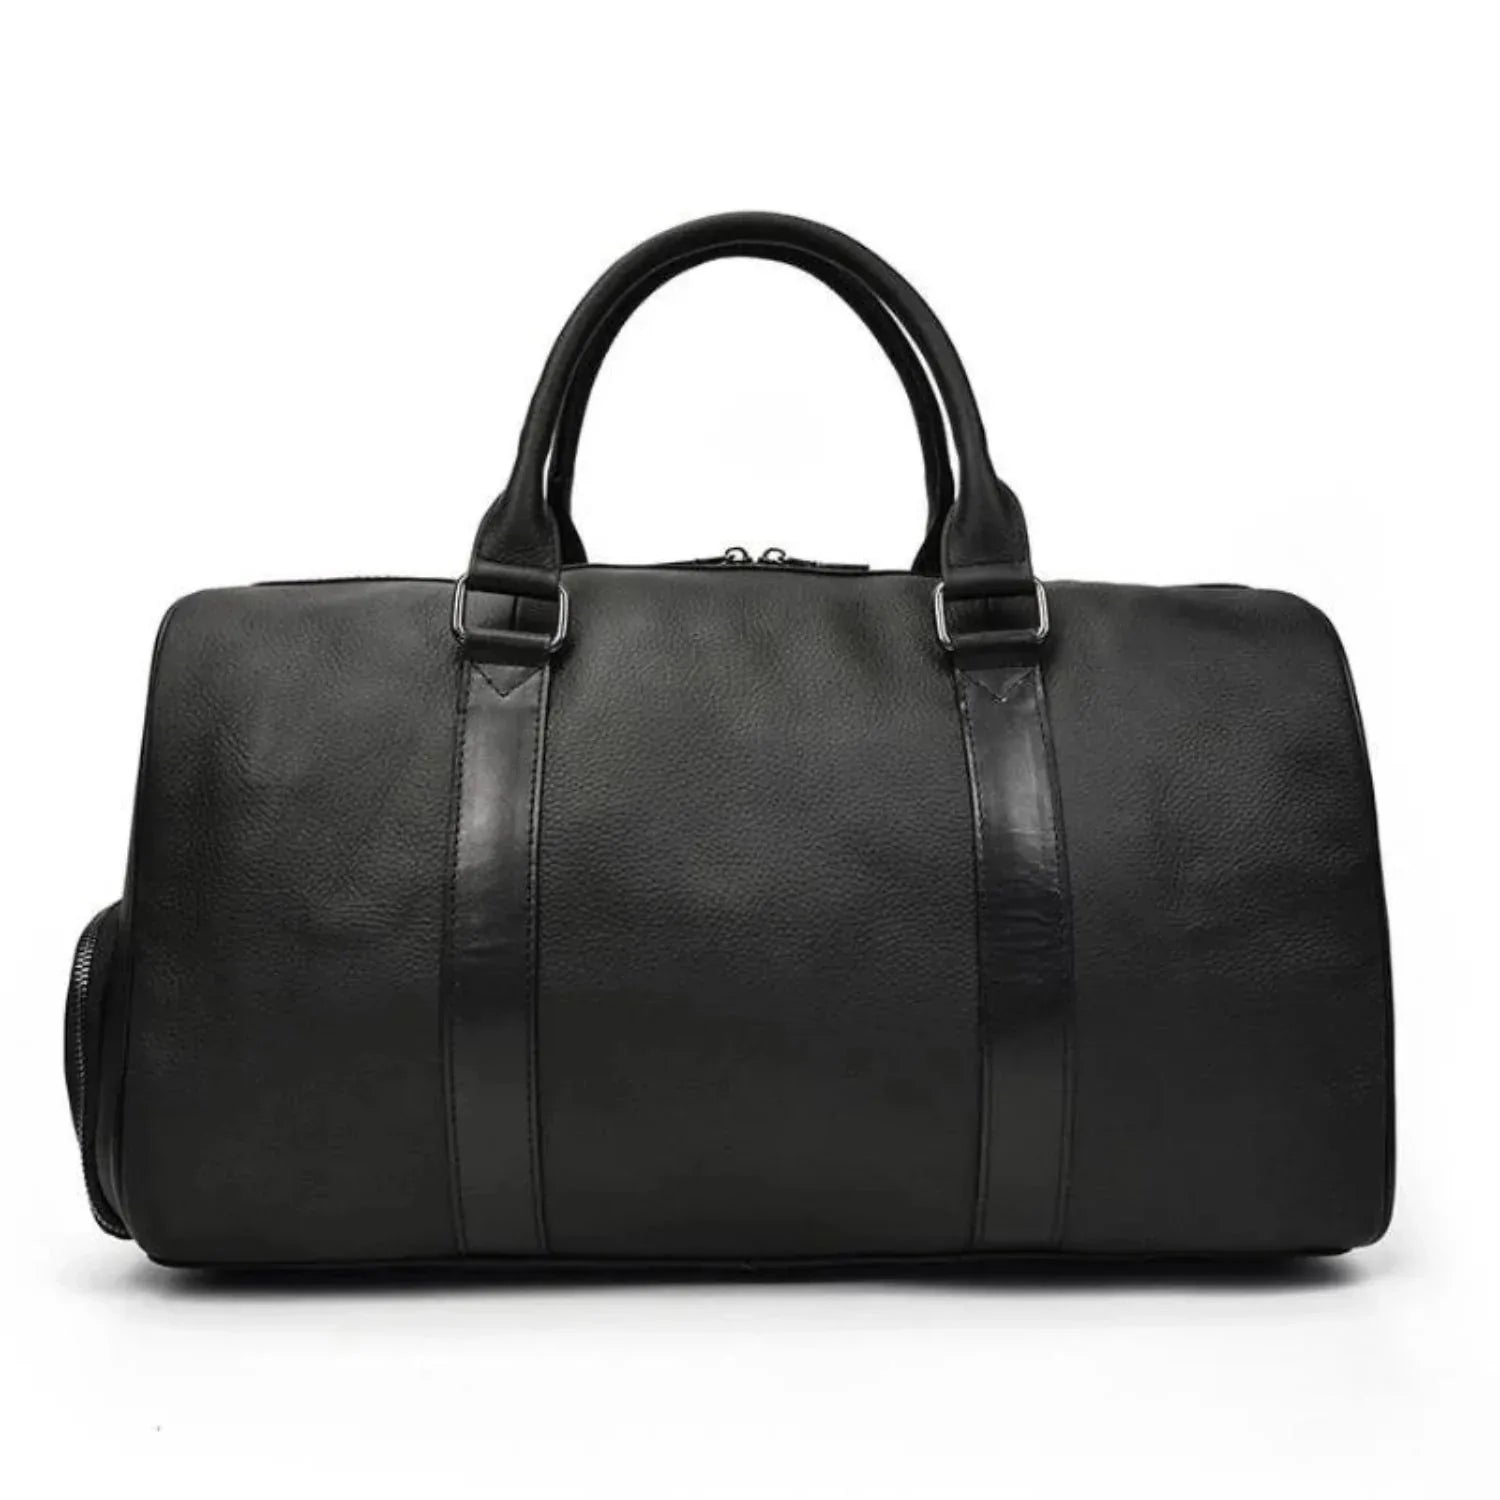
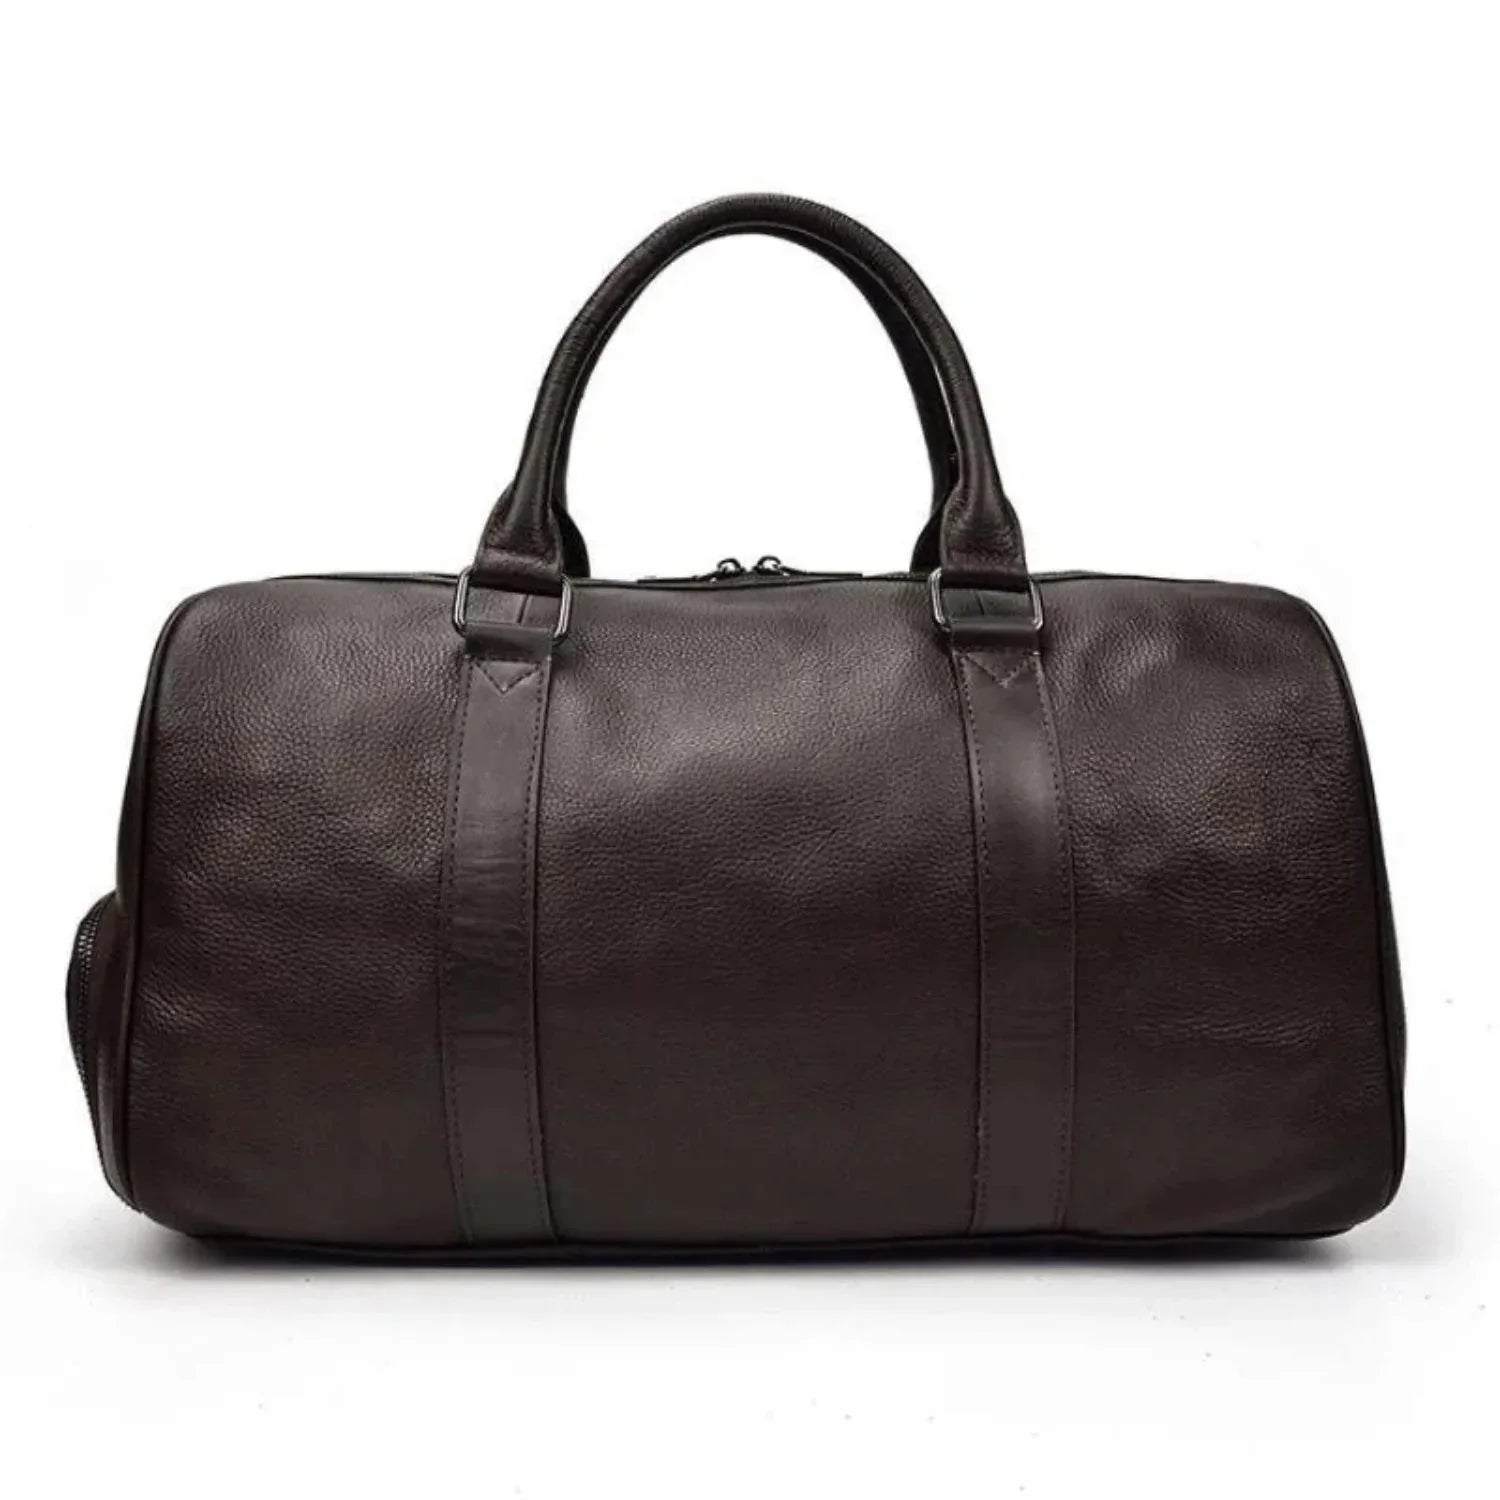
All of our bags at Steel Horse Leather are crafted from full-grain crazy horse leather, built to develop a rich patina over time. Browse our Leather Bags.