Leather dyeing and coloring is one of the most rewarding ways to restore, customize, or protect leather goods. Whether you are working on a worn jacket, a pair of shoes, or full-grain leather accessories, understanding the leather dyeing process helps you get professional results without costly mistakes.
This guide covers everything you need to know: which leather dyes work best, how different leather types respond to color, what to use at each stage, and how to seal and finish your work for lasting results.
If you prefer leather goods that develop rich color naturally over time without any DIY effort, Steel Horse Leather's full-grain leather bags are built for exactly that. But if you are ready to dye, let's get into it.
What Is Leather Dyeing and Why It Matters

Leather dyeing is the process of applying color to leather using dyes, pigments, or natural substances to change or enhance its appearance. Unlike paint, which sits on the surface, quality leather dyes penetrate the fiber of the hide, creating color that does not crack or peel with wear.
Understanding leather dyeing matters for three practical reasons:
-
Color restoration on faded or worn leather goods
-
Customization to change the color of leather accessories or garments
-
Protection when combined with a proper leather finisher
The dyeing process varies depending on the leather type, the dye chemistry, and the application method. Getting these three elements right is what separates a clean, lasting result from a blotchy, uneven finish.
If you want to go deeper on how leather is constructed before you dye it, read our guide on full-grain vs top-grain vs genuine leather to understand how the surface affects dye absorption.
Leather Types and How They Accept Dye
Not all leather dyes equally across every hide. The leather-making process and finishing method determine how well color absorbs and bonds.
Full-Grain Leather
Full-grain leather is the most receptive to dye because its natural surface is intact. The open grain absorbs dye deeply and evenly, making it the preferred choice for leather artisans and saddle makers. It also develops a rich patina over time that interacts well with color.
Vegetable-Tanned Leather
Vegetable-tanned leather is the gold standard for dyeing. The natural tannins bond well with most dye types, particularly alcohol-based and water-based dyes. Leatherworking artists almost always start with vegetable tanned leather for this reason.
Chrome Tanned Leather
Chrome tanned leather has a tighter grain that is less absorbent. It can be dyed but requires more surface preparation and often benefits from pigment dyeing rather than pure dye application.
Aniline-Finished Leather
Aniline-finished leather has a minimal topcoat, making it responsive to dyes. However, it is also more vulnerable to color loss and surface scratches, so prep work is critical.
Pigmented / TopCoat / Protected Leather
This type has a thick polymer coating that resists dye penetration entirely. To dye it, the factory coating must be stripped first.
Aniline and Nubuck / Suede Leathers
These are porous and absorb dye readily but can stain unevenly. Use diluted dye and work in light layers.
Types of Leather Dye: Choosing the Right One
Selecting the correct leather dye type is the single most important decision in this process.
Water-Based Dyes
Water-based dyes are the most beginner-friendly option. Leather dyes based on water are lower in odor, easier to clean up, and dry with a flexible finish. They work well on vegetable-tanned leather and full-grain hides. They are slightly less fade-resistant than solvent types but are safer to work with indoors.
Oil-Based Dyes
Oil-based dyes penetrate deeply and produce rich, saturated color. Leather dyes based on solvents in this category bond strongly with the hide and last longer under regular use. They require adequate ventilation and careful application to avoid lap marks.
Aniline Dyes
Aniline dyes are transparent, meaning the natural grain of the leather shows through. They are ideal when you want to enhance rather than cover the leather's character. Semi-transparent leather dyes sit between aniline and pigment types, offering partial coverage with some grain visibility.
Natural Dyes
Natural dyeing has a long history in traditional leatherworking. Natural leather dyes are made from plant and organic sources. Common natural dyes include onion skins, pomegranate juice, red wine, and iron solution. Food dyes also fall loosely in this category. Natural dyes produce subtle, earthy tones and are popular for artisan finishes. Results vary depending on leather type and mordant used.
Pigment Dyeing
Pigment dyeing uses color particles suspended in a binder. Unlike true dye dyeing, pigments coat the surface rather than penetrating the fiber. This makes pigment dyeing ideal for covering existing color or working on chrome tanned leather. The trade-off is a slightly stiffer feel and reduced breathability.
Key Products for the Dyeing Process
Rather than a full product roundup, here is a focused list of what each stage actually requires.
Preparation Products
Before dyeing begins, the leather surface must be clean and free of factory coatings. Fiebing's Deglazer strips waxes, oils, and factory finishes. Angelus leather preparer serves the same function and is widely used in the sneaker customization and leather accessories market. Skipping this step is the most common reason dye fails to bond properly.
On dry or stiff leather, Fiebing's Prime Neatsfoot Oil Compound conditions the hide before dyeing and prevents uneven absorption.
Dye Products
Fiebing's Leather Dye is the benchmark for alcohol-based leather dyeing. It penetrates deeply into vegetable-tanned leather and dries quickly to a rich, even color. Available in a wide range of colors, it is reliable across large surface areas. For matching an existing color, the Leather Dye Colorant Adjusting and Tinting Kit allows you to blend tones for color restoration work. For aniline-finished leather specifically, the Aniline Leather Recoloring Kit includes preparer, dye, and finisher in one package.
For automotive leather dye applications such as vehicle seats, the Leather/Vinyl Recoloring Kit covers both leather and vinyl surfaces.
Finishing Products
Fiebing's Acrylic Resolene is a topcoat used for sealing the leather after dyeing. It provides a clear, protective layer that locks in the dye and adds water resistance. For a more natural look, wax and oil finishes such as a leather balm provide a transparent finish with lighter protection.
The Leather Dyeing Process: Step by Step
Follow this sequence to achieve a clean, even result.
Step 1: Prepare the Surface
Clean the leather with leather soap or rubbing alcohol to remove surface oils and dirt. Apply Fiebing's Deglazer or Angelus leather preparer to strip any factory finish. Use a cotton ball or microfiber cloth for application. Allow to dry completely. If the surface has scratches that will show through the dye, address them first with our leather repair and restoration guide.
Step 2: Condition (Optional but Recommended)
On dry or stiff leather, apply conditioning treatments using Fiebing's Prime Neatsfoot Oil Compound. This helps the dye absorb evenly. If using scrap leather to test your method first, skip conditioning since test pieces are often already absorbent.
Step 3: Apply the Dye
Choose your application method based on the effect you want:
-
Hand wiping with a wool dauber or cotton ball works well for small leather accessories and even color
-
Foam padding gives smooth coverage on flat surfaces
-
Airbrushing for leather produces the most even result on large pieces and allows special effects like gradients
-
Dye pen applicators are ideal for detail work, painting figure carving, or pictorial painting for leather
-
Dye bath process fully submerges the leather for all-over, deep color, often used by leather artisans and factory interior restorers working with OEM leather samples
Apply in thin, even layers. Build color gradually. When dyeing the leather evenly, always work in the same direction.
Step 4: Allow to Dry and Repeat
Let each coat dry fully before applying the next. Most leather dyes require two to four coats for full saturation. Using a dye reducer can lighten the color between coats if the tone becomes too intense.
Step 5: Buff the Surface
Once the final coat is dry, buff the surface using a clean cloth to remove any excess dye residue and bring out an even sheen.
Step 6: Seal the Leather
Sealing the leather is non-negotiable. Apply an acrylic finisher in thin coats using a foam applicator. For high-use items, use a full leather finisher with water resistance. For a natural look, wax and oil finishes such as a leather balm provide a transparent finish with lighter protection.
The Dyeing and Finishing stage determines whether your work lasts months or years. Do not skip it. To maintain the finish long-term, follow the seasonal routine in our leather care and conditioning guide.
Application Techniques: Matching Method to Project
|
Method |
Best For |
Result |
|
Hand wiping |
Small leather accessories, wallets |
Even, controlled color |
|
Foam padding |
Bags, flat panels |
Smooth, consistent coverage |
|
Airbrushing for leather |
Large surfaces, special effects |
Professional, uniform finish |
|
Spraying coats |
Automotive leather dye, car seats |
Factory-quality even coverage |
|
Dye pen applicators |
Detail work, touch-ups, color loss repair |
Precise, controlled |
|
Dye bath process |
Full-piece saturation |
Deepest penetration |
For automotive leather dye projects, spraying coats are typically the most effective because of the large, curved surfaces involved.
Caring for Dyed Leather After Finishing
Once dyed and sealed, dyed leather needs consistent care to maintain its color and surface.
-
Clean gently using a damp microfiber cloth and leather soap. Avoid harsh chemicals that can strip the finisher.
-
Condition regularly with a leather balm or Aussie Leather Conditioner to prevent dryness and color loss.
-
Store away from direct sunlight, which accelerates color fade and surface scratches.
-
Reapply finisher annually on high-use items to maintain the protective layer.
For a deeper look at routine leather upkeep, our guide on leather care and conditioning covers the full maintenance process. And if your leather has already sustained damage beyond color loss, the leather repair and restoration guide walks through structural fixes alongside color work.
Steel Horse Leather: Full-Grain Leather That Colors Beautifully With Age

If you appreciate the craft behind leather dyeing coloring, you already understand why leather quality matters from the start. Steel Horse Leather builds every bag from full-grain leather, the same hide type that leather artisans prize most for its grain, durability, and ability to develop rich color naturally over time.
Browse the full leather bags collection to see every available style, all backed by a 30-day money-back guarantee.
Here are the best options by use case:
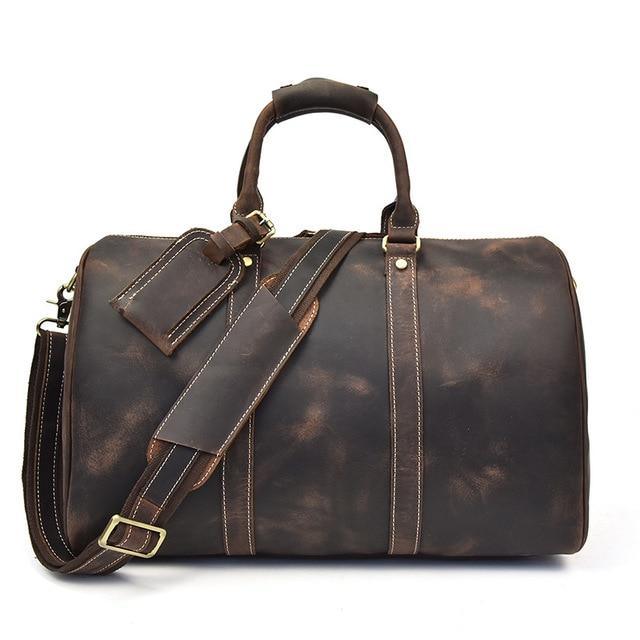
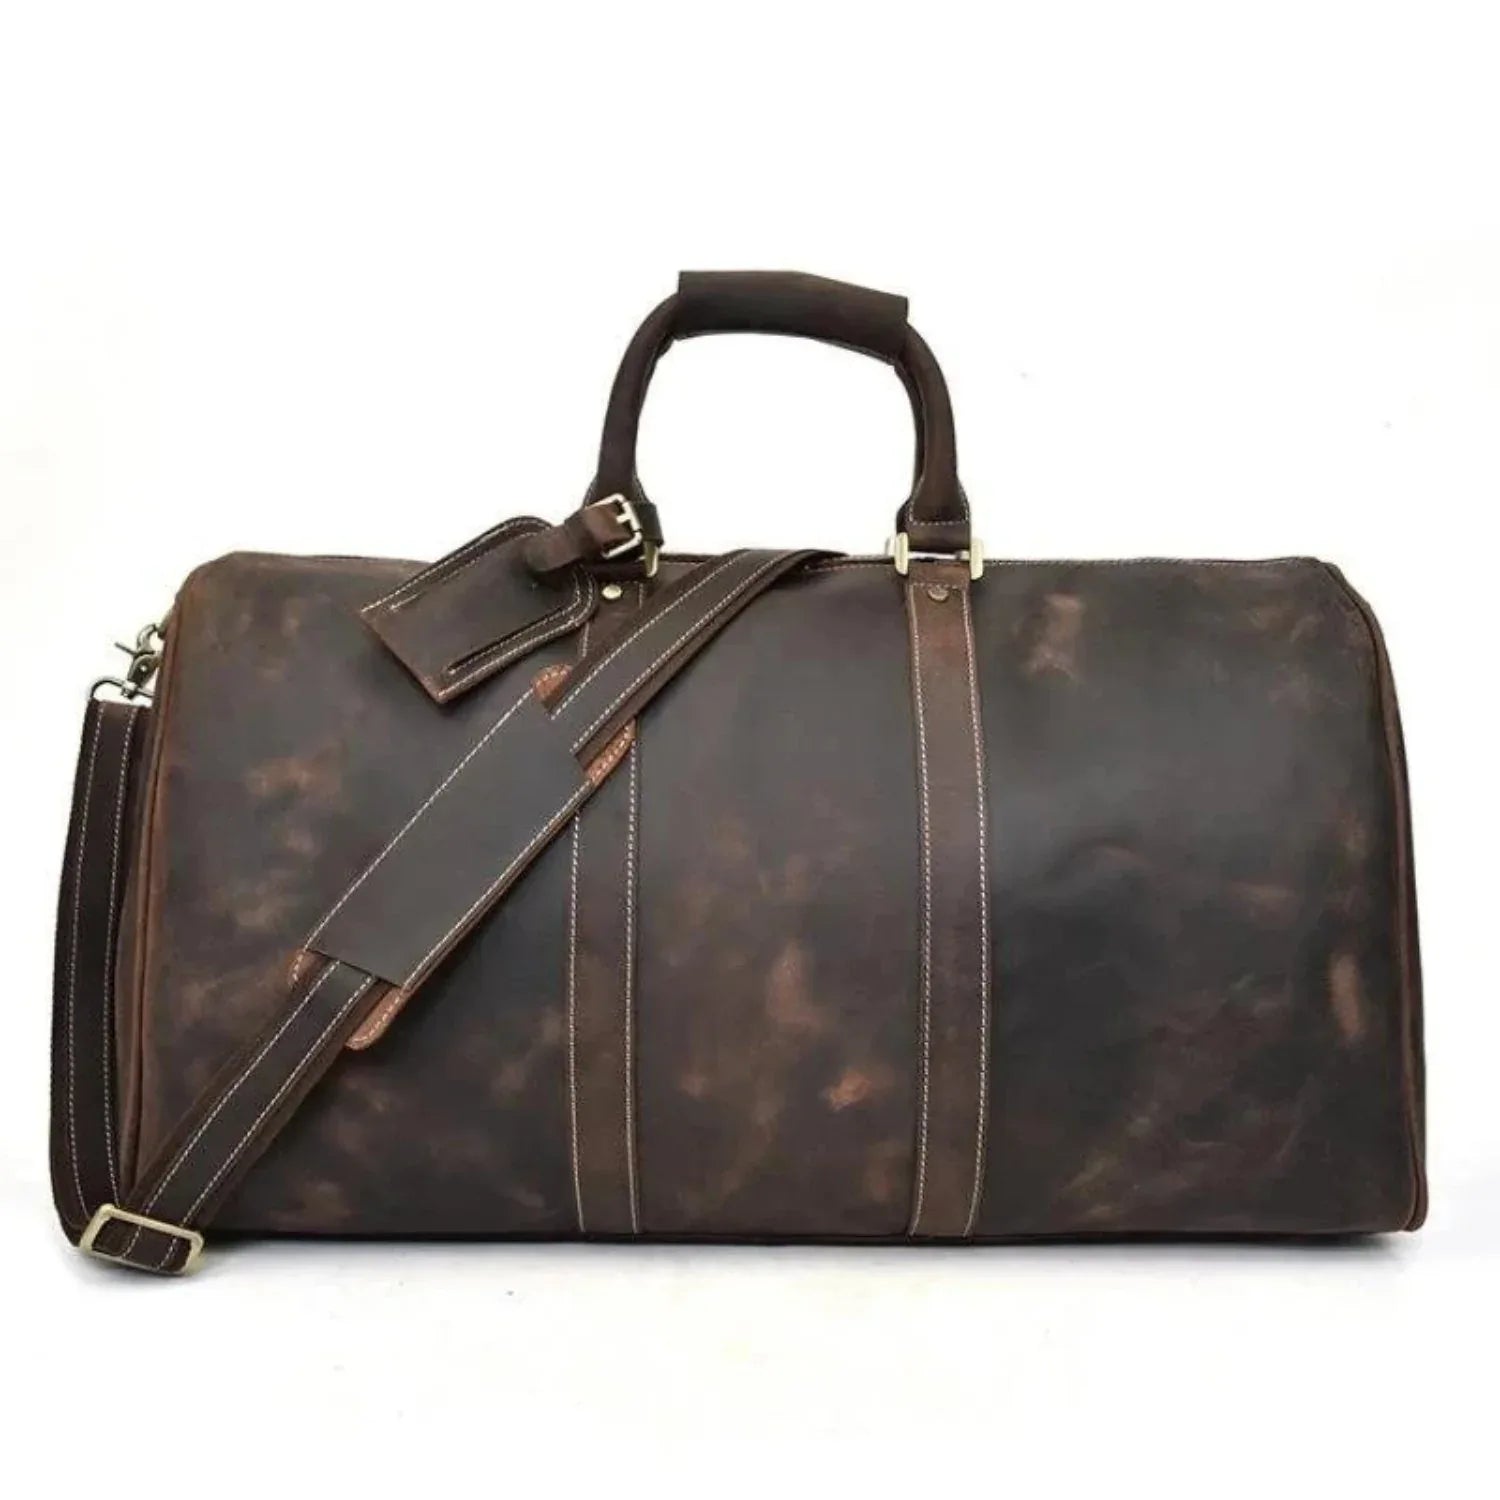
Best for Travel
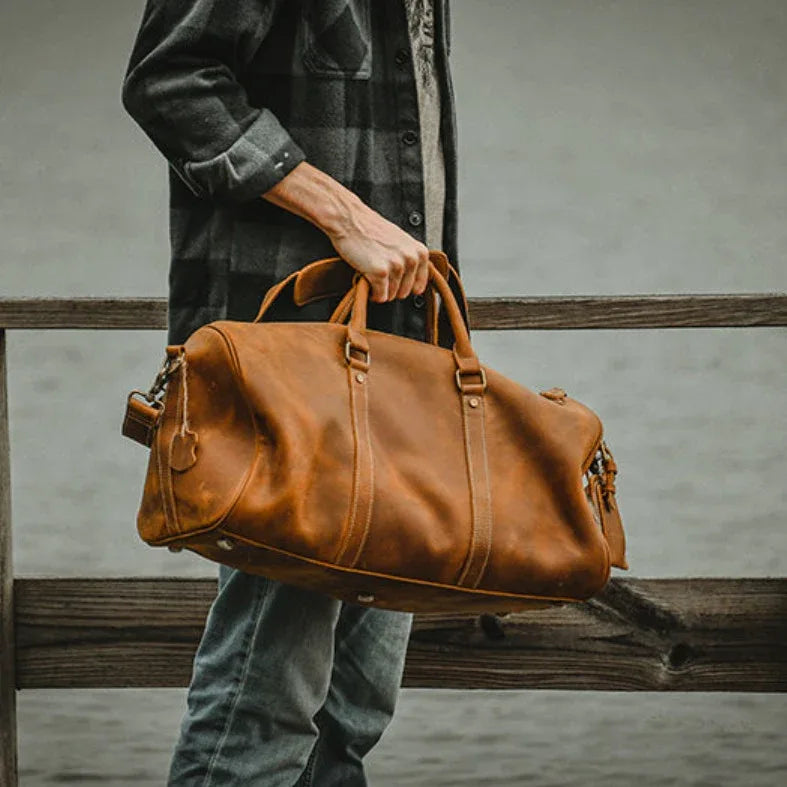
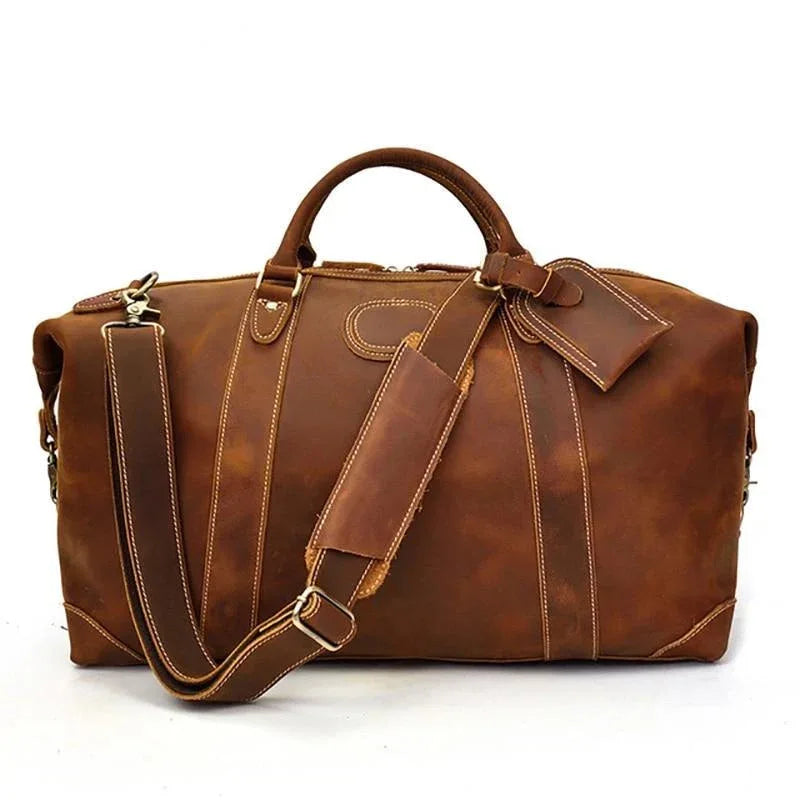
The Endre Weekender is a full-grain leather duffle that develops a deep, natural patina with use. Handcrafted with robust stitching and a spacious interior, it is built for travelers who understand that great leather only gets better with every trip. Browse the full leather duffle bag collection for more options.
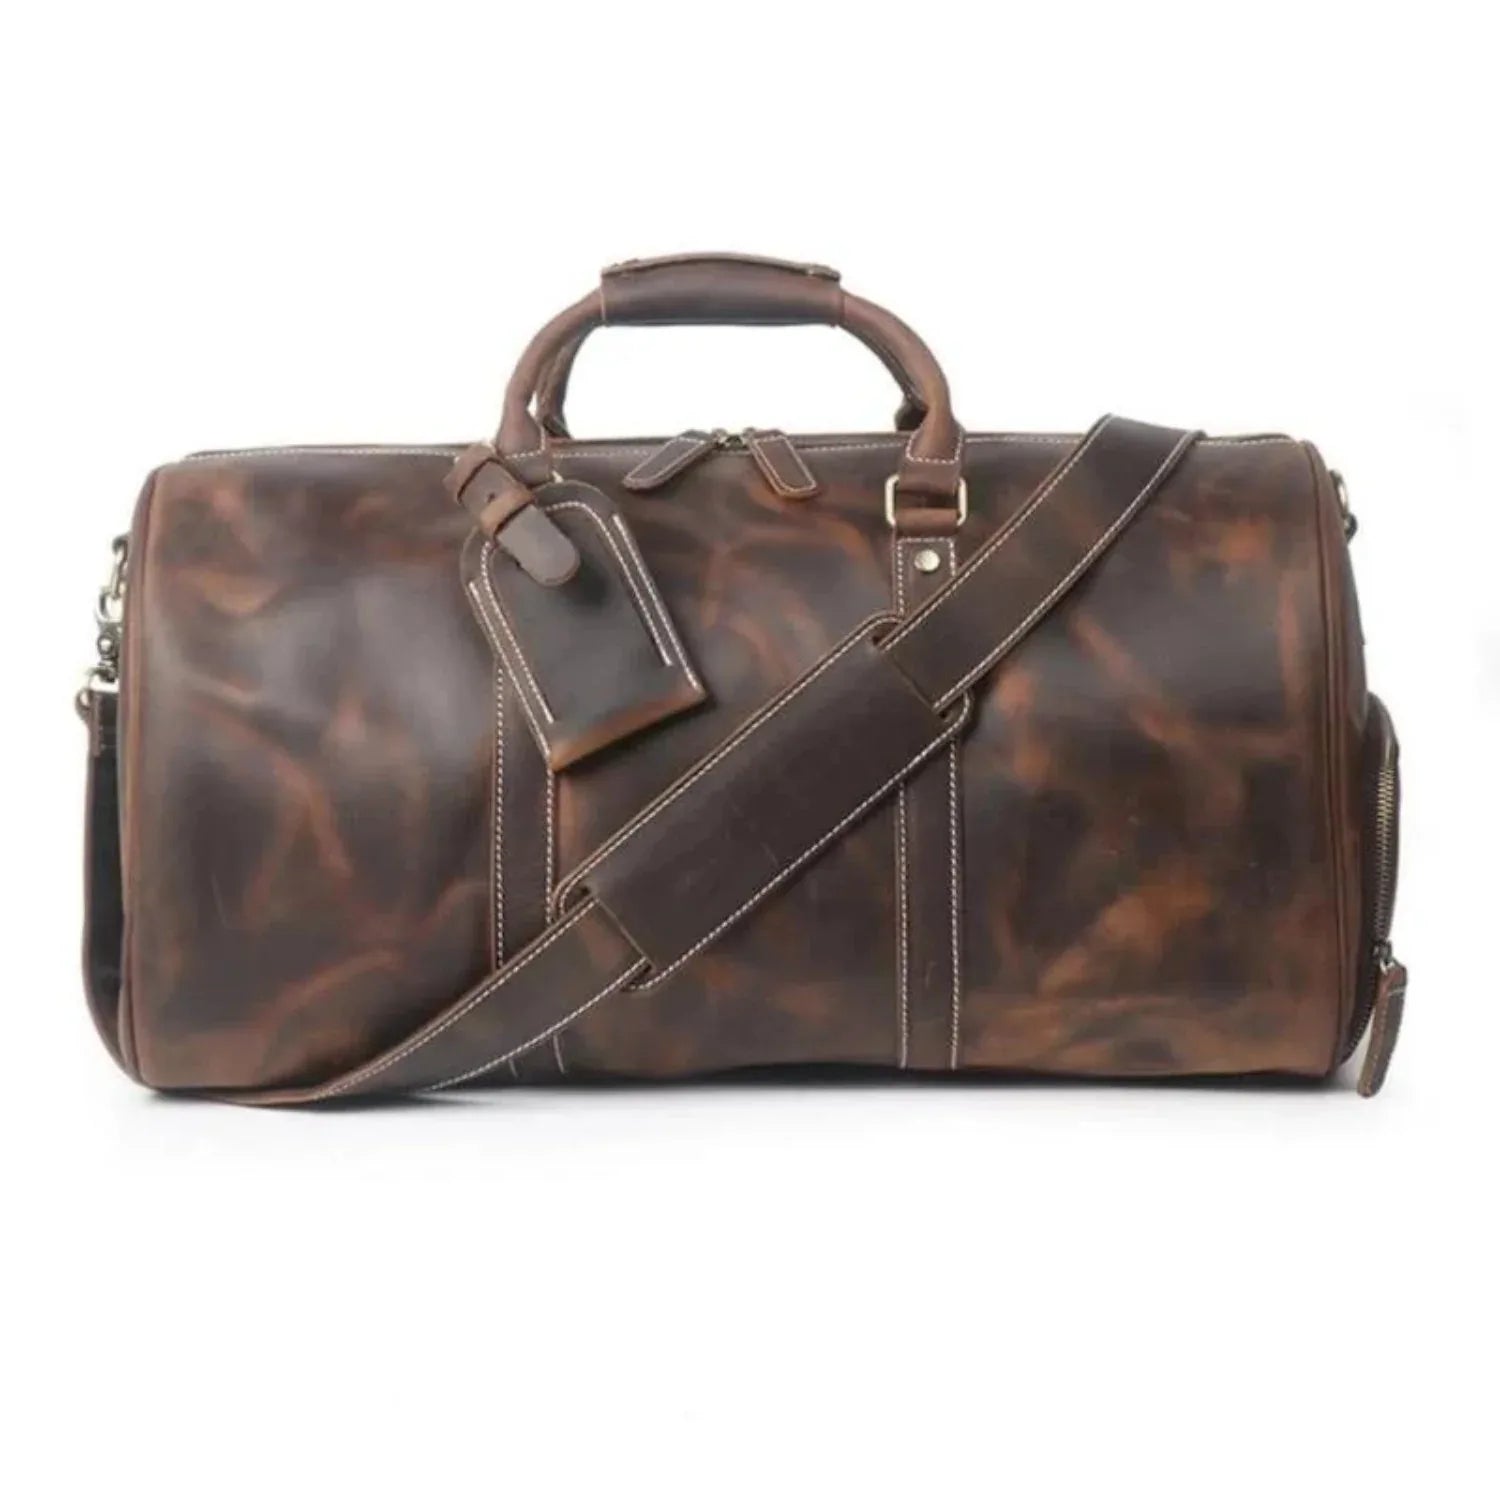
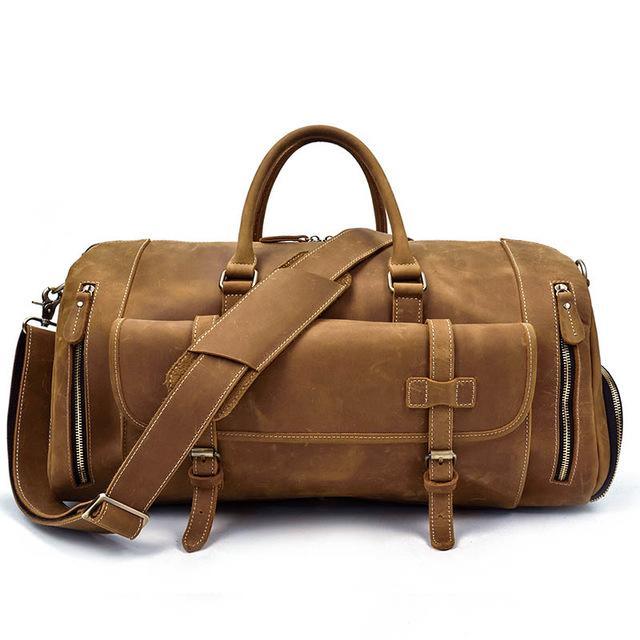
For those who need even more room, the Colden Duffle Bag delivers large-capacity storage in full-grain leather — a reliable companion for extended travel where durability and style both matter.
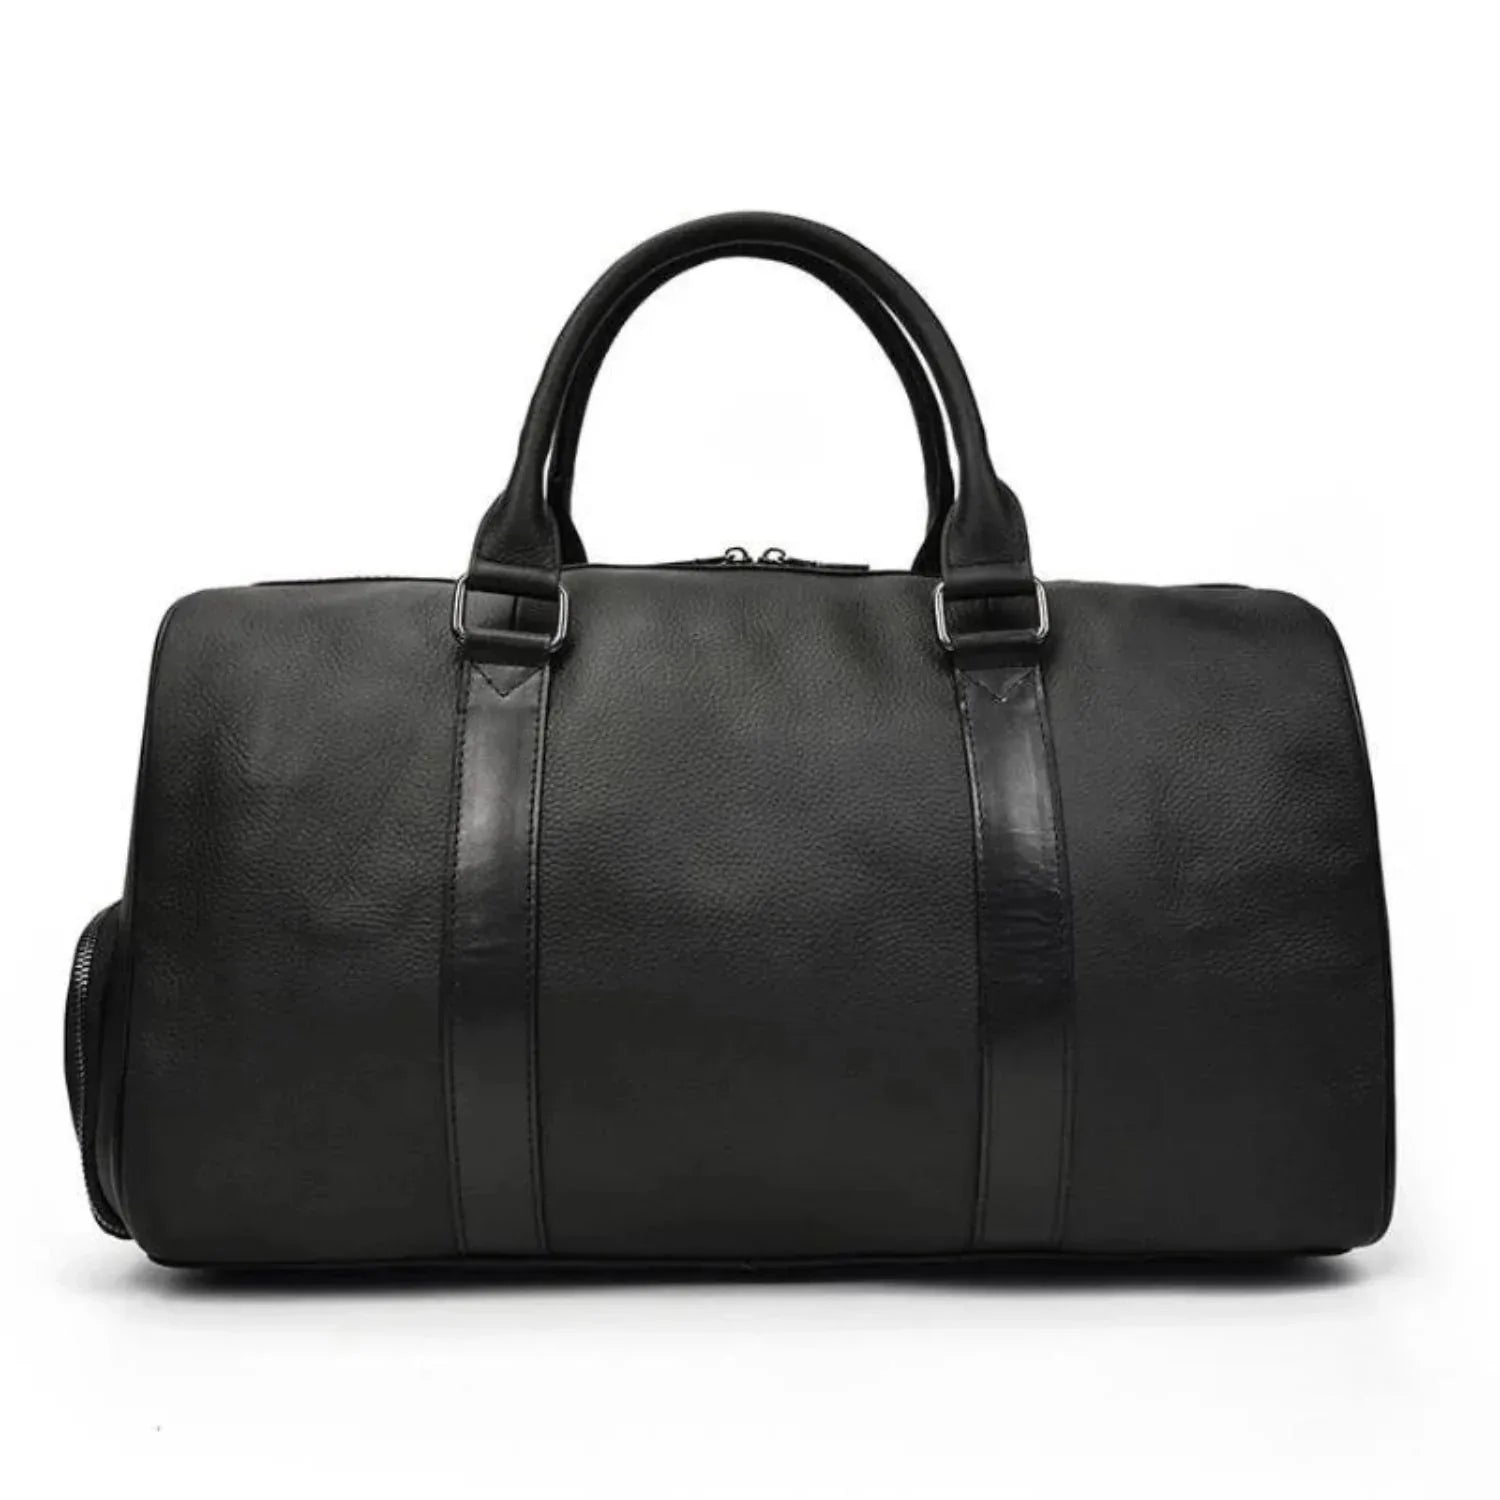
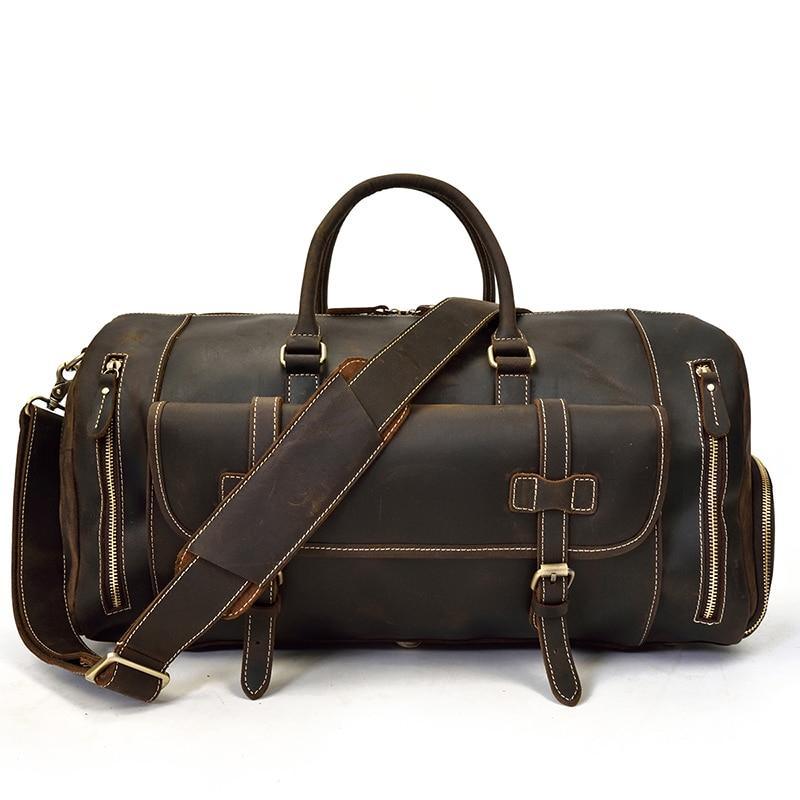
The Bjarke Weekender is a handcrafted full-grain leather duffle with a structured silhouette and thoughtful organization, ideal for weekend trips or gym use.
Best for Daily Work Use
The Hemming Leather Laptop Bag combines a structured, professional design with full-grain leather construction. It fits laptops up to 15 inches and transitions seamlessly from a boardroom to a creative studio. Explore the full leather laptop bag collection for more alternatives.
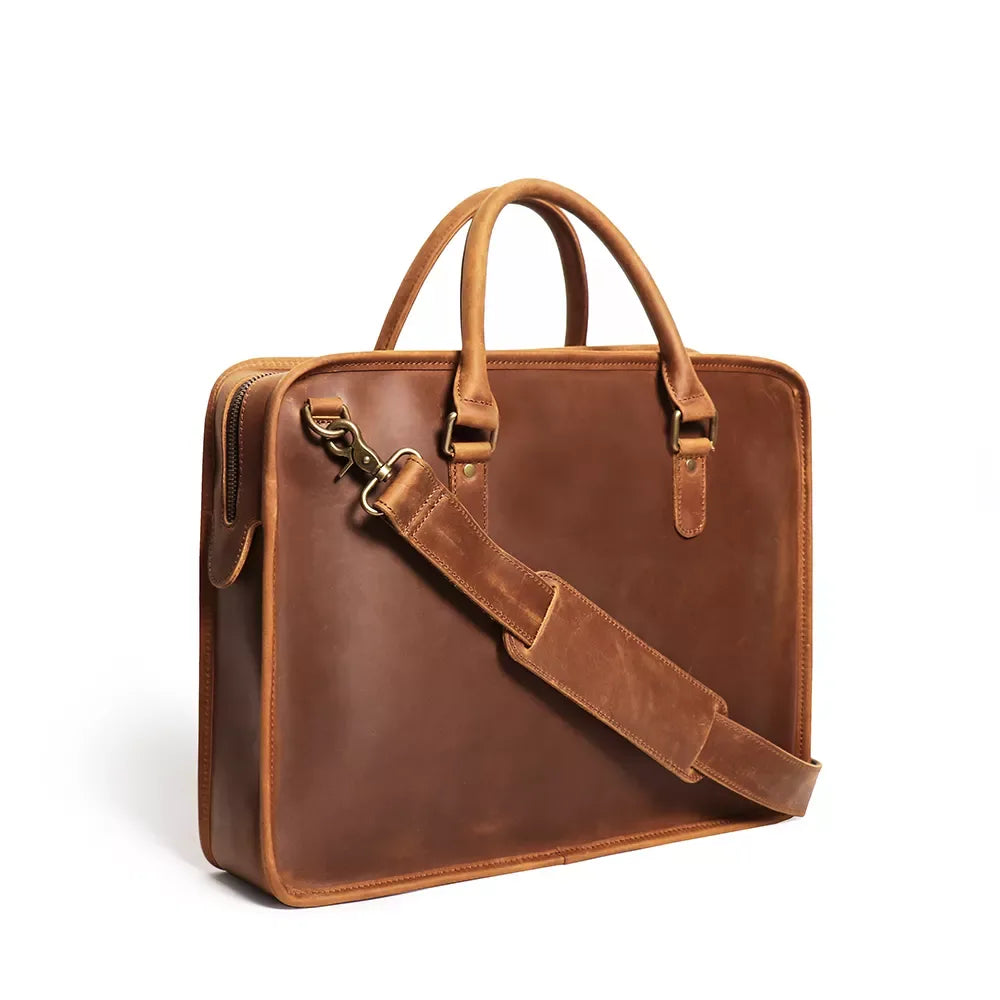
The Welch Briefcase is built for professionals who value clean design and material quality. Its full-grain leather exterior develops a rich patina over time, making it a long-term investment in both function and style.
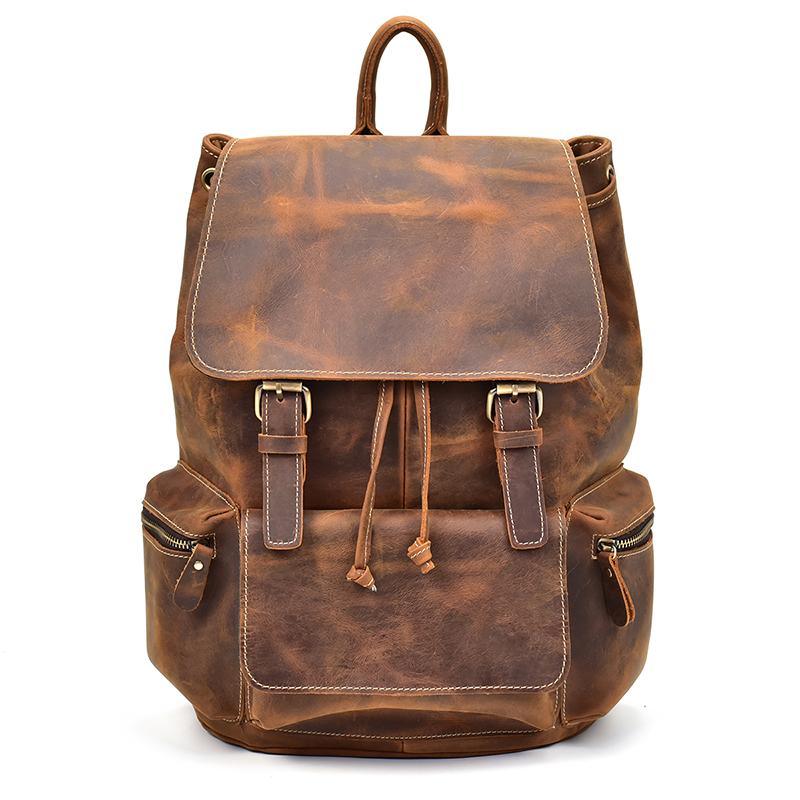
Best Backpack
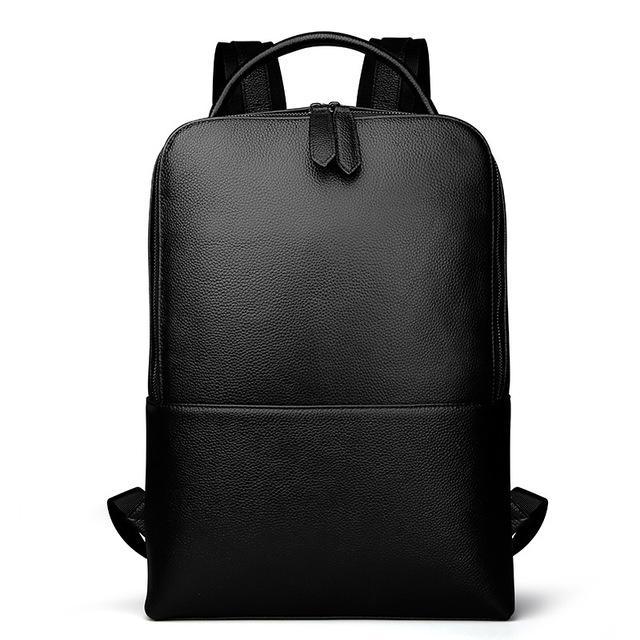
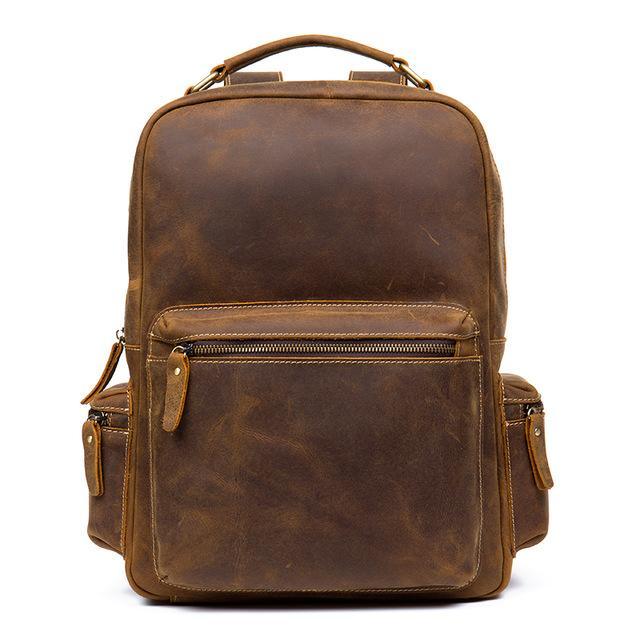
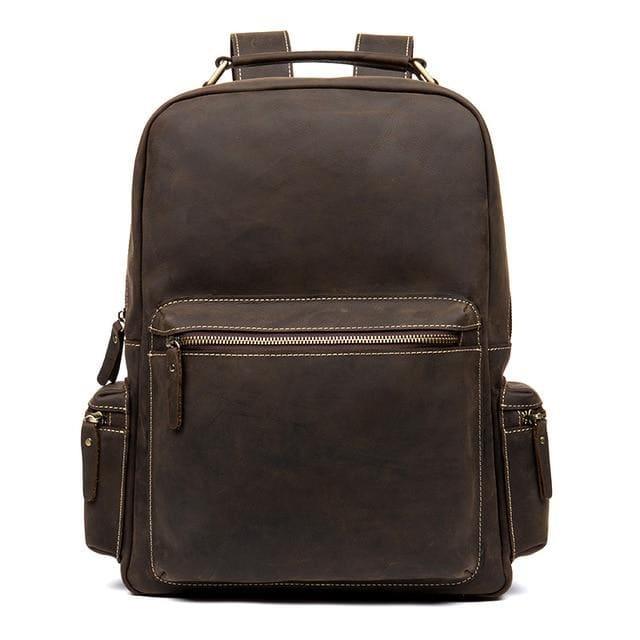
The Skald Black Pebbled Leather Backpack is a slim, refined full-grain leather backpack with a sleek black pebbled finish. It is designed for those who want a minimalist, urban-ready pack that holds its shape and character over years of daily use.
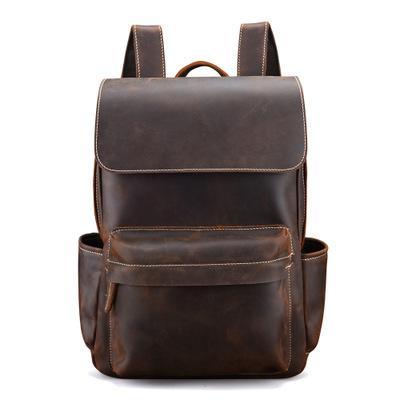
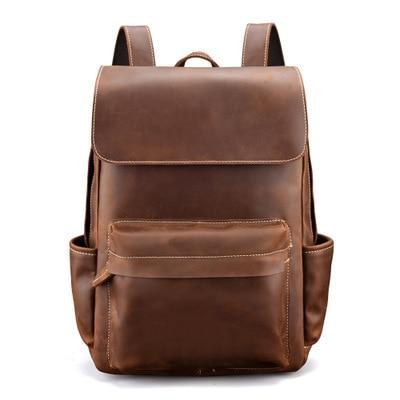
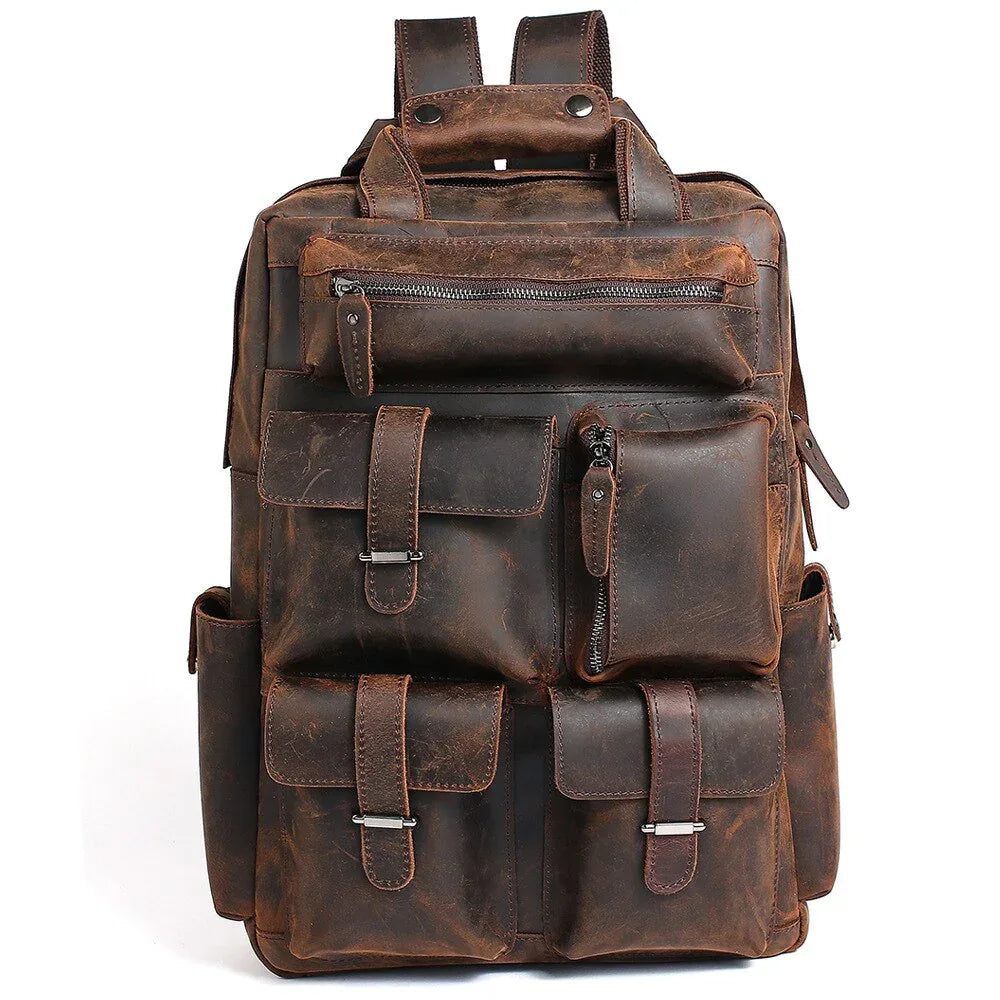
The Faulkner Backpack is a handcrafted full-grain leather backpack with generous capacity and a rugged, vintage-inspired aesthetic built for long-term use. Browse the complete leather backpack collection for the full range.
Best for Camera Gear
The Faust Camera Bag is crafted for photographers who demand quality materials. Its full-grain leather exterior, padded interior compartments, and crossbody design make it a practical and character-rich option for carrying camera equipment day to day.
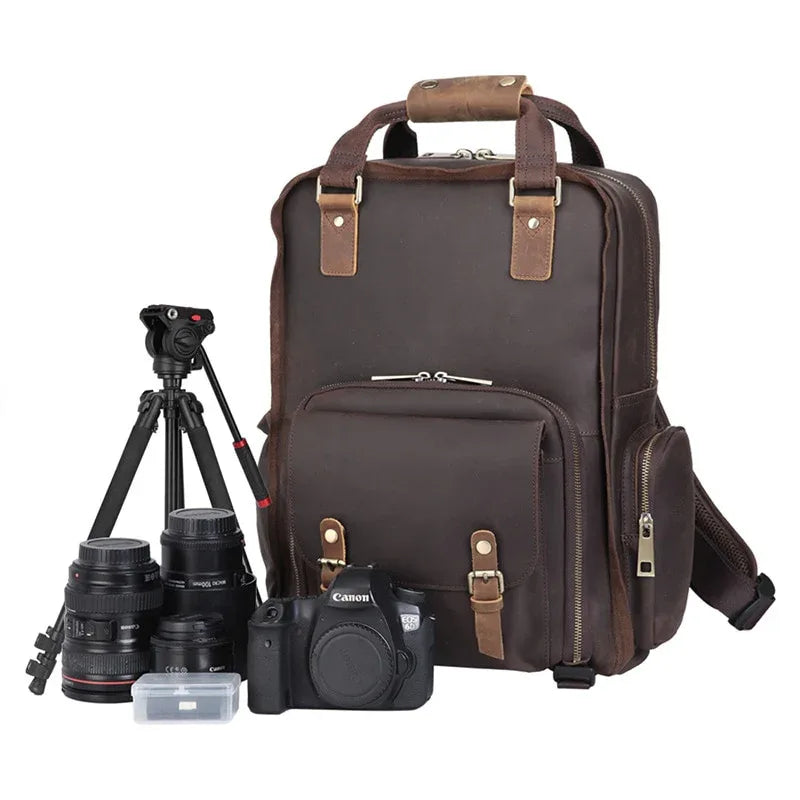
The Mann Bag is a large-capacity full-grain leather camera backpack built to accommodate professional camera systems alongside everyday essentials, with a build quality that develops unique character with use.
Best Compact Option
The Erling Leather Sling Bag is a compact full-grain crossbody that wears comfortably across the chest and ages with real character. It is well-suited for daily errands, travel, or any situation where a smaller carry is preferred. See more in the leather crossbody bags collection.
The Wagner Leather Waist Bag is a full-grain leather belt bag for those who want something minimal, hands-free, and built to last through regular use.
Best Leather Accessories
The Pathfinder Bifold Wallet is a slim, well-constructed full-grain leather bifold that holds cards and cash with ease and develops a rich patina the more it is carried.
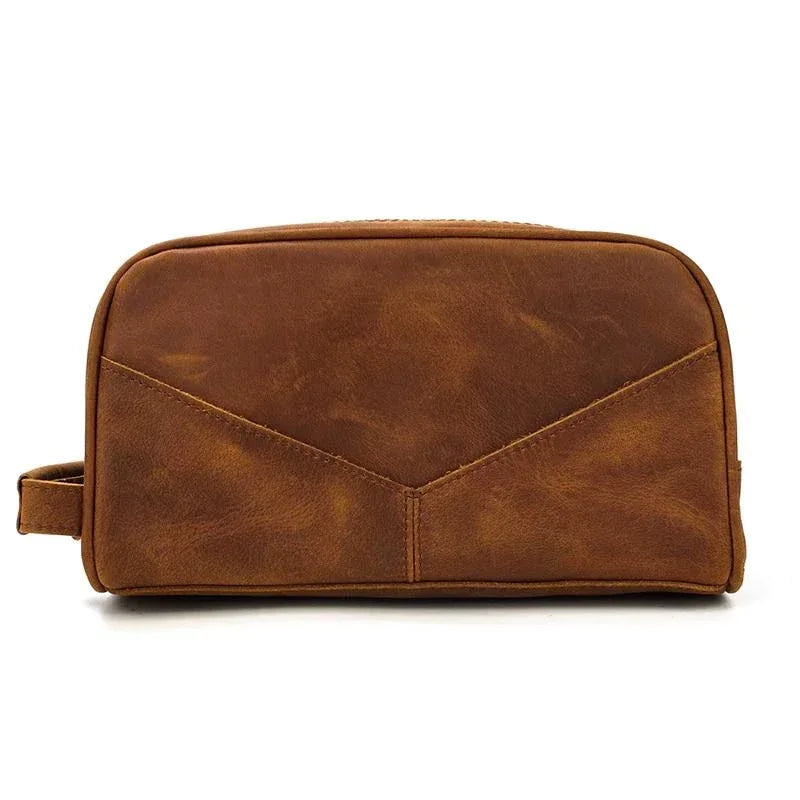
For travelers who want to keep their kit organized, the Wanderer Toiletry Bag is a full-grain leather dopp kit with a spacious interior and durable zip closure — a practical and stylish addition to any travel setup.
The Dado Leather Dopp Kit is a handmade full-grain leather toiletry bag offering a structured shape and quality construction for those who appreciate well-made travel accessories.
Frequently Asked Questions
What is the difference between leather dye and leather paint?
Leather dye penetrates the hide fiber and becomes part of the leather itself. It flexes with the material and will not crack or peel. Leather paint, including pigment-based coatings, sits on the surface and can crack over time with heavy use. For most dyeing projects, true leather dye produces a more durable and natural-looking result than paint.
Can I dye leather at home without professional equipment?
Yes. Hand wiping with a cotton ball or wool dauber is the most accessible method and produces excellent results on small leather accessories and full-grain leather goods. Airbrushing for leather gives more even coverage on large surfaces, but it is not required for home projects. The most important steps are proper surface preparation and sealing the leather after dyeing.
What leather type is easiest to dye?
Vegetable-tanned leather is the easiest and most receptive to dyeing. Its natural tannins bond strongly with most dye types, including water-based dyes and alcohol-based options like Fiebing's Leather Dye. Full-grain leather is the next best option. Chrome tanned leather and protected or pigmented leather require more prep work and are harder to dye evenly.
How do I fix uneven color or color loss after dyeing?
Uneven color usually results from skipping the prep step or applying dye too quickly without letting layers dry. To correct it, lightly buff the surface, apply a dye reducer if the color is too dark in spots, and re-apply dye in thin layers. For color restoration on finished goods, a Leather Dye Colorant Adjusting and Tinting Kit lets you blend a custom match to fill in areas of color loss.
How long does leather dye last?
With proper sealing using a leather finisher like Fiebing's Acrylic Resolene, dyed leather can hold its color for several years under normal use. High-wear areas like handles and edges may show color loss sooner. Annual conditioning with a leather balm and reapplication of finisher on worn areas extends the life of the dye significantly.
Is natural dyeing with ingredients like onion skins or pomegranate juice effective?
Natural dyeing using onion skins, pomegranate juice, red wine, or iron solution can produce beautiful, subtle tones on vegetable-tanned leather. Results are less predictable than commercial dyes and tend to be lighter in color. Natural dyes work best as a first introduction to the process or for artisan projects where variation and organic tones are desirable. For consistent, repeatable results, commercial leather dyes are more reliable.
Do I need to seal leather after dyeing?
Yes, always. Sealing the leather after dyeing protects the color from rubbing off, fading, and moisture damage. Without a finisher, even a well-applied dye will transfer onto clothing and wear unevenly. Use an acrylic finisher or a wax and oil finish depending on the level of protection and sheen you want. A transparent finish is the best choice if you want to preserve the natural look of the dyed leather.
Can leather dye be used on automotive leather seats?
Automotive leather dye is formulated specifically for the demands of car interiors, including flexibility under temperature changes and resistance to UV color fade. Spraying coats using an airbrush or spray applicator gives the most even coverage on curved seat panels. Products like the Leather/Vinyl Recoloring Kit are designed for this application and include everything needed to restore or change the color of a factory interior.
Ready to Invest in Leather That Ages Without the Work?
Understanding the leather dyeing process gives you a deeper appreciation for why leather quality matters from the start. Full-grain leather is what every Steel Horse Leather bag is built from, and it develops rich, natural color on its own with no dye required.
Browse the full leather bags collection and find a piece built to last a lifetime. Every order is backed by a 30-day money-back guarantee.
All of our bags at Steel Horse Leather are crafted from full-grain crazy horse leather, built to develop a rich patina over time. Browse our Leather Bags.