Painting leather requires three things: a clean and completely dry surface, the right type of paint for your project, and thin, even coats sealed with a topcoat. Skip any one of these steps and you risk cracking, peeling, or a blotchy finish. This guide covers the tools, paint types, and exact steps to get a durable, professional-looking result on any type of leather, whether you're touching up a bag, refinishing furniture, or customizing leather goods.
Key Takeaways
- Clean, condition, and completely dry leather before painting. Skipping this step is the number one cause of cracking and premature peeling.
- Match the paint to the project: acrylic for quick-drying versatility, oil for depth and durability, latex for dry flat surfaces, or enamel for the smoothest finish with no brush marks.
- Use a stiff synthetic brush so you don't waste paint or leave heavy, uneven strokes.
- Apply thin layers rather than one thick coat, and always finish with a sealant or topcoat.
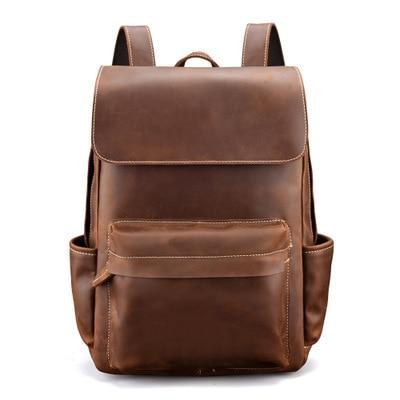
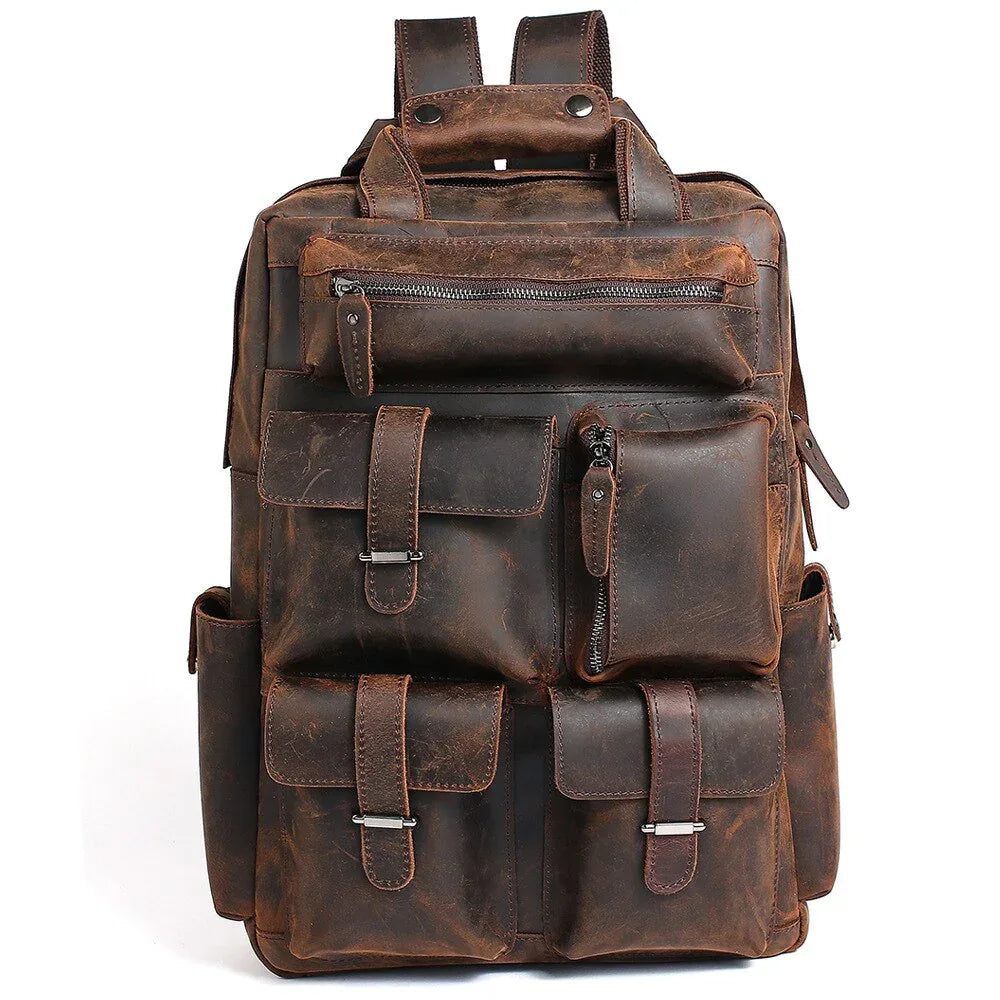
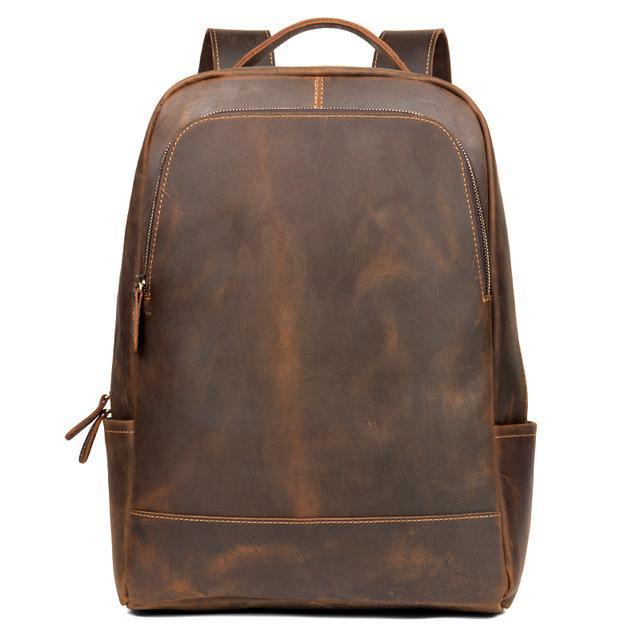
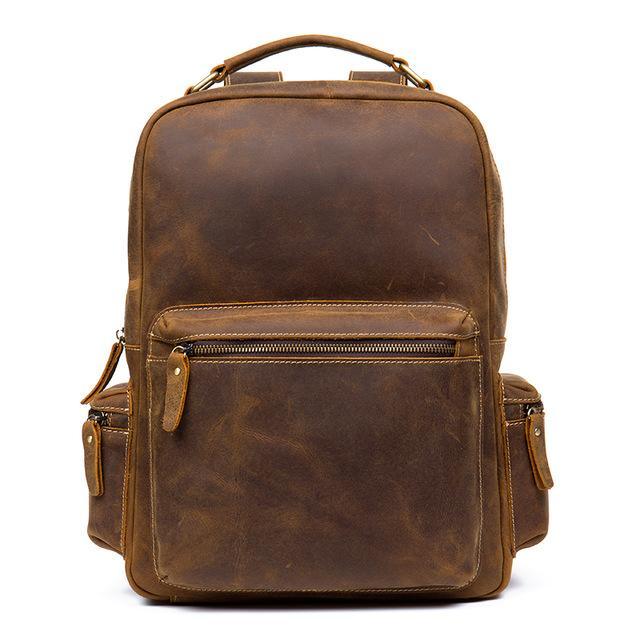
- Full-grain leather, like the leather used in every Steel Horse Leather bag, holds paint and dye more evenly than bonded or coated leather because it hasn't been sealed with a synthetic top layer.
Why Trust This Guide?
Steel Horse Leather works exclusively with full-grain leather across our entire catalog, including our backpacks, duffle bags, and briefcases. Our team has spent years studying tanning methods, hide grading, and how different leather surfaces react to oils, dyes, and paints.
That hands-on experience with raw hides and finished goods gives us practical insight into how paint behaves on leather over time. We know which prep steps prevent cracking, which paints hold up under daily wear, and why grain structure matters more than most painting tutorials mention.
Why Paint on Leather?

Leather takes paint well because its natural grain adds texture and depth that flat surfaces like canvas or wood don't offer. It's also durable enough to handle multiple coats and years of handling once sealed properly.
People paint leather to restore worn furniture, customize jackets and bags, cover scuffs on leather bags, or create decorative designs on accessories. If you're deciding between painting and dyeing, know that paint sits on top of the leather and fully covers the surface, while dye soaks in and preserves the grain pattern underneath. For a deeper comparison, see our guide on how to dye leather.
What Materials Do You Need to Paint Leather?
You need six things: leather conditioner, a stiff synthetic brush, paint suited to leather, a topcoat or finisher, protective covering for your workspace, and a clean cloth. Here's what each one does and why it matters.
Leather Conditioner or Oil
Condition the leather before painting to prevent dryness and cracking once the paint cures. Let the leather dry completely after conditioning, since painting over damp leather traps moisture and weakens adhesion. Work an oil-based conditioner into the pores with a cloth, then wait at least 24 hours before starting to paint. For step-by-step conditioning instructions, see our guide on DIY leather conditioners.
Paintbrush
Use a stiff synthetic brush rather than a soft natural-bristle brush. Synthetic bristles hold less paint in reserve, which means less pooling and fewer drips on textured leather surfaces like those found on vintage-style backpacks.
Paint Finisher
The finisher determines the final look: matte, light sheen, or high gloss. Some finishers also fill in small scars or grain imperfections on the hide, which is useful if you're touching up a well-worn bag rather than starting from a blank surface. Apply finisher in thin layers and let each one dry fully before adding the next.
Newspaper or Drop Cloth
Lay down newspaper or a drop cloth before you start. Paint bleeds and drips more than most people expect, especially with thinner acrylic and latex formulas.
Paint
Choose a paint made for leather, not general-purpose craft paint. Using the wrong paint type is the most common reason leather paint jobs crack, peel, or feel stiff after drying. See the comparison table below before buying.
What Are the 4 Main Types of Leather Paint?
The four main options are oil paint, acrylic paint, latex paint, and enamel paint. Each has tradeoffs in drying time, finish, and durability, summarized in the table below.
| Paint Type | Finish | Drying Time | Best For |
|---|---|---|---|
| Oil Paint | Matte or gloss | Slow, often 24+ hours per coat | Detailed artwork requiring blending time |
| Acrylic Paint | Matte to satin | Fast, usually 20 to 30 minutes per coat | Beginners and quick touch-ups |
| Latex Paint | Flat | Moderate, needs full dry time before handling | Large flat surfaces like furniture |
| Enamel Paint | Smooth, glossy, no brush marks | Moderate, typically two coats needed | Beginners wanting a professional finish |
Oil Paint
Oil paint brings out natural depth in the leather grain and works on wood, vinyl, and other mixed-material projects. The tradeoff is time: oil paint takes longer to dry between coats and usually needs several applications to build up full color and coverage.
Acrylic Paint
Acrylic paint dries quickly, which lowers the risk of it damaging or over-saturating the leather surface while you work. It's also versatile enough to use across wood, metal, and plastic, making it a practical choice if you're painting multiple materials on the same project.
Latex Paint
Latex paint works best on leather that's completely dry and flat, since too much product causes cracking or peeling as the leather flexes. Use painter's tape to mask off sections you want to protect, and let the piece cure fully before handling it again.
Enamel Paint
Enamel paint gives the smoothest, most even finish of the four types and doesn't leave visible brush marks. Two coats are usually enough for full, even coverage. If you're new to painting leather, start with enamel since it's the most forgiving for beginners.
How Do You Paint Leather Step by Step?
The process has four stages: prep the surface, apply a protective base coat, add your color, and seal it with a topcoat. Rushing any stage is the most common reason DIY leather paint jobs don't last.
Step 1: Prep the Surface (Clean, Dry, and Dust-Free)
Clean the leather with a mild soap solution or isopropyl alcohol to remove oils, dust, and residue. Let it dry fully, this can take several hours depending on humidity and leather thickness. Painting over a surface that isn't completely dry is one of the most common causes of poor paint adhesion.
Step 2: Apply a Protective Base Coat
Apply a leather-specific primer, sealer, or matte varnish before adding color. This step protects the hide from moisture, sun exposure, and everyday wear once the project is finished. Skipping the base coat often leads to paint that flakes off within weeks of regular use.
Step 3: Apply Base Color to the Leather
Start at one edge and paint in even, thin strokes across the surface, rather than saturating one section at a time. Acrylic paint markers work well for fine detail or touch-ups along stitching and edges. Let each layer dry fully before adding a second coat, thin layers always outperform one thick one.
Step 4: Seal the Finish with a Topcoat
Seal the painted leather with a spray sealant or fine-tip applicator to lock in color and add durability. This step is what gives the finish its final sheen, whether matte or glossy, and it's also what prevents the paint from rubbing off with regular handling. Let the topcoat cure fully, generally 24 to 48 hours, before using or wearing the item.
Painting vs. Dyeing Leather: What's the Difference?
Paint sits on top of the leather and fully covers the grain, while dye soaks into the hide and preserves the natural texture underneath. The table below breaks down when to use each method.
| Factor | Paint | Dye |
|---|---|---|
| Coverage | Sits on the surface, hides grain and scars | Absorbs into the hide, keeps grain visible |
| Flexibility | Can crack if applied too thick | Moves with the leather, less prone to cracking |
| Color Change | Dramatic, can go light to dark or vice versa | Best for darkening, limited for lightening |
| Best Use Case | Covering scuffs, decorative designs | Restoring color while keeping natural texture |
If you want to darken a bag or restore faded color without hiding the grain, dyeing is usually the better route. Our guide on how to dye leather covers that process in detail.
Should You Paint or Just Replace Worn Leather Goods?
Painting works well for cosmetic touch-ups, covering scuffs, or personalizing a piece you already own. It's not a fix for structural damage like torn seams, broken hardware, or leather that's cracked all the way through.
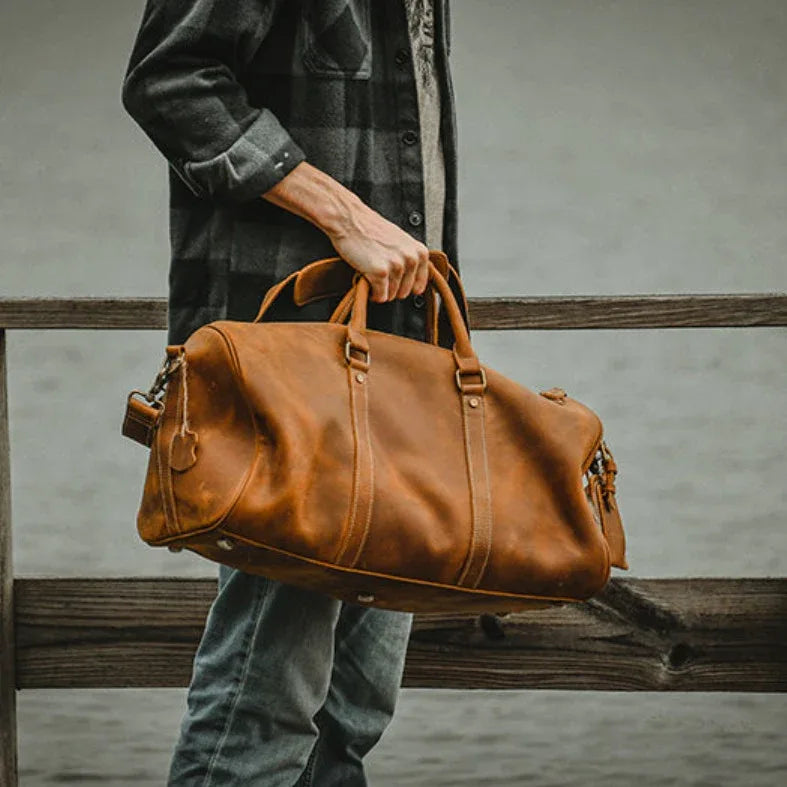
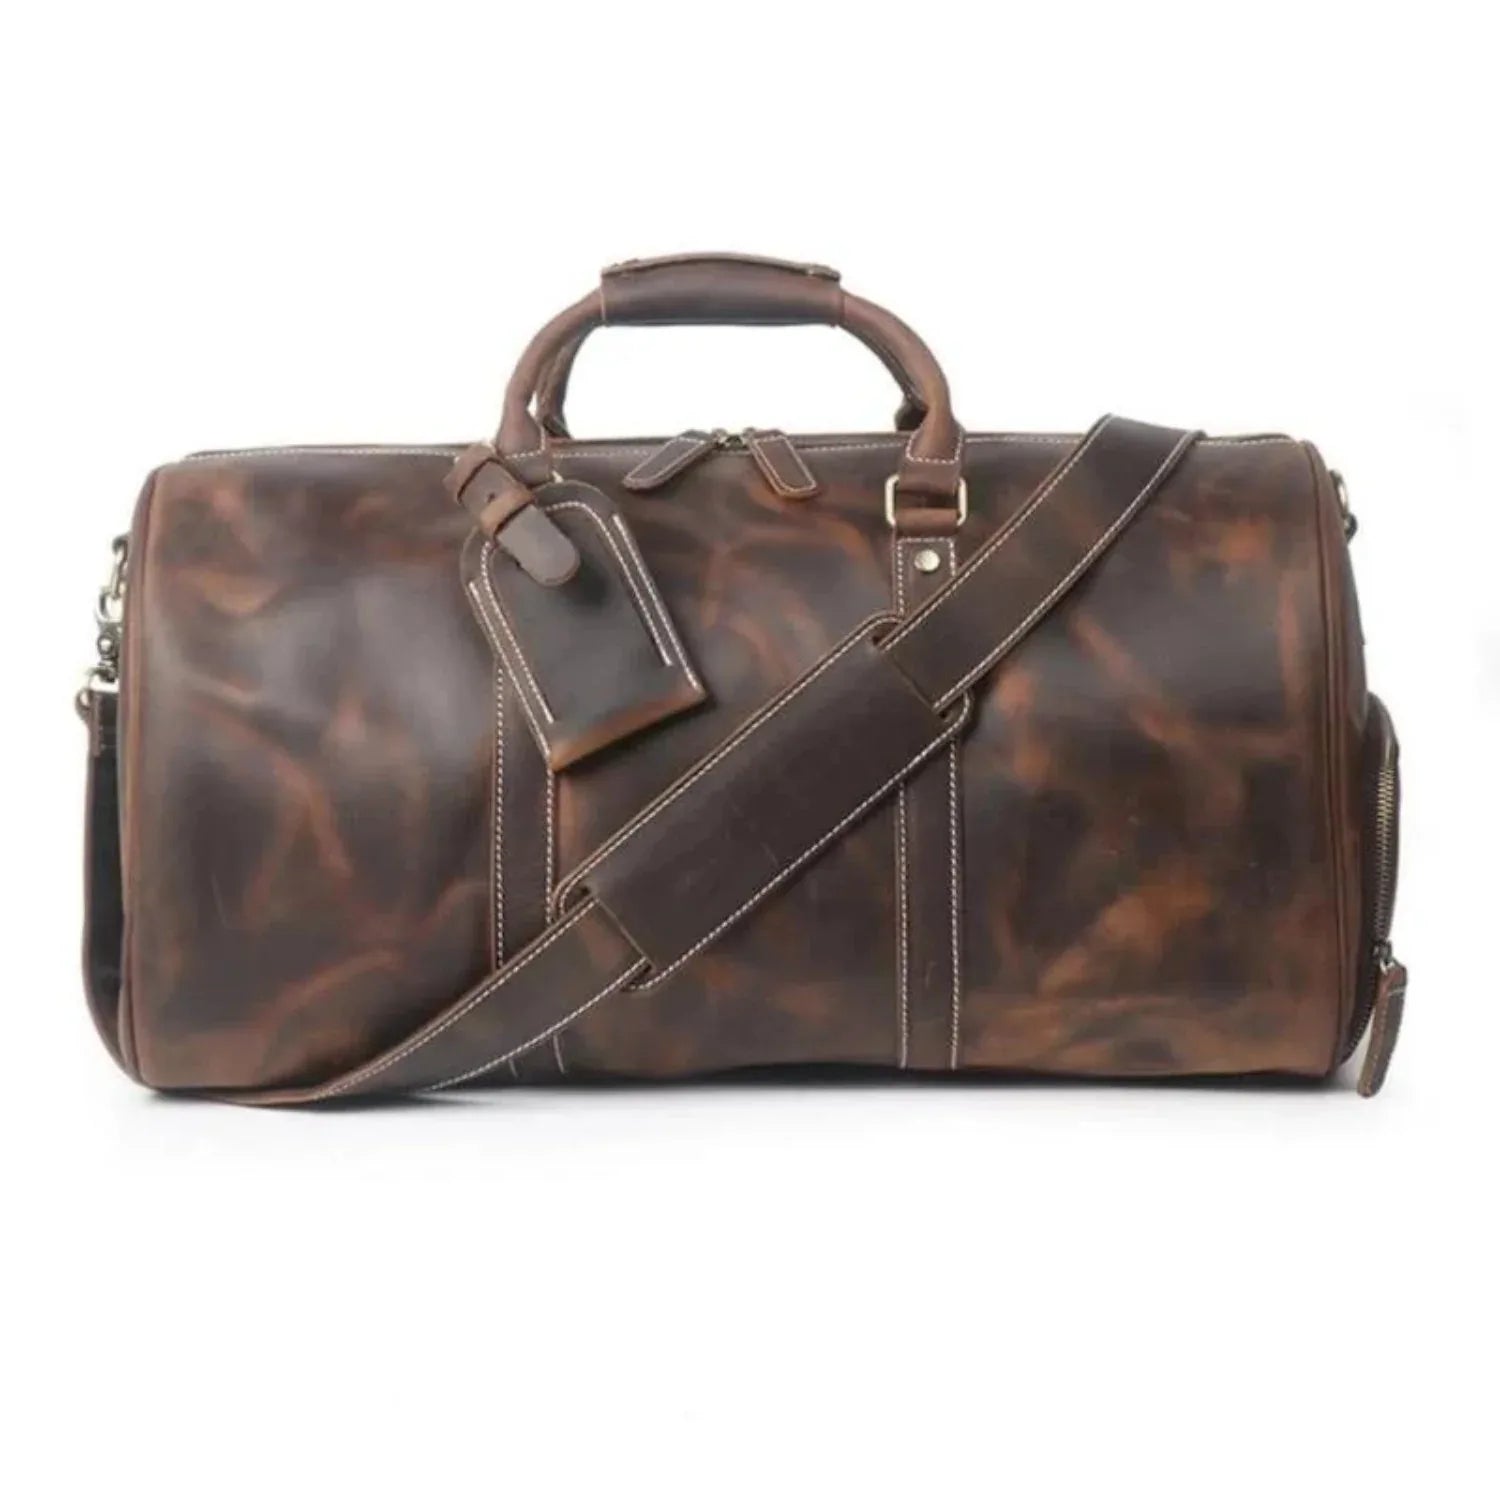
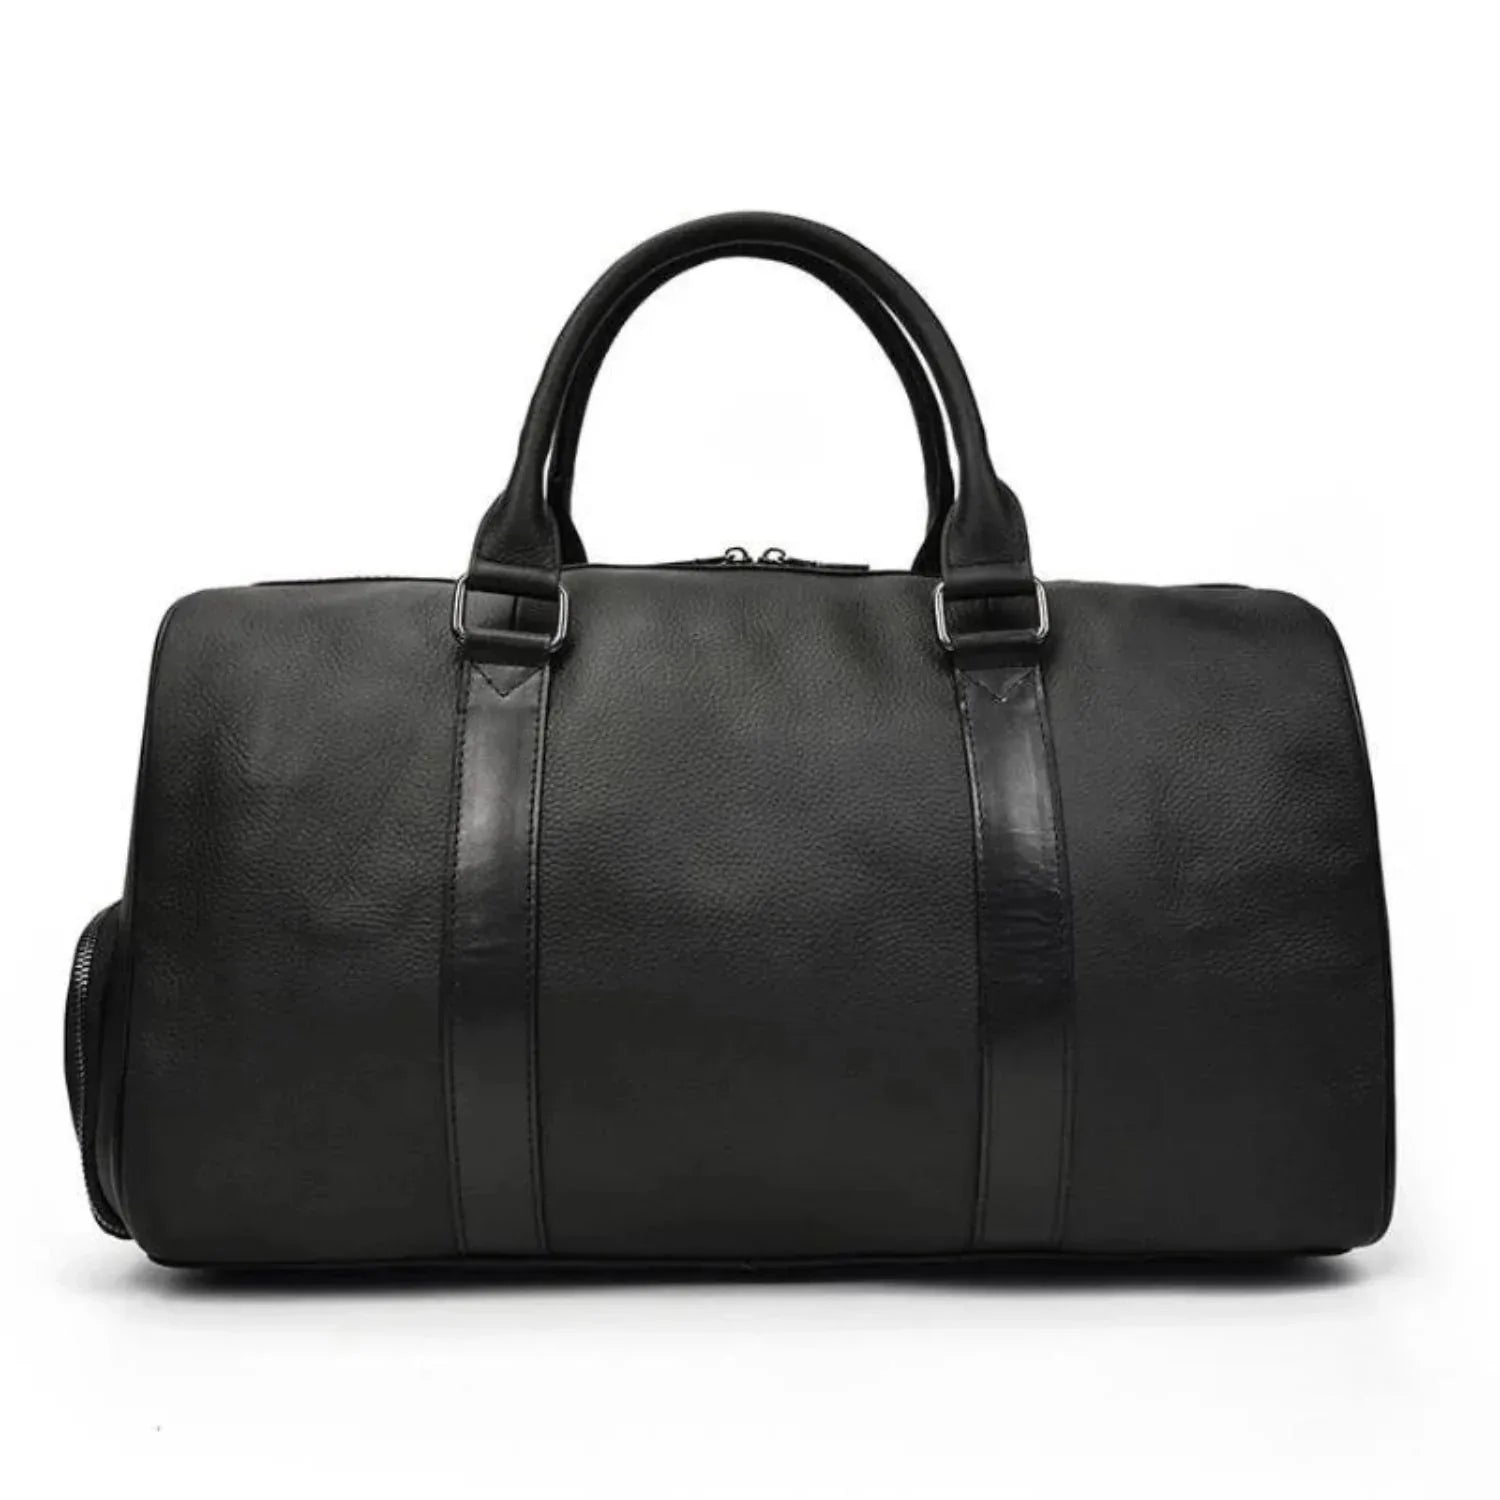
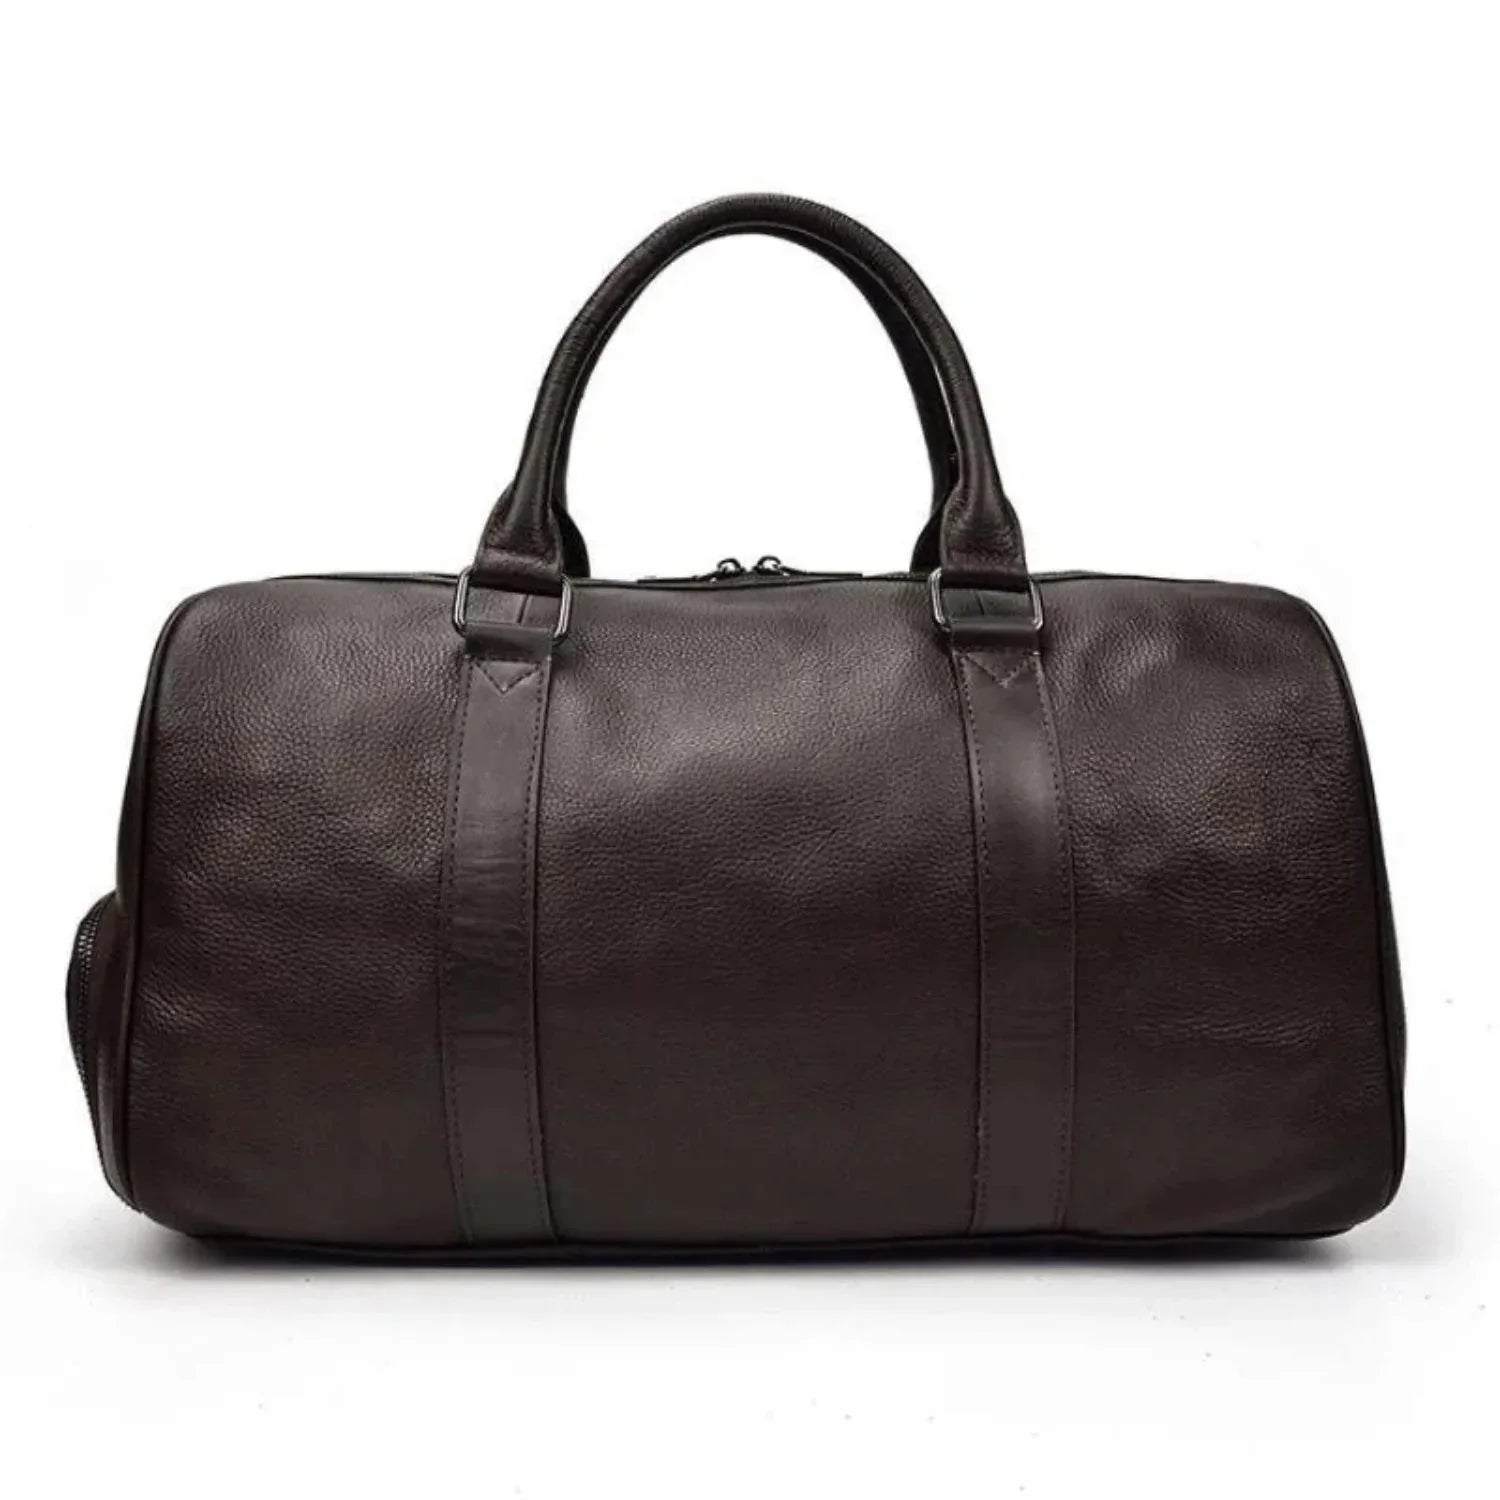
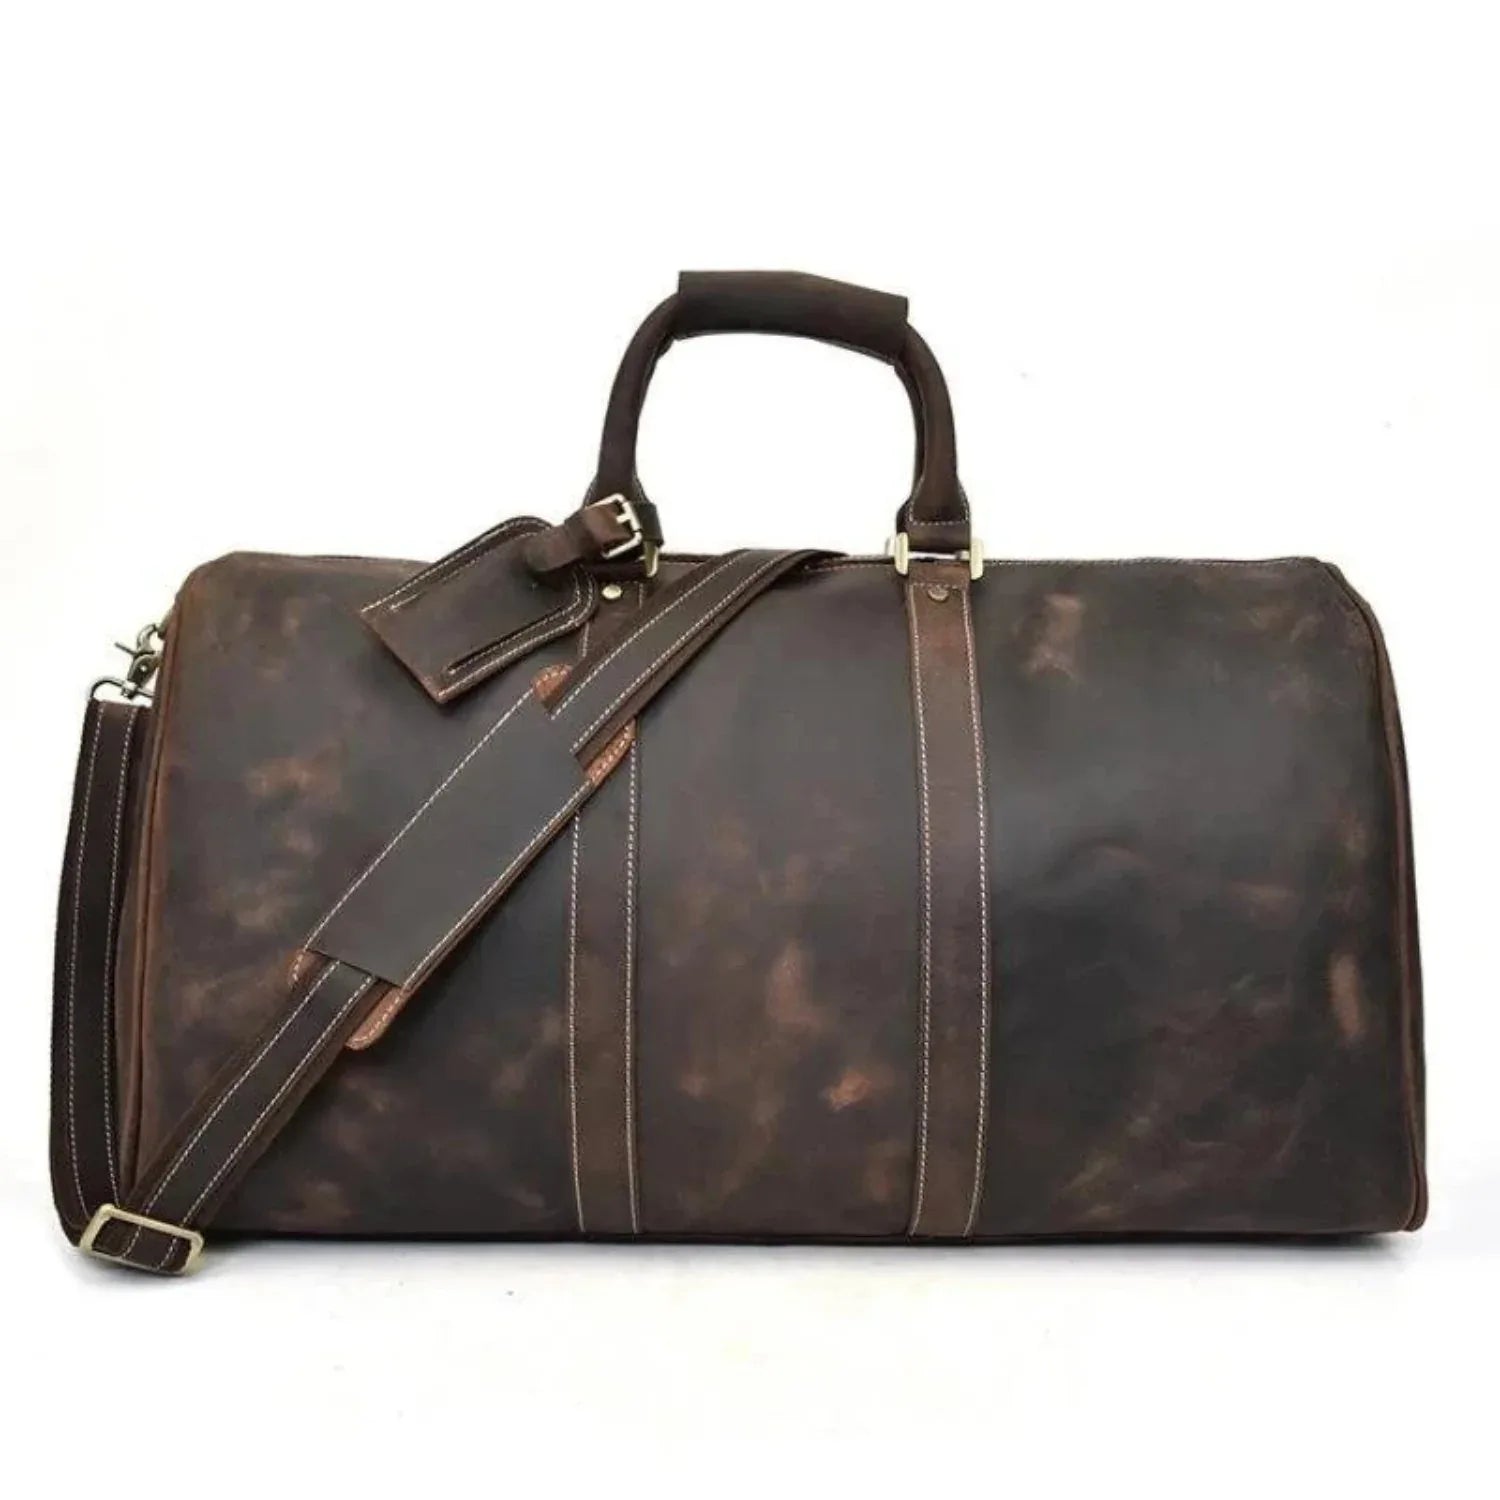
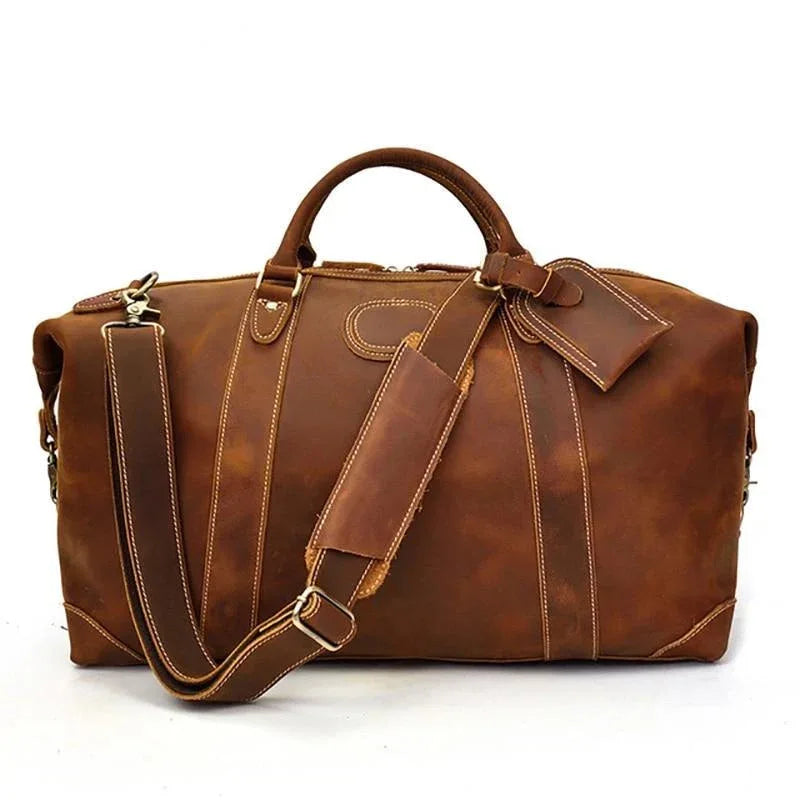
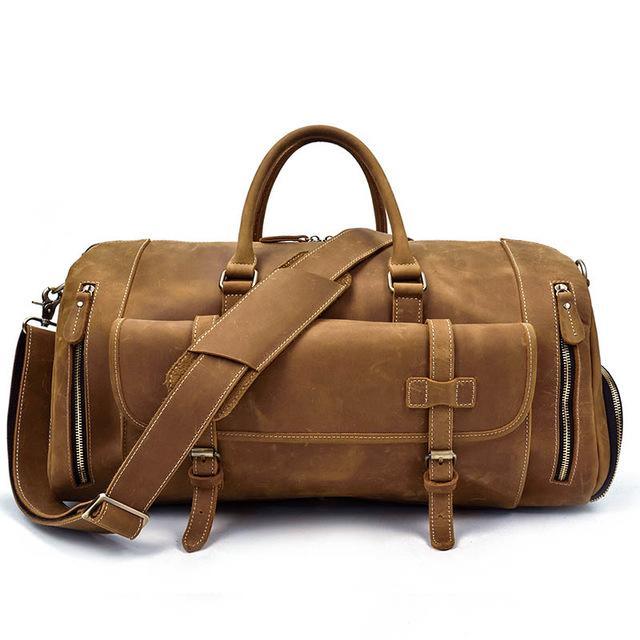
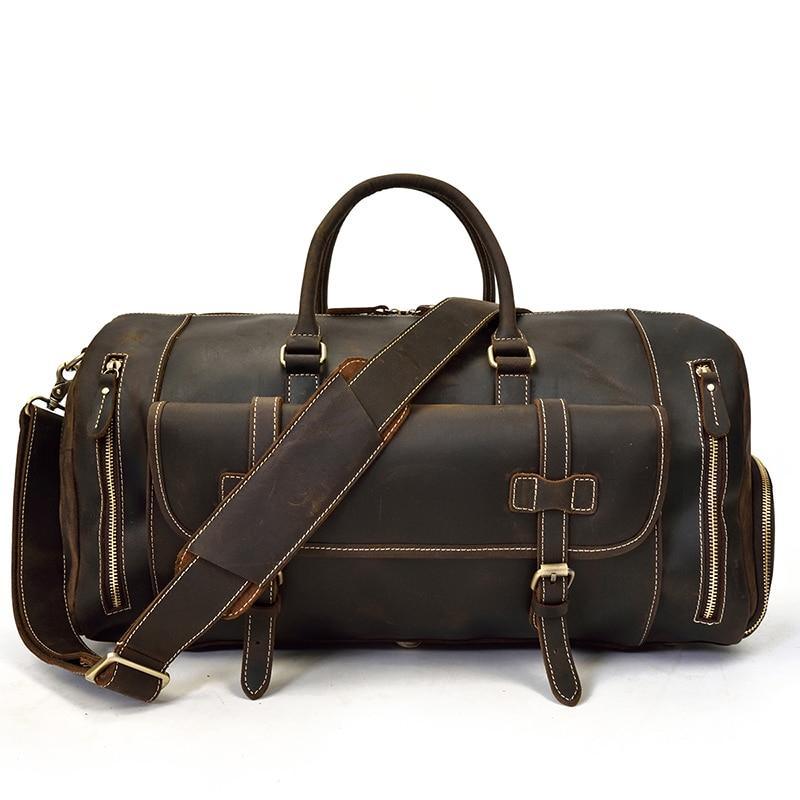
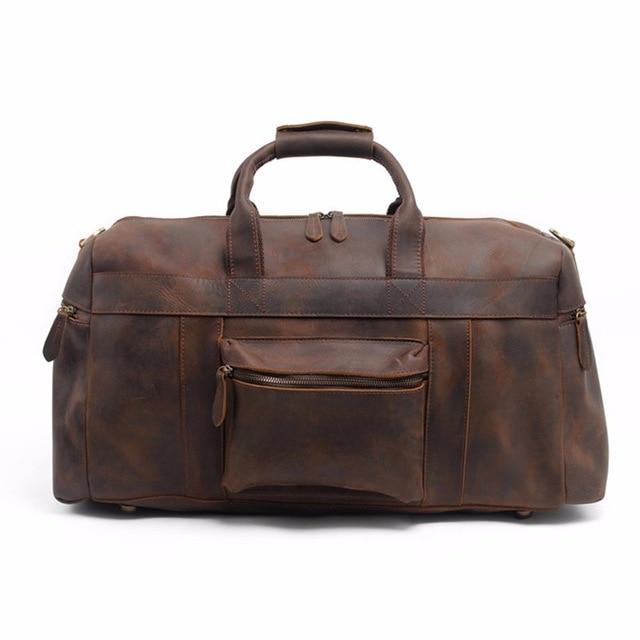
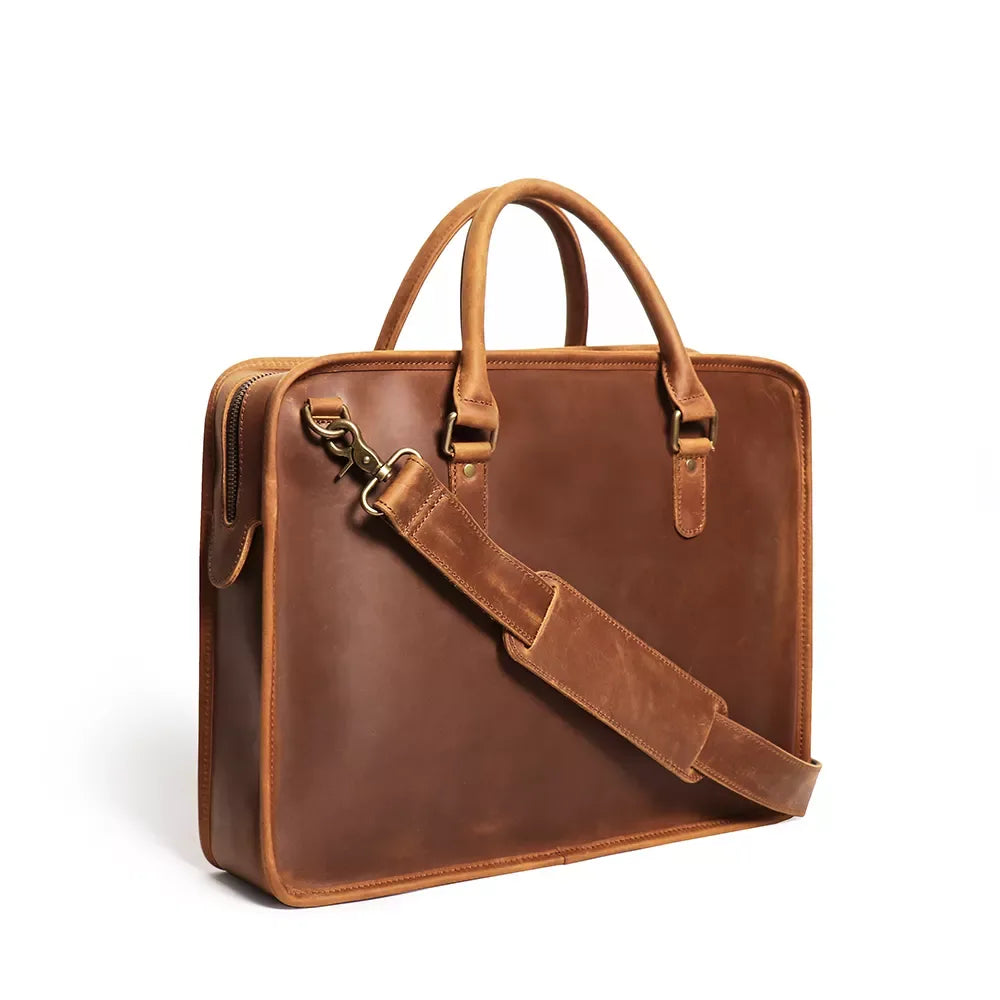
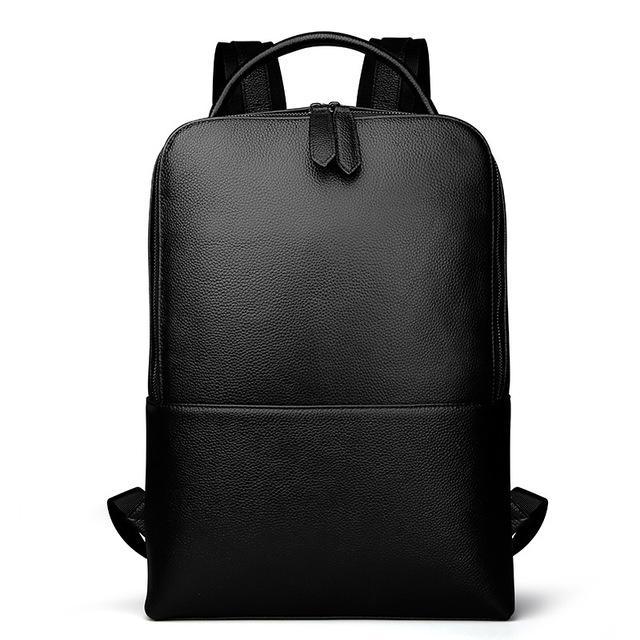
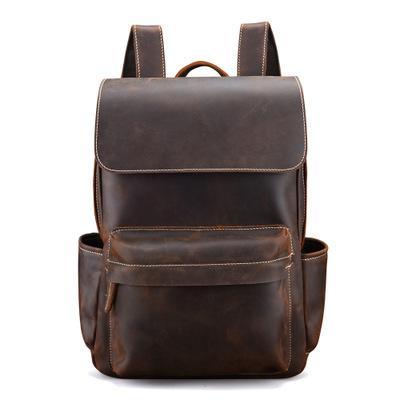
If a bag has reached that point, it may be more practical to look at a replacement built from full-grain leather that ages well without needing paint or heavy restoration. Steel Horse Leather's handmade duffle bags and backpacks are built from hides that develop patina naturally, so they need less intervention over time. Popular options include:
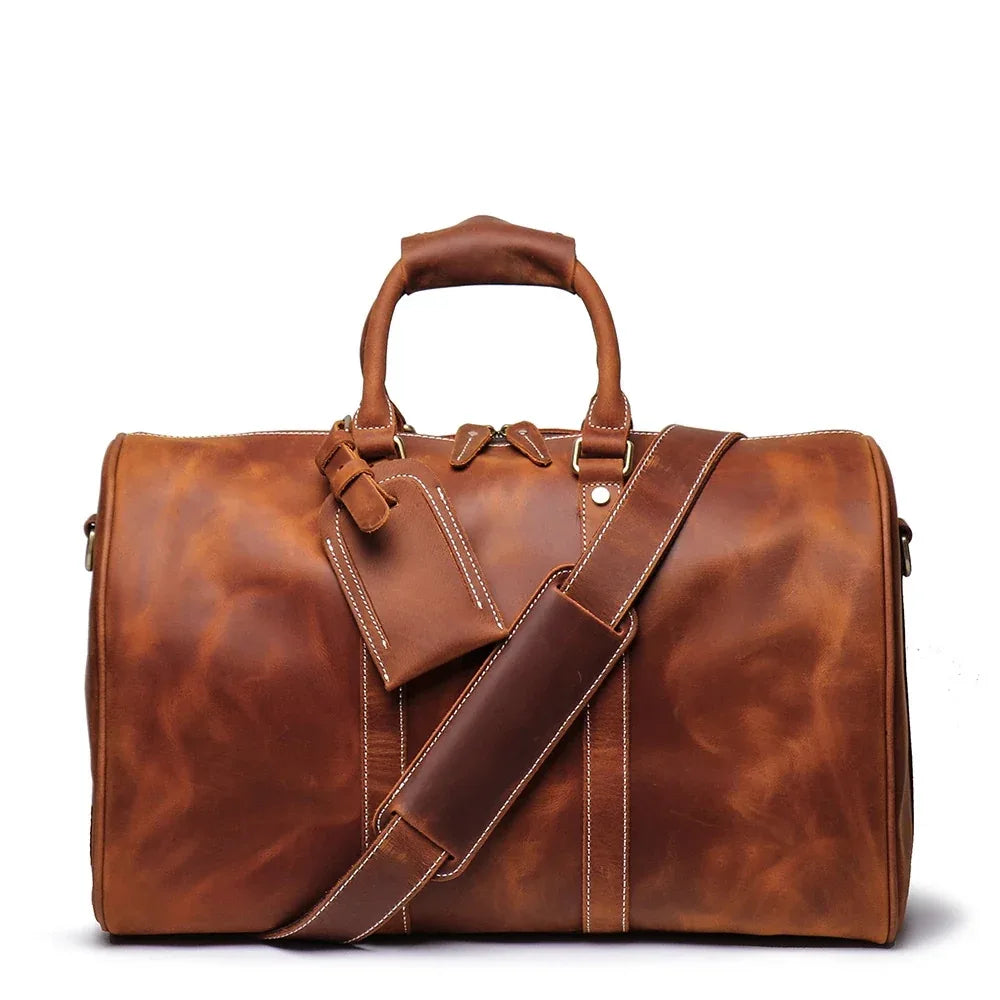
- The Endre Weekender, a vintage-style leather duffle bag
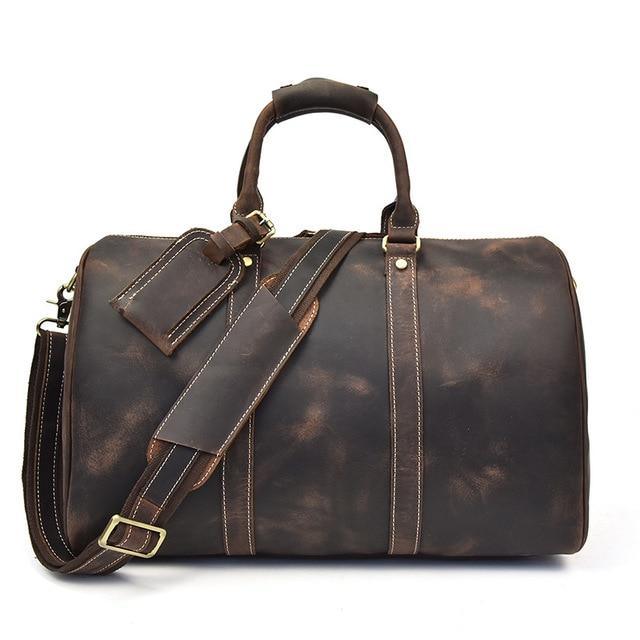
- The Brandt Weekender, a smaller duffle for short trips
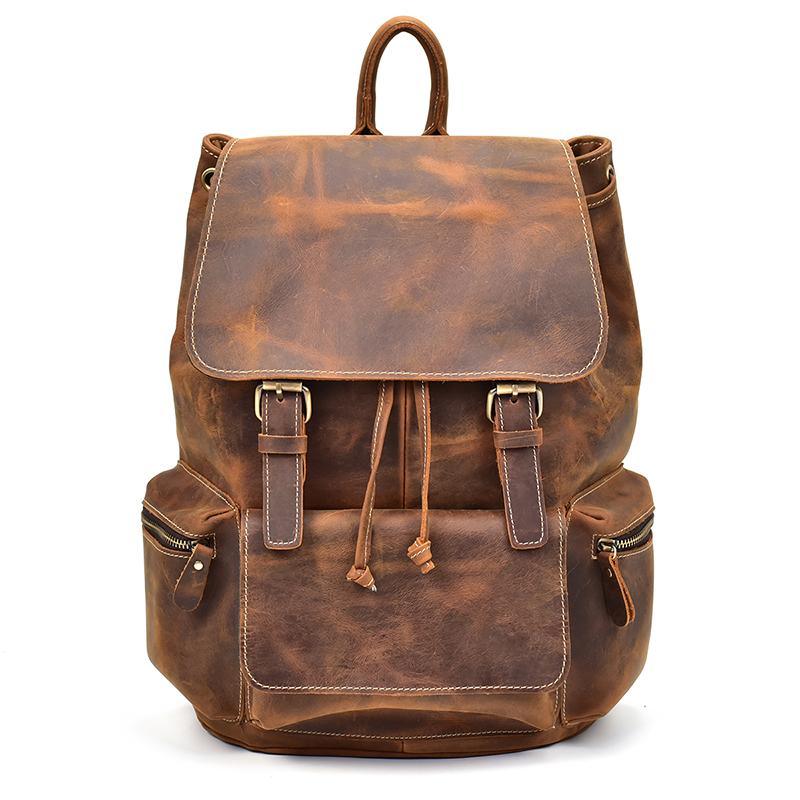
- Skald Black Pebbled Leather Backpack, a slim daily backpack
- The Welch Briefcase, a vintage-style messenger bag for work
- The Pathfinder Bifold Wallet, a full-grain leather wallet
For general upkeep on existing leather goods, see our guides on how to soften leather, fixing scratched leather, and repairing and restoring a leather backpack.
Frequently Asked Questions
What should I check before starting a leather painting project?
Check the type of leather you're working with and how it was finished. Patent leather and PU leather need different prep than full-grain leather, since coated surfaces don't absorb paint or conditioner the same way.
Can any type of paint be used on leather?
No. Paints designed for plastic, paper, or general craft use often crack or peel on leather because they don't flex with the material. Use acrylic leather paint or another leather-specific formula, and apply it in light coats so the surface doesn't get oversaturated.
What's the best way to clean a painted leather surface?
Use a soft cloth, sponge brush, or damp cloth with warm water for routine cleaning. For stubborn marks, a leather cleaner or deglazer recommended by the paint manufacturer works better than scrubbing. Always let the surface dry fully afterward, since leftover moisture can create harder-to-remove stains. See our leather cleaner guide for more detail.
How do I prepare leather before painting it?
Clean the surface thoroughly, let it dry completely, then apply a leather primer if the paint you're using requires one. This step matters more on waxed leather or coated surfaces, where paint has a harder time bonding without a prep layer.
Which brush works best for painting leather, round or filbert?
A filbert brush is generally better for leather because its slanted edge makes it easier to work into tight spaces like seams, edges, and stitching. It also helps create a smoother finish than a round brush, especially on textured or pebbled leather surfaces.
What are the benefits of painting leather instead of dyeing it?
Painting gives you full coverage, which is useful for hiding scars, scuffs, or uneven color on older pieces. It also opens up more color options since paint sits on top of the leather rather than being limited by the hide's original tone, unlike dye which works best for darkening rather than lightening.
Where can I buy supplies for painting leather?
Leather-specific paints, primers, and sealants are available at craft stores, specialty leather suppliers, and online retailers. Look for products labeled specifically for leather rather than general multi-surface paint, since the flexibility and adhesion requirements are different.
How do I clean my brushes after painting leather?
Clean brushes with mild detergent right after use, especially with oil-based paints, since dried oil paint is much harder to remove later. Cleaning brushes properly after each session extends their life and keeps your next coat free of dried paint clumps.
Final Thoughts
Painting leather isn't complicated, but it does reward patience. Clean and dry the surface completely, pick a paint suited to your project, apply thin coats, and always finish with a sealant. Skipping steps to save time is the most common reason DIY leather paint jobs crack or peel within months.
If you're working on a bag that's beyond a simple touch-up, browse Steel Horse Leather's full collection of leather bags, including backpacks, duffle bags, and leather accessories built from full-grain leather that ages naturally without needing a fresh coat of paint.
All of our bags at Steel Horse Leather are crafted from full-grain crazy horse leather, built to develop a rich patina over time. Browse our Leather Bags.