Not all leather is created equal. If you've ever stood in a store wondering whether you're looking at suede leather, nubuck leather, patent leather, or something else entirely, you're not alone. The types of leather available today range from rugged full-grain leather built to last decades, to synthetic leather that won't hold up under a few years of real use.
This guide cuts through the confusion. You'll learn what separates specialty and exotic leather types from standard options, how each performs in real-world use, and which leather is actually worth buying. Whether you're shopping for a leather bag, wallet, or weekender, this is the buying framework you need to make the right call.
At Steel Horse Leather, every product is built from full-grain leather — the strongest, most character-rich leather available. Here's why that matters.
The Leather Quality Hierarchy: What You Need to Know Before Buying
Before diving into specialty types, you need to understand the quality ladder. Before exploring specialty leathers, see our primer on full-grain vs top-grain leather. The leather manufacturing process starts with an animal hide, and how that hide is treated determines everything about the final product's durability, feel, and longevity.
Full-Grain Leather
Full-grain leather is the top tier. It uses the entire grain of the animal hide without sanding or buffing away natural characteristics. The result is the densest, most durable leather available. It develops a rich patina over time, meaning it gets better with age rather than worse. This is what Steel Horse Leather uses across its entire lineup.
If you want to go deeper on how full-grain compares to every grade below it, the full-grain vs. top-grain leather guide covers it in full detail.
Top-Grain Leather
Top-grain leather is sanded to remove surface imperfections, then finished with a coating. It's the second-highest grade. Top-grain leather looks more uniform than full grain, but the sanding weakens the fiber structure. It's common in the fashion industry for mid-range leather goods.
Split Leather and Split-Grain Leather
Split-grain leather comes from the lower layers of the hide after the top grain has been separated. It's much weaker, prone to peeling, and often used as a base for bonded leather or suede. If you see a bag priced significantly below market rate, split leather is often the reason.
Bonded Leather
Bonded leather is made when leather scraps are ground up, mixed with a synthetic polymer or polyurethane binder, and pressed onto a fiber backing. It looks like leather on day one. Within a few years of regular use, most bonded leather products begin peeling and cracking. It is widely used in budget furniture and accessories. Avoid it for anything you want to last.
Genuine Leather
The term "genuine leather" is one of the most misleading labels in the leather industry. It technically means real leather is present, but in practice it refers to low-grade, heavily processed material, often corrected leather or split-grain products. It is not a quality indicator and should not be treated as one.
Specialty Leather Types: Suede, Nubuck, Patent & More

These are the leather types that define the specialty category. Each has a distinct look, feel, and use case.
Suede Leather
Suede leather is made from the inner split of an animal hide, giving it a soft, napped finish. Cowhide leather, lambskin, and sheepskin leather are all common sources. Suede has a luxurious feel and is widely used for shoes, jackets, and small accessories.
The trade-off: suede is not water resistant. It stains easily and requires dedicated care products. For everyday leather goods that take real use, suede is a poor choice. It works best in controlled environments. If you already own suede pieces, the suede cleaning guide covers maintenance in detail.
Nubuck Leather
Nubuck leather is similar in feel to suede but meaningfully more durable. Unlike suede, which uses the split underside of the hide, nubuck comes from the top grain, buffed lightly to create a velvety surface. This means nubuck retains more of the hide's natural strength.
It still requires regular conditioning and is more sensitive to moisture than full-grain leather, but it holds up better than suede in everyday use. Nubuck is commonly used in premium footwear and outerwear.
Patent Leather
Patent leather has a high-gloss, lacquered surface created through a coating of varnish or synthetic finishes applied to the surface. It was historically used in formal footwear and dress accessories. Modern patent leather often uses a polyurethane coating over a leather base.
It's visually striking but inflexible, prone to cracking in cold temperatures, and shows scuffs prominently despite its polished look. Best suited for formal occasion pieces, not daily-use leather goods.
Aniline Leather
Aniline leather is dyed exclusively with aniline dyes, which are transparent colorants that penetrate the hide without adding a surface coating. The result is leather that shows all the natural characteristics of the hide: natural grain, scars, and variation, making every piece unique.
Only the highest-quality animal hides qualify for aniline treatment because there's no surface coating to hide imperfections. Semi-aniline leather adds a light protective pigment coat, giving it slightly more resistance to staining while retaining most of the natural look.
Both aniline leather and semi-aniline leather are among the most luxurious options available, but they require more care. They're sensitive to liquids and direct sunlight.
Embossed Leather
Embossed leather is created by pressing a pattern into the hide's surface using heat and pressure. This is how brands replicate exotic leather textures, such as crocodile, ostrich, or snakeskin, on standard cowhide leather. The embossed pattern sits on the surface only and can wear through with heavy use, revealing the base leather underneath.
True exotic leather, meaning actual crocodile, alligator, or ostrich hide, carries a much higher price tag and is subject to significant international trade regulation.
Shell Cordovan
Shell cordovan is one of the most prized specialty leathers available. It comes from a specific layer of fibrous flat muscle found beneath the hide of a horse's hindquarters. It is dense, non-porous, and develops one of the most beautiful patinas of any leather type.
Shell cordovan is mainly used in high-end footwear and wallets. It is expensive and difficult to source. Its exceptional durability and aging properties make it a genuine investment material.
Pull-Up Leather (Oil-Waxed Leather)
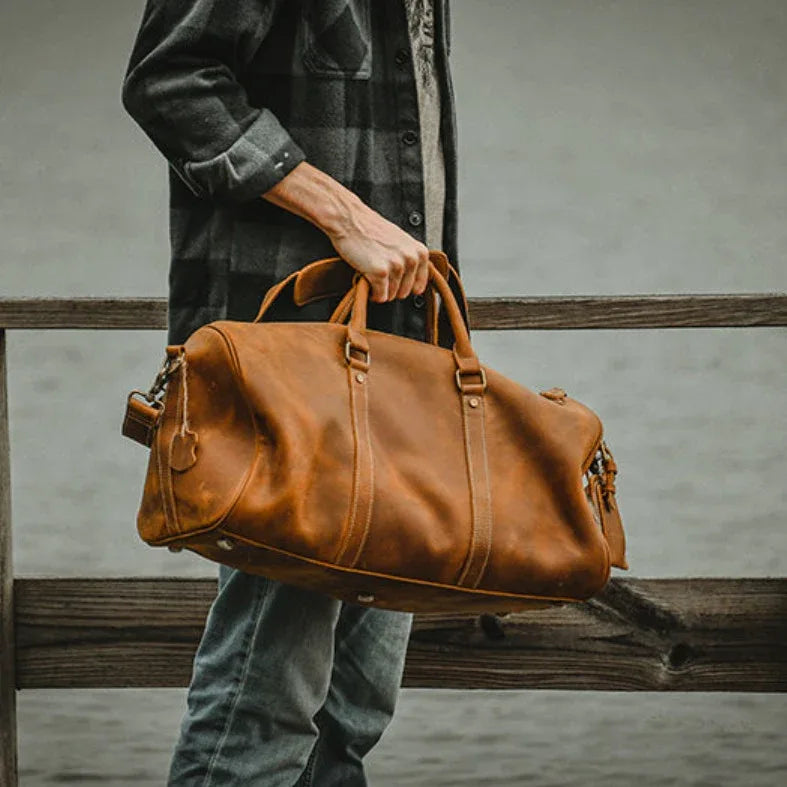
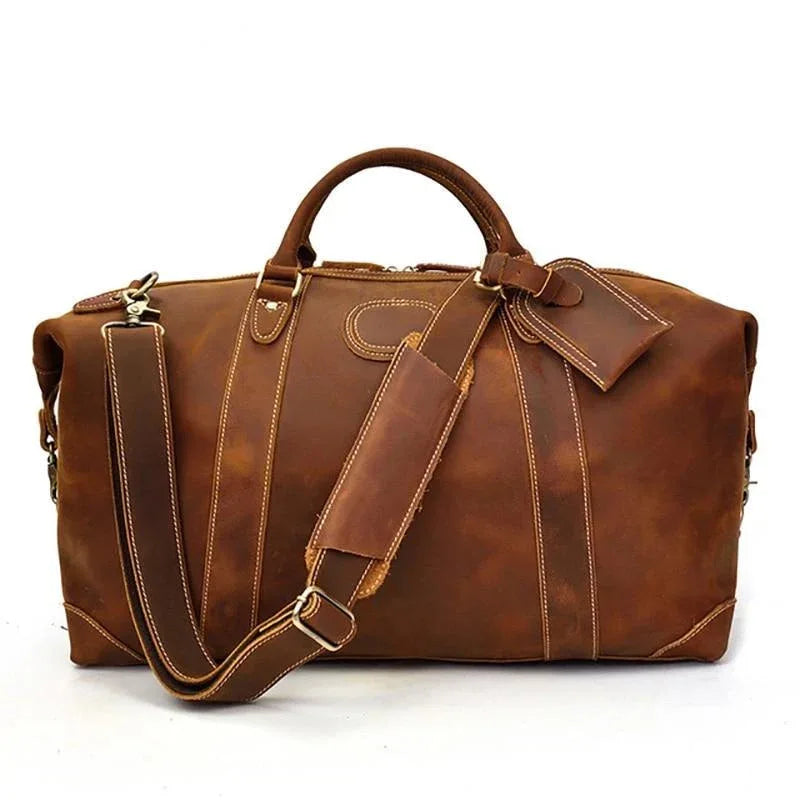
Pull-up leather is full-grain leather treated with oils and waxes during the tanning process. When the leather is flexed or stretched, the oils shift and create lighter areas, giving it a characteristic aged look from the start.
This is the leather used in Steel Horse Leather's Crazy Horse leather products. It develops a distinctive patina with use, resists moisture well due to the oil-wax treatment, and improves in appearance over time. It combines the durability of full-grain leather with a naturally rugged aesthetic. For how waxed leather relates to veg-tan and chrome processes, see our guide to leather tanning methods.
Tooling Leather: The Specialty Leather Built for Carving
Tooling leather is a vegetable-tanned leather specifically selected and prepared for hand-carving and stamping. Most leather goods are meant to be used as finished products — tooling leather is a working material, engineered to accept hand-tooled designs: geometric patterns, florals, wildlife scenes, and custom text pressed permanently into the hide surface.
The vegetable tanning is non-negotiable. Chrome-tanned leather does not hold a carved impression — the fiber structure is too soft and the surface too uniform. Vegetable-tanned leather's dense, firm fiber network accepts a swivel knife cut cleanly and holds stamped detail without collapsing. Most tooling leather is cowhide at medium to heavy weight (4–8 oz), supplied in a natural light tan so it can be dyed and finished after the carving work is done.
The tooling process follows a consistent sequence:
Casing: The leather is moistened with water to the right saturation level — not soaked, not bone dry. Properly cased leather feels cool to the touch and takes a clean impression without tearing.
Design transfer: The pattern is traced onto the dampened surface, leaving an impression in the softened leather.
Cutting: A swivel knife traces the outline of the design, cutting into the top layer of the grain at a controlled angle.
Stamping: Bevelers, background tools, and texture stamps are struck with a mallet to create depth, dimension, and relief. The background is depressed so the carved design stands proud of the surface.
Finishing: Once dry, the leather is dyed, antiqued, oiled, and sealed. The carved recesses hold dye differently than the raised areas, creating contrast and depth.
The distinction between tooling leather and tooled leather is straightforward: tooling leather is the raw material prepared for carving; tooled leather is the finished product after the work is done. A belt, holster, wallet, or book cover made from properly tooled vegetable-tanned cowhide is a lifetime piece — the carved design deepens in character as the leather ages and the patina develops around it.
Tooling leather appears most commonly in Western saddlery, custom belts, holsters, and artisan leather accessories. It is one of the oldest leather craft traditions still practiced today.
Distressed Leather: Understanding the Worn-In Aesthetic
Distressed leather refers to leather that has been processed or treated to appear aged, worn, or lived-in. The category spans a wide range — from genuine character-developed hides to artificially treated surfaces — and understanding the difference is critical when you're spending money on something meant to last.
Hand Distressed vs. Tannery Distressed
Hand distressed leather is physically worked during or after tanning. Hides may be crumpled, tumbled in drums, or treated manually to create natural-looking wear, creasing, and color variation. Each hide responds differently, producing genuinely unique results.
Tannery distressed leather uses chemical treatments, wax coatings, or surface application techniques to replicate the distressed look uniformly across a production run. The visual result can be similar, but the structural variation of true hand distressing is absent.
Types of Distressed Leather
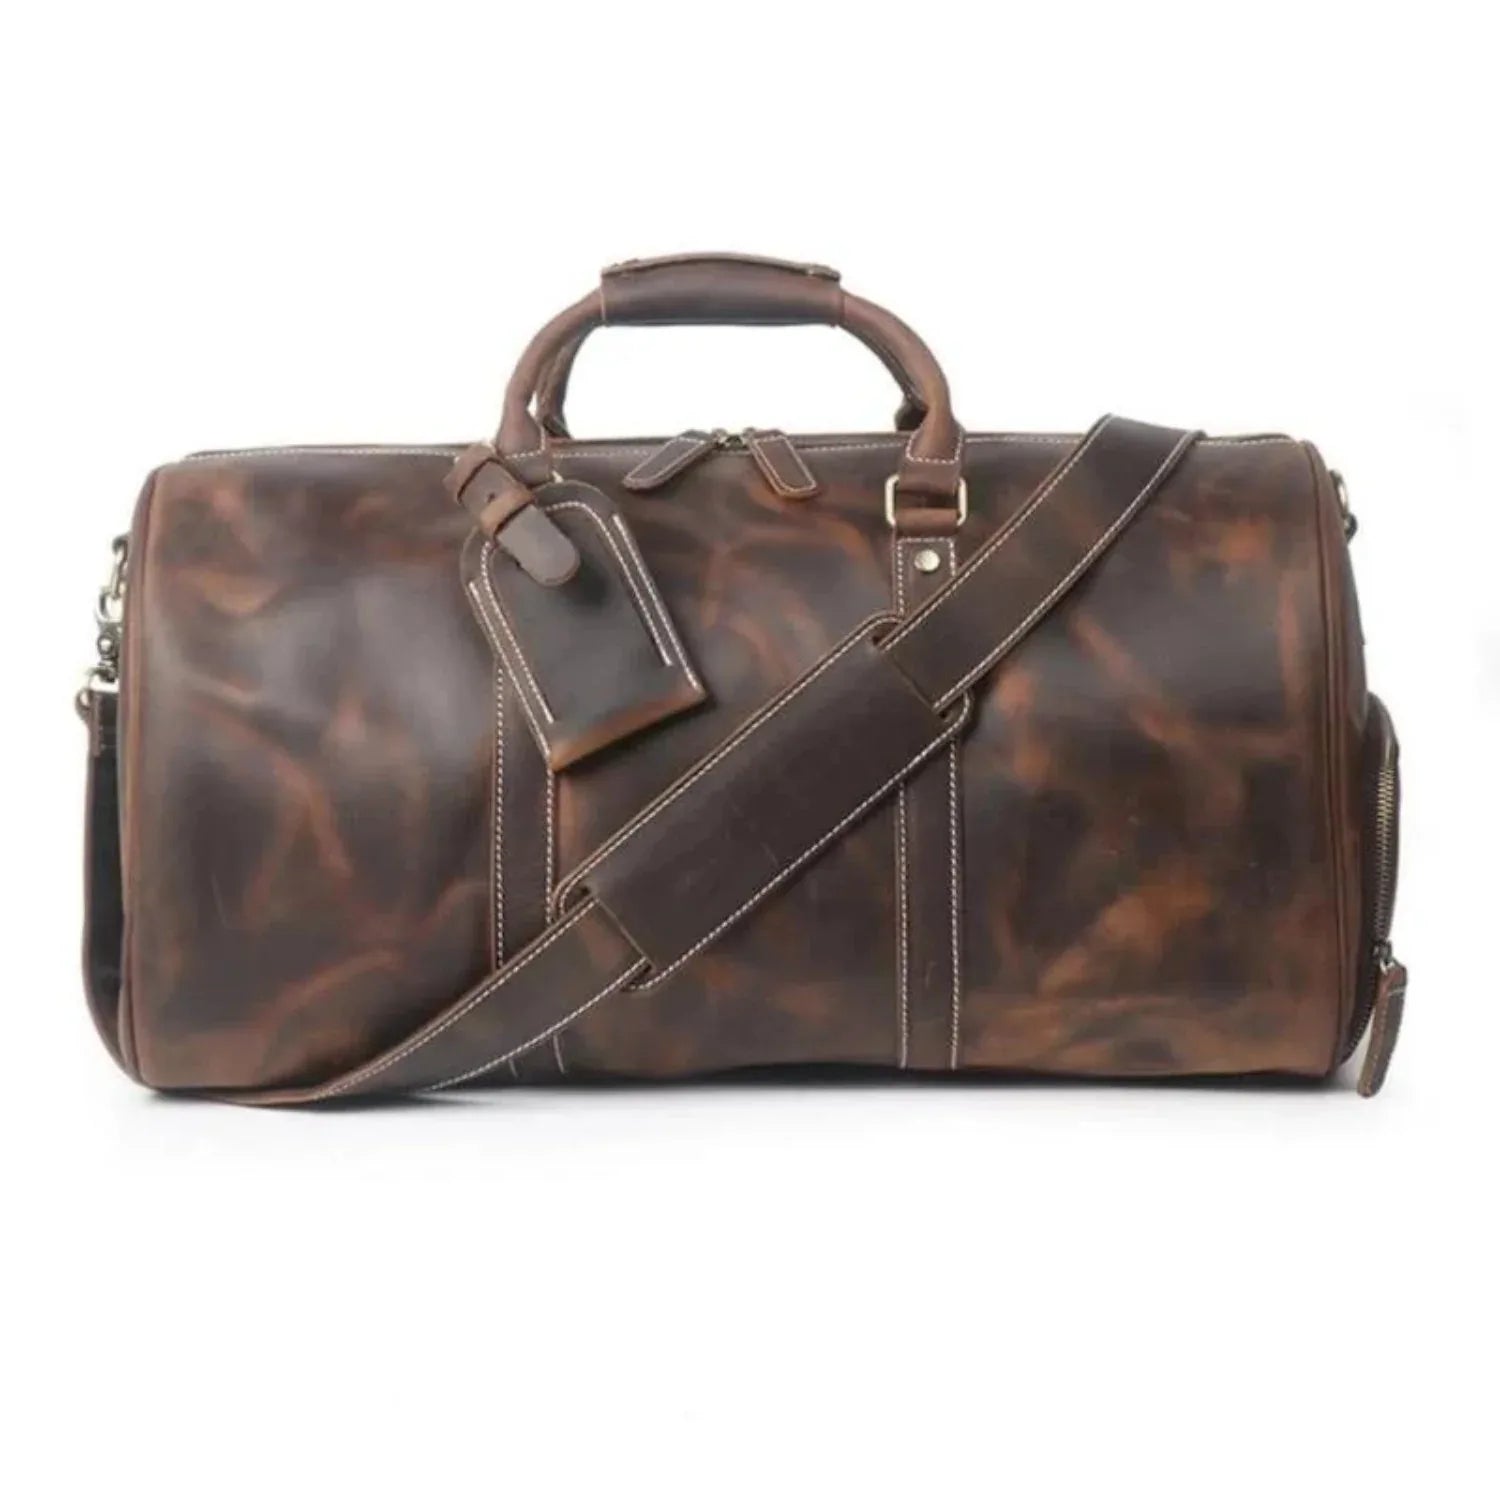
Whiskey distressed: Warm amber to caramel tones with visible variation between darker grain lines and lighter surface areas. Common in bags, wallets, and belts where the color shifts are a selling point rather than a flaw.
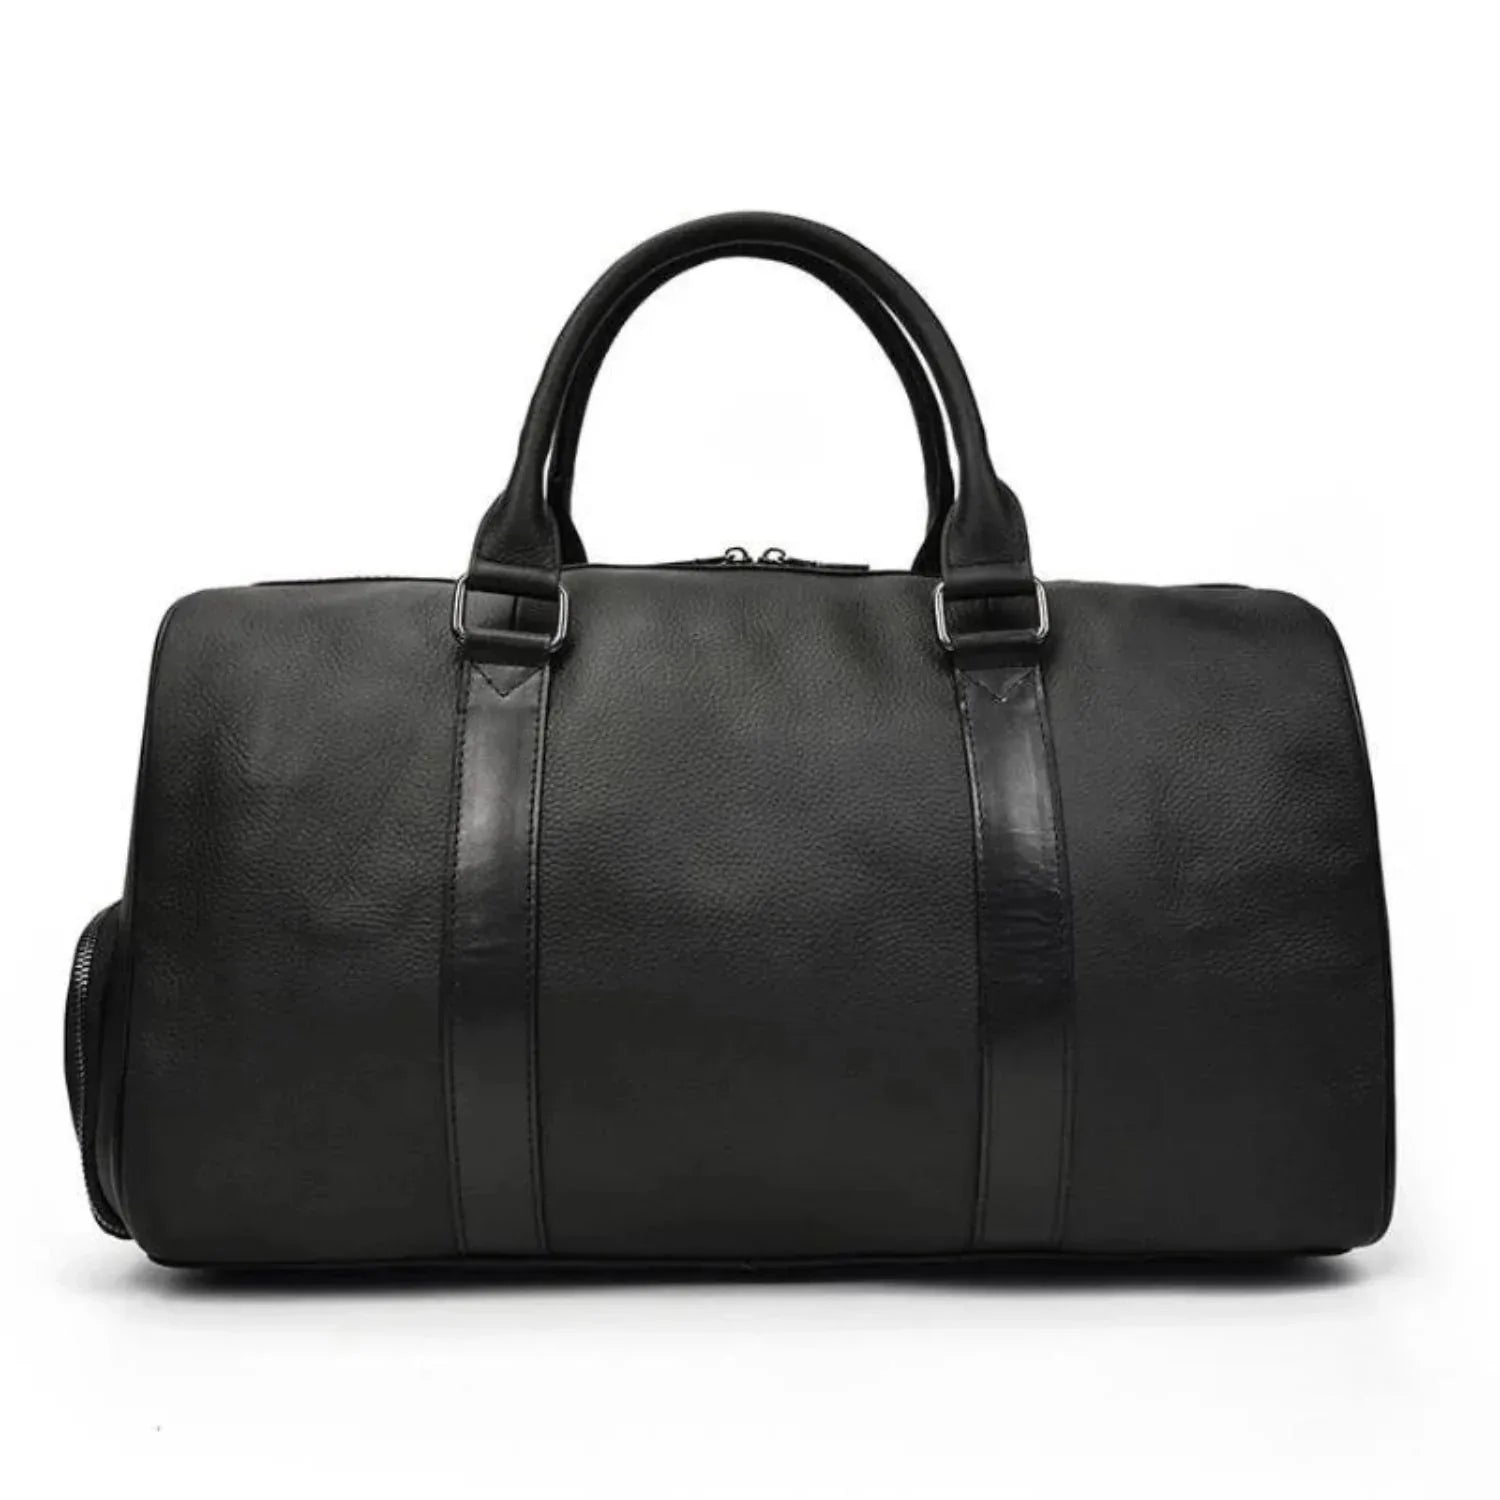
Black distressed: Dark base with gray or charcoal pull-up where light catches the edges, flex points, and raised grain. Often achieved through wax or oil treatment applied over a dark dye base.
Worn vintage: Lighter tan or brown hides with intentional scuffing, creasing at natural flex points, and color variation that mimics decades of honest use. The goal is leather that looks like it has a history before you've even touched it.
How to Identify Real vs. Faux Distressed Leather
| Feature | Real Distressed Leather | Faux / PU Distressed |
| Surface texture | Varies organically across the hide | Repeating printed pattern |
| Edge appearance | Natural fiber, can be burnished | Cut plastic or fabric backing visible |
| Smell | Earthy, natural leather | Chemical or faintly plastic |
| Flex behavior | Softens and creases naturally | Cracks or peels at flex points |
| With age | Deepens in character and patina | Peels, flakes, and deteriorates |
Distressed Leather Care
Most distressed leather is treated with oils or waxes during production. Care is straightforward:
Apply a standard leather conditioner every 3–6 months to prevent the leather from drying out. Surface moisture is fine — the oil treatment provides natural resistance — but avoid submersion. Light scuffs and scratches can often be buffed out with fingertip friction: the oils in the leather redistribute under gentle heat and pressure. Avoid heavy pigmented polishes, which can obscure the natural color variation that defines the distressed look.
Pull-up leather, described in the section above, is one of the most common bases for distressed finishing. The oil-wax treatment creates the characteristic lightening at flex points and handles that gives distressed leather its lived-in character.
Tanning Methods: How They Affect the Leather You Buy

The tanning process transforms raw animal skins into stable, usable leather. The method used has a direct impact on the leather's feel, durability, and aging behavior.
Vegetable Tanning
Vegetable tanned leather uses natural tannins derived from plant sources such as tree bark. It produces firm, dense leather that develops a rich patina and is biodegradable. Vegetable tanning takes longer than other tanning techniques, which is reflected in cost.
Vegetable tanned leather is the preferred choice for leather goods meant to age well: wallets, bags, and belts. It is the method associated with the heritage craft tradition.
Chrome Tanning
Chrome tanning uses chromium salts to process the hide. It is significantly faster than vegetable tanning and produces softer, more uniform leather. Chrome-tanned leather accounts for the majority of global leather production.
The trade-off is that chrome-tanned leather does not develop the same patina as vegetable tanned leather. Chrome-free tanning methods are growing in response to environmental concerns.
Oil Tanning
Oil tanned leather involves treating the hide with oils and fats after the initial tanning process. This produces extremely soft, supple leather with good water resistance. It is commonly used in workwear and outdoor applications.
Faux Leather and Synthetic Options: When to Walk Away
The market is full of faux leather, vegan leather, and synthetic leather options. Understanding what these materials actually are helps you avoid expensive mistakes.
PU Leather / Vegan Leather: Polyurethane-coated fabric. It mimics the look of leather but lacks breathability, durability, and the ability to develop patina. Most PU leather begins showing wear and degradation within a few years of regular use.
PVC Leather: Stiffer and less breathable than PU. Often found in budget accessories and mass-market retail.
Synthetic Suede: A man-made fabric designed to replicate suede. More abrasion-resistant than real suede in some tests, but it lacks the feel and aging properties of natural leather.
These materials have a place in the market for buyers with ethical preferences. But for leather goods meant to last a decade or more, no synthetic leather currently matches what full-grain leather delivers. For more on what separates the real thing from synthetics, the vegan leather guide provides a useful comparison.
Leather Finishing: The Final Layer That Changes Everything
Leather finishing refers to the treatments applied after tanning to achieve the final surface appearance and performance.
Pigmented leather: A surface coating of pigment is applied, creating a uniform color and increased stain resistance. Most corrected leather uses a pigmented finish. It hides natural variation but offers practical durability.
Waxed leather: Wax is worked into the surface, adding water resistance and a characteristic burnished look. This is the base of pull-up effects.
Napped finishes: Used in suede and nubuck to create surface texture.
Patent finish: High-gloss lacquer coat, as covered above.
Understanding leather finishing helps you interpret what you're actually buying when a product claims a specific look or treatment.
Steel Horse Leather Products: Built on Full-Grain, No Compromises

Every Steel Horse Leather product is crafted from full-grain leather. No split leather, no bonded leather, no faux leather. Here's how to choose the right piece based on how you plan to use it.
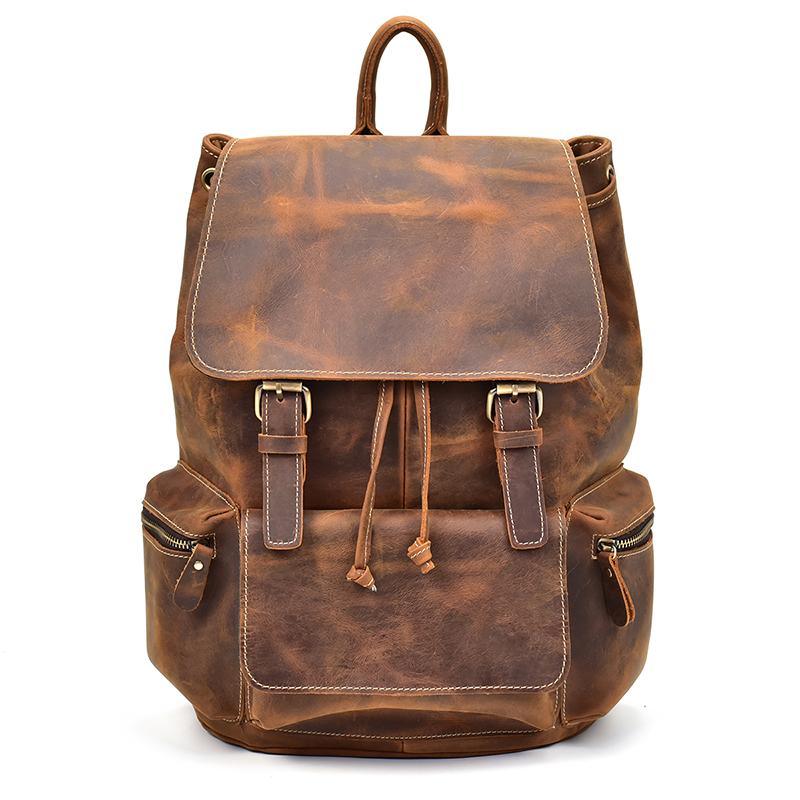
Best Backpacks
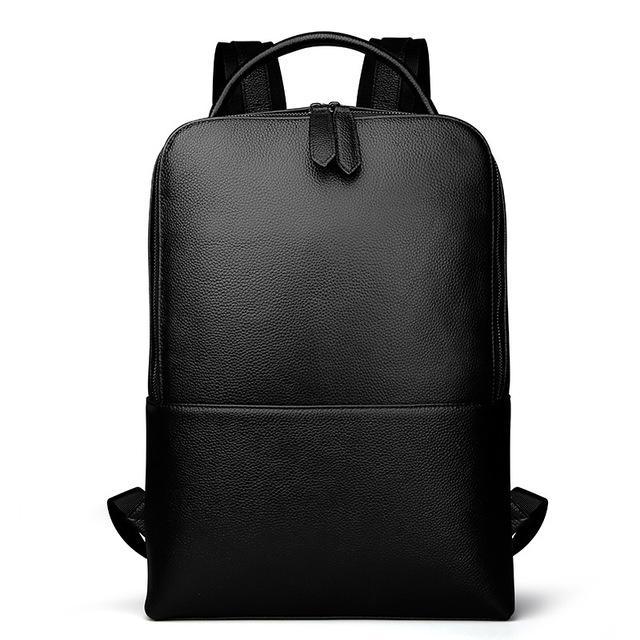
The Skald Black Pebbled Leather Backpack is a slim, refined full-grain leather backpack with a clean silhouette that moves from daily commute to weekend use without missing a beat. Its pebbled texture gives it a modern character while the full-grain construction ensures it holds up over years of real use.
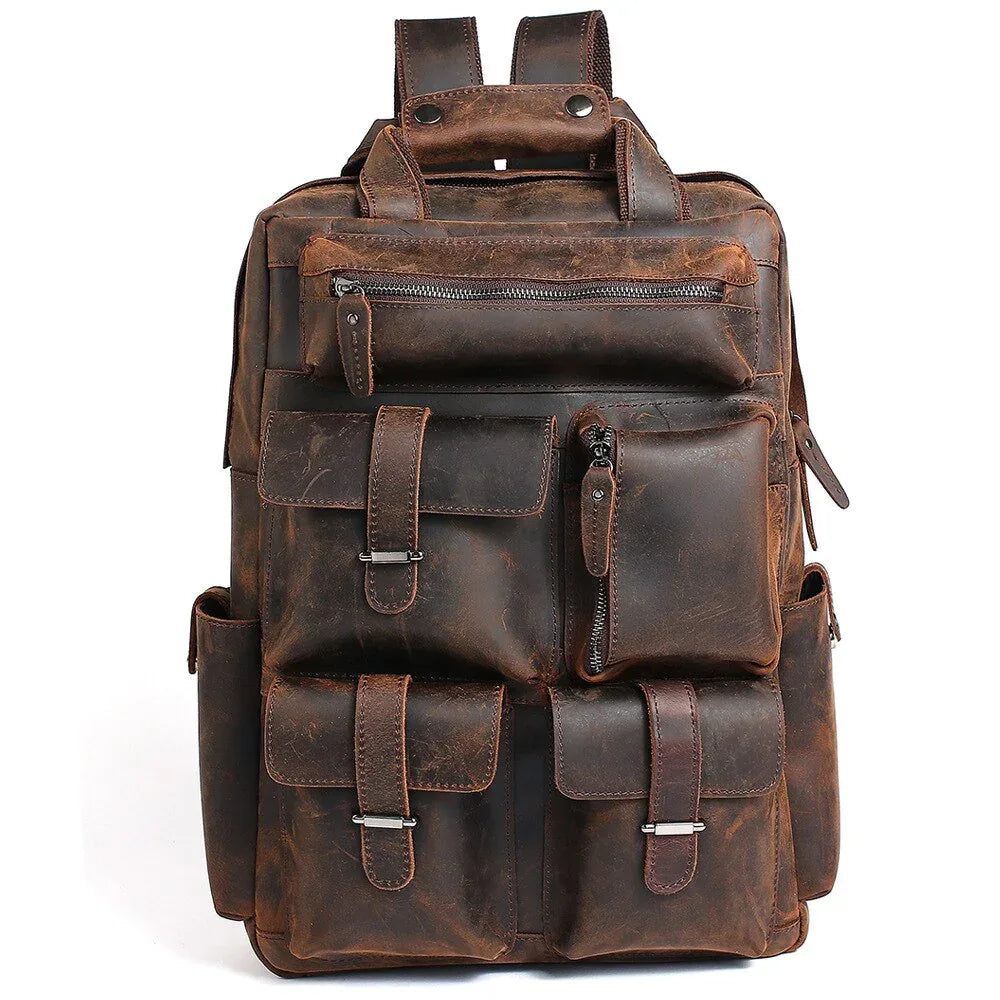
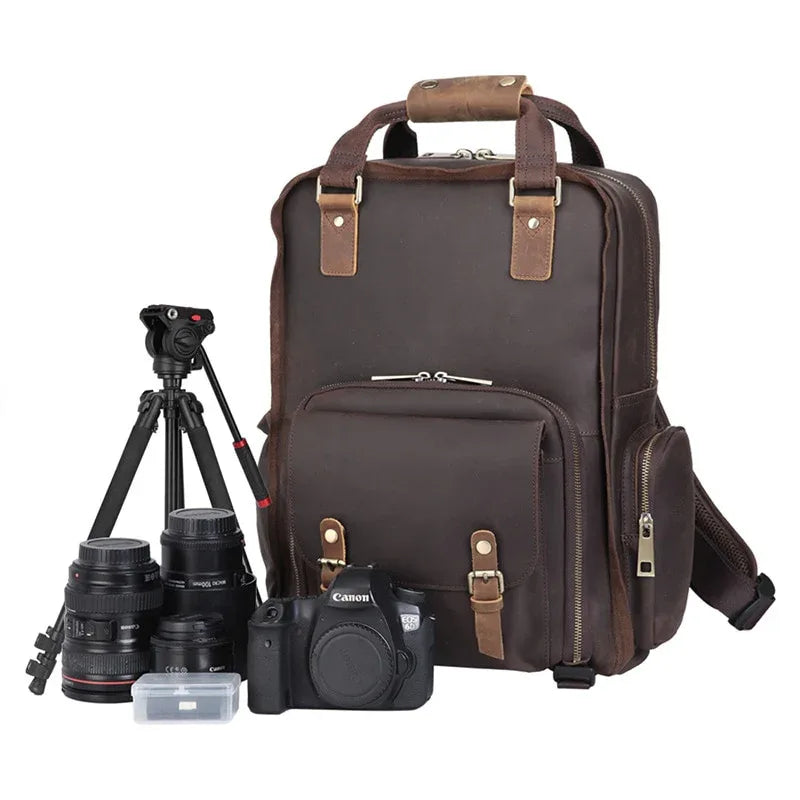
For those who need serious carrying capacity with camera-specific organization, the Mann Bag is a large-capacity full-grain leather camera backpack built for photographers and heavy packers alike. The Gaetano Large Leather Backpack pairs full-grain construction with a tripod holder and compartmentalized interior — purpose-built for photographers who don't want to sacrifice quality on their carry.
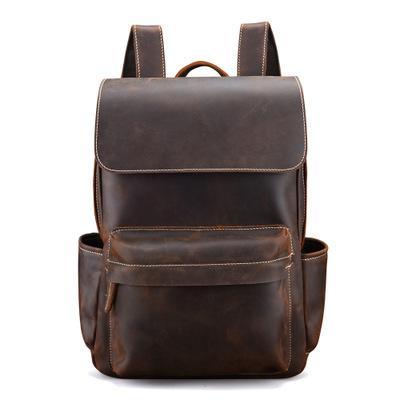
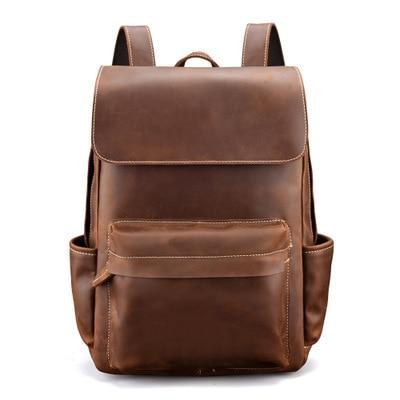
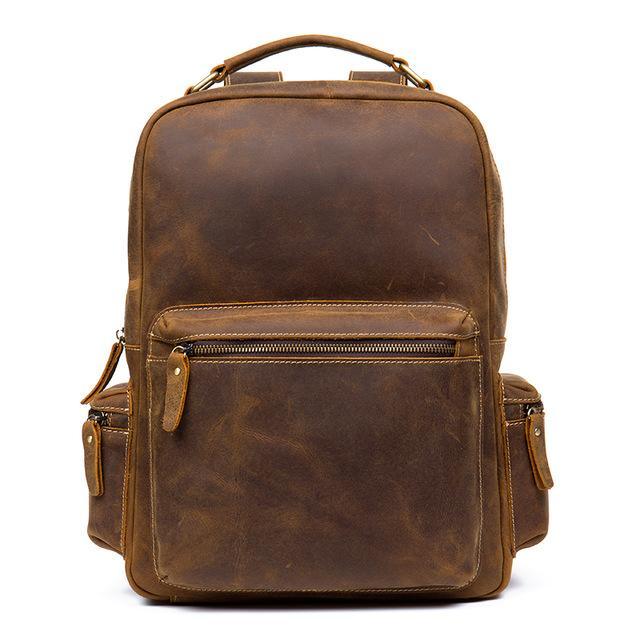
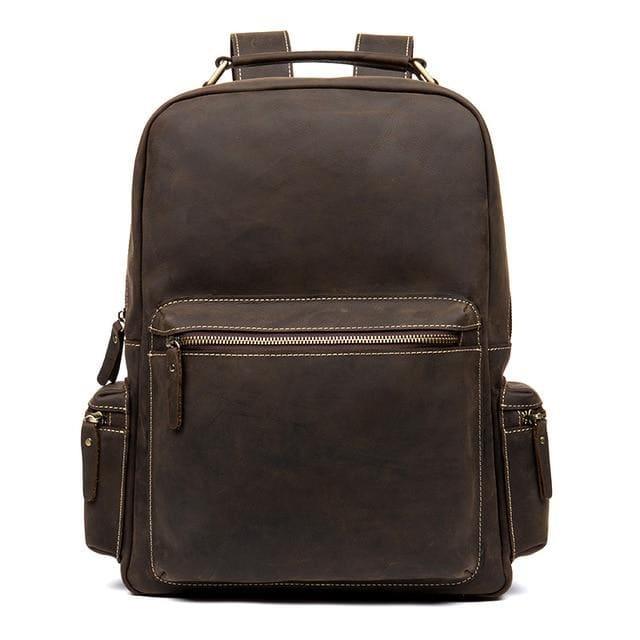
The Faulkner Backpack is a handcrafted leather backpack with a versatile structure that works equally well in the office or on the road. The Icarus Backpack offers a handmade vintage aesthetic in full-grain leather for those who prefer a more classic silhouette. Browse the full leather backpack collection to compare styles and sizes.
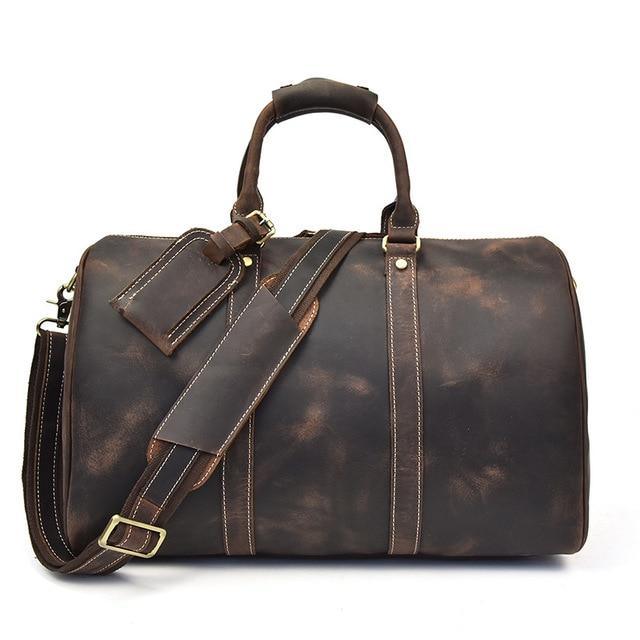
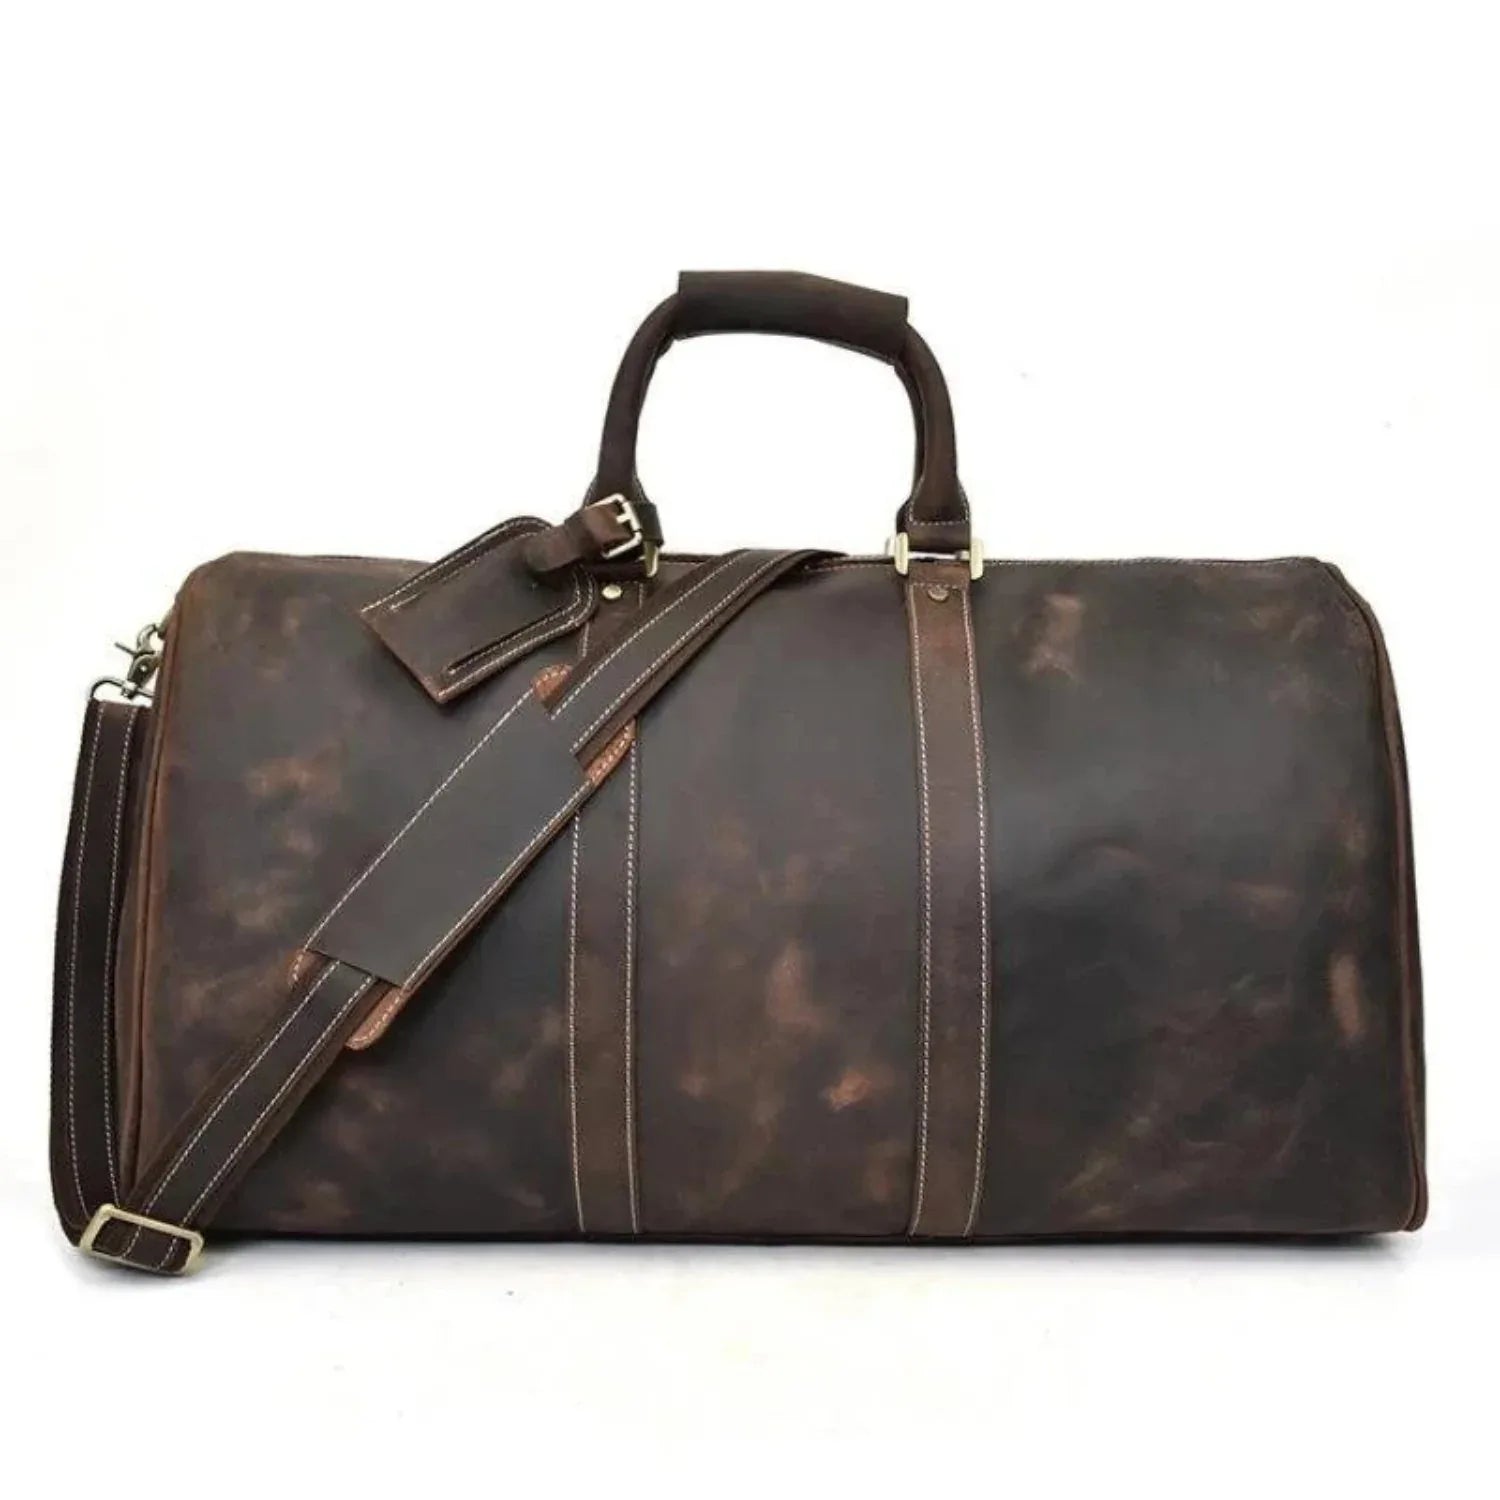
Best for Weekend Travel
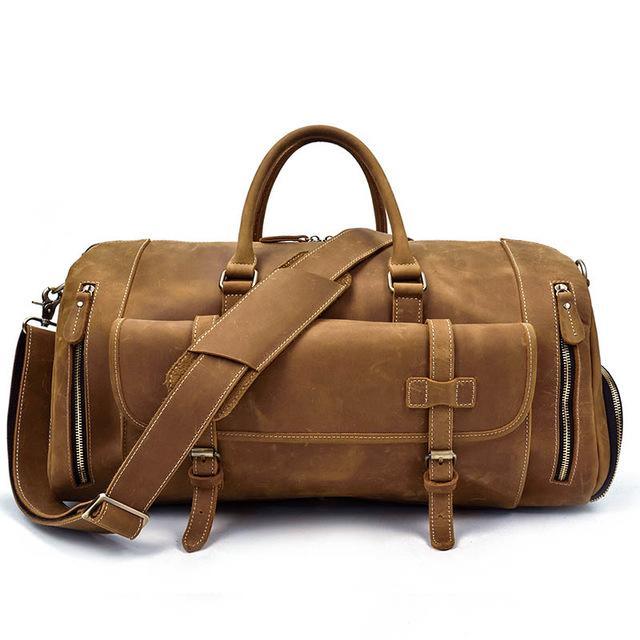
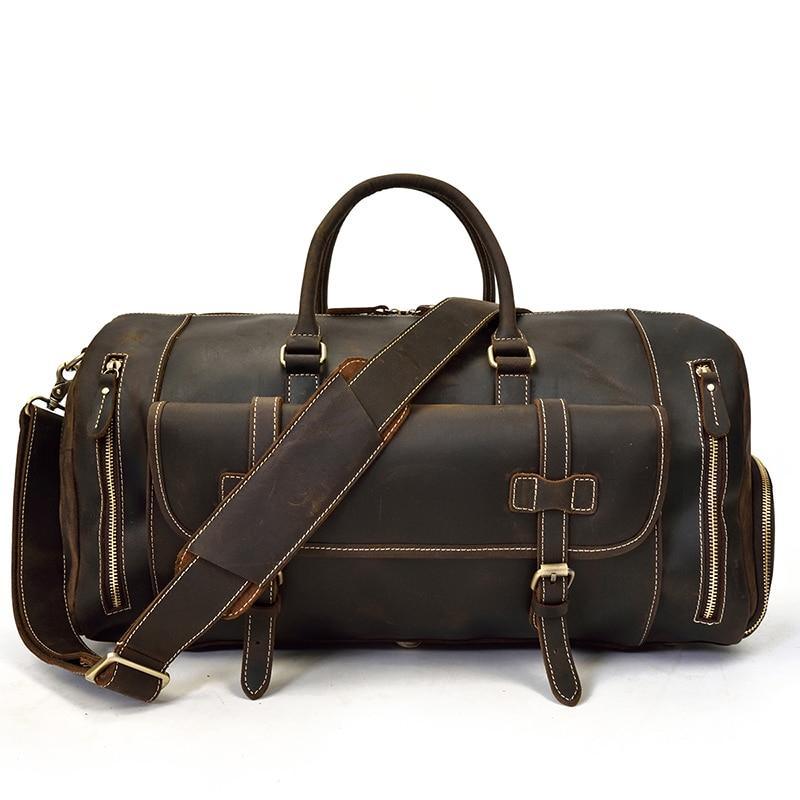
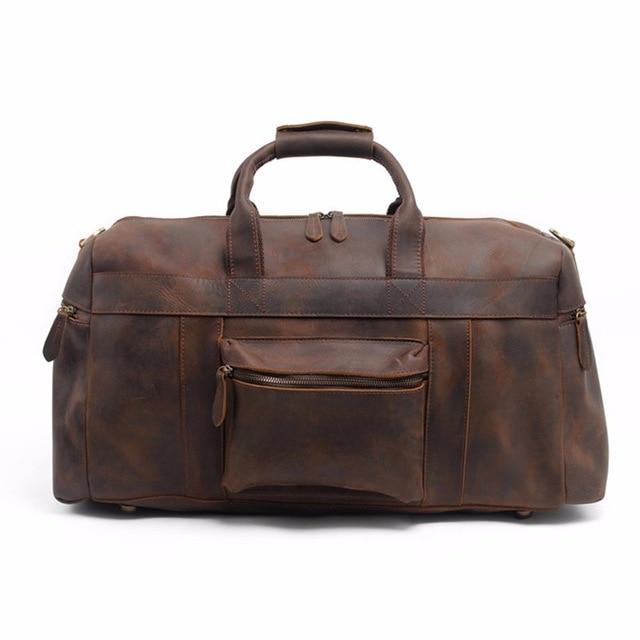
The Endre Weekender is a handcrafted full-grain leather duffle built for people who travel smart. Spacious, structured, and built to develop a patina that makes it look better after three years than it does on day one.
The Brandt Weekender is a compact version of the same full-grain standard — the right call for overnight trips when you want to travel light without dropping quality. The Bjarke Weekender offers a more relaxed silhouette with the same full-grain construction. For maximum packing capacity, the Colden Duffle Bag delivers a large-capacity full-grain leather weekender that handles extended trips without strain. Browse the full leather duffle bag collection to compare sizes and styles.
Best for Daily Work Use
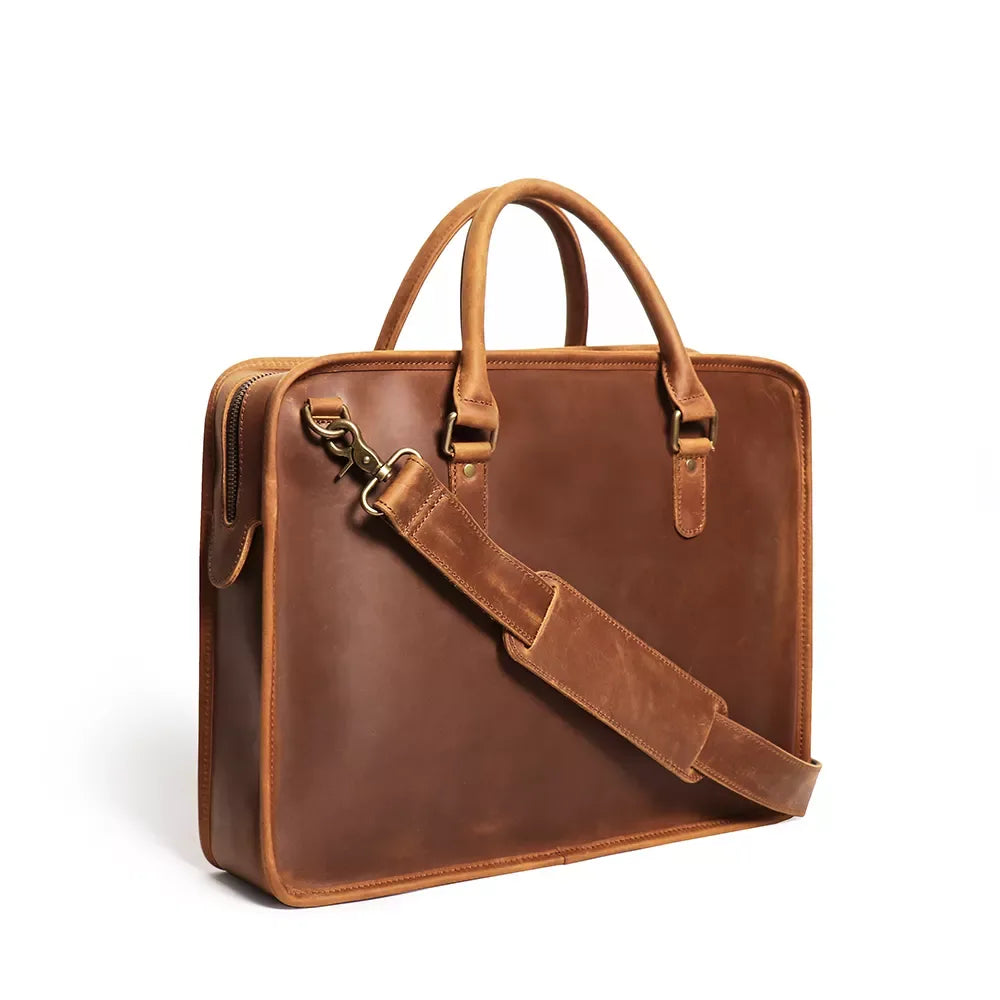
The Hemming Leather Laptop Bag is the right choice for professionals who carry a laptop and need a bag that holds up on the daily commute. Full-grain leather means it won't start peeling at the seams after a year of use, which is a common failure point of bonded leather alternatives.
The Welch Briefcase works as a messenger-style option for those who prefer a cross-body carry. Structured enough for meetings, practical enough for everyday use. The Faust Leather Camera Bag is a crossbody messenger built for photographers who need organized, protected carry in a full-grain leather shell that keeps up on the street. Explore the full leather work bags collection for the complete range.
Best Compact and Hands-Free Options
The Erling Leather Sling Bag is a compact crossbody built for people who want quality leather without a full-size bag. Full-grain construction, minimal footprint, maximum utility.
The Wagner Leather Waist Bag is the right call for hands-free carry, built in real full-grain leather where most brands use faux leather only. The Walcott Leather Waist Bag offers a sleek black full-grain alternative for those who prefer a cleaner, darker aesthetic in a compact waist carry.
Best Wallets and Travel Accessories
The Pathfinder Bifold Wallet is slim, full-grain, and built to outlast any bonded leather alternative by years. This is the wallet you buy once.
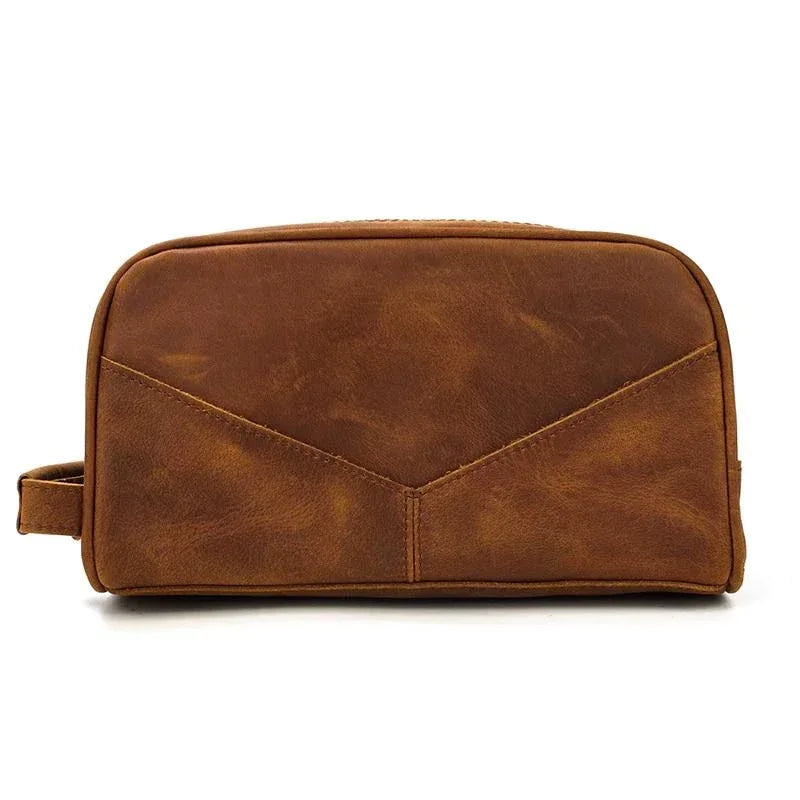
For travel, the Wanderer Toiletry Bag is a full-grain leather dopp kit built to handle the wear of regular travel without the peeling or cracking that plagues synthetic alternatives. The Dado Leather Dopp Kit is a handmade full-grain leather toiletry bag with a compact, structured form that keeps your essentials organized on the road. The Nomad Toiletry Bag rounds out the travel accessory lineup as a full-grain leather option built for frequent travelers who want a bag that keeps pace with their kit.
All Steel Horse Leather purchases are backed by a 30-day money-back guarantee, so if it's not right, you're not stuck with it.
Frequently Asked Questions
What is the difference between full-grain leather and top-grain leather?
Full-grain leather uses the entire animal hide without sanding, preserving the natural fiber structure and making it the strongest, most durable leather available. Top-grain leather is sanded to remove surface flaws and then coated, which produces a more uniform look but weakens the material over time. Full-grain leather ages better; top-grain leather often looks newer for longer but doesn't hold up as well over years of use.
Is genuine leather good quality?
The term "genuine leather" is misleading. It legally means the product contains real leather, but in practice it describes low-grade, heavily processed leather, often split-grain or corrected leather with a heavy surface coating. It is not a mark of quality. Full-grain leather is the standard to look for when buying leather goods built to last.
What is the difference between suede and nubuck leather?
Both have a soft, velvety surface, but they come from different parts of the hide. Suede leather is made from the inner split of the hide, which makes it softer but weaker. Nubuck leather comes from the top grain, lightly buffed to create the napped texture. This makes nubuck more durable than suede while offering a similar feel. Neither is as hard-wearing as full-grain leather for daily bag use.
What is bonded leather and why should I avoid it?
Bonded leather is made from shredded leather scraps mixed with a synthetic polymer binder and applied to a fabric backing. It looks like leather initially but typically begins peeling and cracking within a few years of regular use. It is used in budget furniture and accessories. For any leather goods purchase you want to last, bonded leather is not a viable option.
Is faux leather or vegan leather a good alternative to real leather?
Faux leather and vegan leather, typically polyurethane or PVC-based materials, are significantly less durable than full-grain leather. They don't breathe, they don't develop patina, and most begin deteriorating within a few years of regular use. If longevity and quality are priorities, full-grain leather is the better investment. Faux leather may suit buyers with ethical preferences, but the performance gap is real.
What is pull-up leather?
Pull-up leather is full-grain leather heavily treated with oils and waxes. When flexed, the oils in the leather shift and create lighter areas, giving a natural aged look. It is water-resistant, develops a rich patina over time, and is one of the most characterful leather types available. It is the basis for the Crazy Horse leather used in Steel Horse Leather products.
How do I care for specialty leathers like suede or nubuck?
Suede and nubuck are more sensitive than full-grain leather. Both should be kept away from moisture, cleaned with a soft brush rather than a damp cloth, and treated with products specifically designed for napped leather. Avoid standard leather conditioners, as they can flatten the surface texture. For full-grain or pull-up leather, a quality leather conditioner applied every few months is sufficient to maintain the material.
What does vegetable tanned leather mean?
Vegetable tanned leather is processed using natural tannins from plant sources rather than chromium salts. It produces firmer, denser leather that develops a distinctive patina with age and use. It is the traditional method preferred by artisan leather craftsmen and takes significantly longer than chrome tanning, which is reflected in the cost of the finished product.
Ready to Invest in Leather That Lasts?
Now that you understand what separates full-grain leather from split leather, bonded leather, and faux leather alternatives, the choice is straightforward. If you want leather goods that get better with age rather than falling apart in a few years, the material and construction quality matter from day one.
Steel Horse Leather builds every bag, backpack, and wallet from full-grain leather. No compromises, no shortcuts. Every purchase comes with a 30-day money-back guarantee, so you can buy with confidence.
Browse the full leather bags collection and find the piece built for how you actually live.
All of our bags at Steel Horse Leather are crafted from full-grain crazy horse leather, built to develop a rich patina over time. Browse our Leather Bags.