Knowing how to tan hides is a useful talent to have around the campfire. The technique you choose for tanning hides will only be determined by the intended usage. Bark tanning creates hides for an entirely different reason than brain tanning.
Hides may be tanned in an infinite number of ways, much like animals. You'll likely experiment with several various approaches to tan hides before settling on one that truly works for you. Each procedure demands precision and patience, but none are difficult or expensive. The patience element is something I've always struggled with. When it comes to learning how to tan, be prepared for a lot of mistakes.
For a variety of reasons, beginning with a tiny animal is ideal. In the first place, they're easier to deal with since cleaning and processing them take less time. Second, you will only squander a tiny bit of leather if you make a mistake or your creative aspirations exceed your present skill set.
To begin , an animal's skin must first be obtained. An animal must be slaughtered and skinned before its body heat can be removed from the tissues in order to tan its hide. This can be done by the tanner or by purchasing a skin from a butcher, farm, or a local fur dealer.
Preparing hides begins with salt curing them to avoid collagen putrefaction due to bacterial development during the time lag between obtaining the hide and processing it. To dry hides and skins, a difference in osmotic pressure must be used throughout the curing process. To prevent germs from growing, hides and skins are treated to lower their moisture content and raise osmotic pressure. Wet salting involves extensively salting the skins, and then pressing them into packs for around 30 days. A saltwater bath is used to stir the hides throughout the brine-curing process, which takes around 16 hours in total. Research published in 2022 suggests that brine curing can effectively maintain hide quality with varying immersion times, depending on the type of hide and desired preservation characteristics (Du et al., 2022). Skins and hides may be preserved at extremely low temperatures for curing.
Key Takeaways
- Different methods, such as bark tanning and brain tanning, are chosen based on the intended application of the leather. Each method requires precision and patience but isn't overly complex or expensive.
- Begin with smaller animal hides to minimize loss and ease handling. This approach allows for learning from mistakes without wasting significant materials.
- Hides must be cleaned, salted, and preserved properly to prevent bacterial growth and collagen breakdown. Techniques like wet-salting or brine-curing help prepare the hides for tanning.
- Two primary tanning methods are chrome tanning, which is quick but uses harsh chemicals, and vegetable tanning, which is labor-intensive but produces softer and more flexible leather.
- Tools like fleshing knives, pelt scrapers, and soaking troughs, alongside materials such as salt, alum, and oils, are vital for effective tanning. Each tool serves a specific purpose in cleaning, preserving, or softening the hide.
Tanning Hides for Leather

Our modern world uses tanned skins mostly for apparel, outerwear, and boots as well as for saddles and equipment. Although it is no longer necessary, preparing the pelts of wild and domesticated animals was formerly essential. The tanned leather was used to construct game bags, blankets, a bed to sleep on, coverings for animal bladder-based canteens, the only clothing and footwear material available, and to meet other basic needs.
Because buffalo skins are so thick and robust, they used to be the principal type of hide utilized in the production of footwear and saddles.
Tanning is required before the skins can be turned into supple leather. For thousands of years, many variants of this technique have been utilized in almost unaltered form. Despite the fact that there are several variants and preferences when it comes to tan hides, there are only two forms of tanning: chrome and vegetable.
Chrome tanning uses chemicals to produce a tan. Today, chrometr-tanned leather accounts for nearly all commercial leather items. Chrome tanning is a much faster procedure to tan hides than vegetable tanning and results in leather that is very weather-resistant and easily colored. The disadvantage of this process to tan hides is that it involves the use of harsh chemicals that will come into contact with your skin while creating clothes, accessories, footwear, horse gear, or blankets.
While vegetable tannin is more time-consuming and labor-intensive than chrome tanning, the resulting leather is softer and more flexible, making it an excellent alternative for garment creation if leather crafting is part of your long-term goals.
In order to become leather, the pelt's protein structure must be altered by tanners, not only washed and dried like a rug or pair of boots. The process to tan hides begins with the drying, salting, or smoking stage, which is arguably the most significant. Before scraping-out fat, extra flesh, and/or hair, the hide must be completely dry. The skin is then either lime-treated or cleaned (some tanners do both), and the leather is tanned – manipulated to fracture small membranes in the hide and softened with some kind of oil.
Historical Context and Evolution of Tanning

The art of tanning hides dates back thousands of years, with early evidence suggesting that ancient civilizations relied on this transformative process to preserve animal skins for various practical applications. Initially, tanning was performed using natural methods, such as the use of plant tannins derived from tree barks and leaves, which not only provided durability but also imparted unique qualities to the leather.
As societies evolved, so did their tanning techniques, incorporating innovations influenced by cultural exchanges through trade and conquest. The methods transitioned from rudimentary approaches to more sophisticated practices, including the use of animal fats and oils, leading to the creation of various leather types suited for clothing, shelter, and tools.
Throughout history, the tanning process mirrored technological advancements and societal shifts, ultimately evolving into a crucial industry that balances time-honored traditions with modern techniques.
Hide Tanning Tools and Supplies

A simple board or metal frame can be used to scrape and dry the hide, or a board made to match each animal type can be used to move the front and back of the hide between it to enable more uniform drying.
Before we get started with “how to tan hides”, let's have a look at the equipment and supplies you'll need. You will not require everything on this list; the sorts of knives, boards, and scrapers used are entirely up to personal choice.
Some of the materials are particular to the tanning technique you select to attempt, as indicated next to each.
Transporting Hides
If the skins aren't frozen when you get them home from the butcher, salt them and spread them out as flat as possible in the back of the vehicle. NEVER, EVER leave the hides in your truck bed overnight. A predator will notice the smell of flesh and you will wake up to discover a group of coyotes munching on what was supposed to be your new leather coat, saddlebags, backpacks, or fur rug the next morning.
Apply additional salt if a lot of it comes off in the car on the way home. You want as much salt as possible on your hide. The salt dehydrates the hide by drawing moisture from it. While the salt is working, you'll nearly always find pools of liquid and thin skin beneath the hanging hide.
The length of time a salted hide is hung will be determined by the weather and the state of the hide. It may get nice and crispy in as little as a few days or as long as a few weeks.
Types of Methods of Tanning Hides and Leather
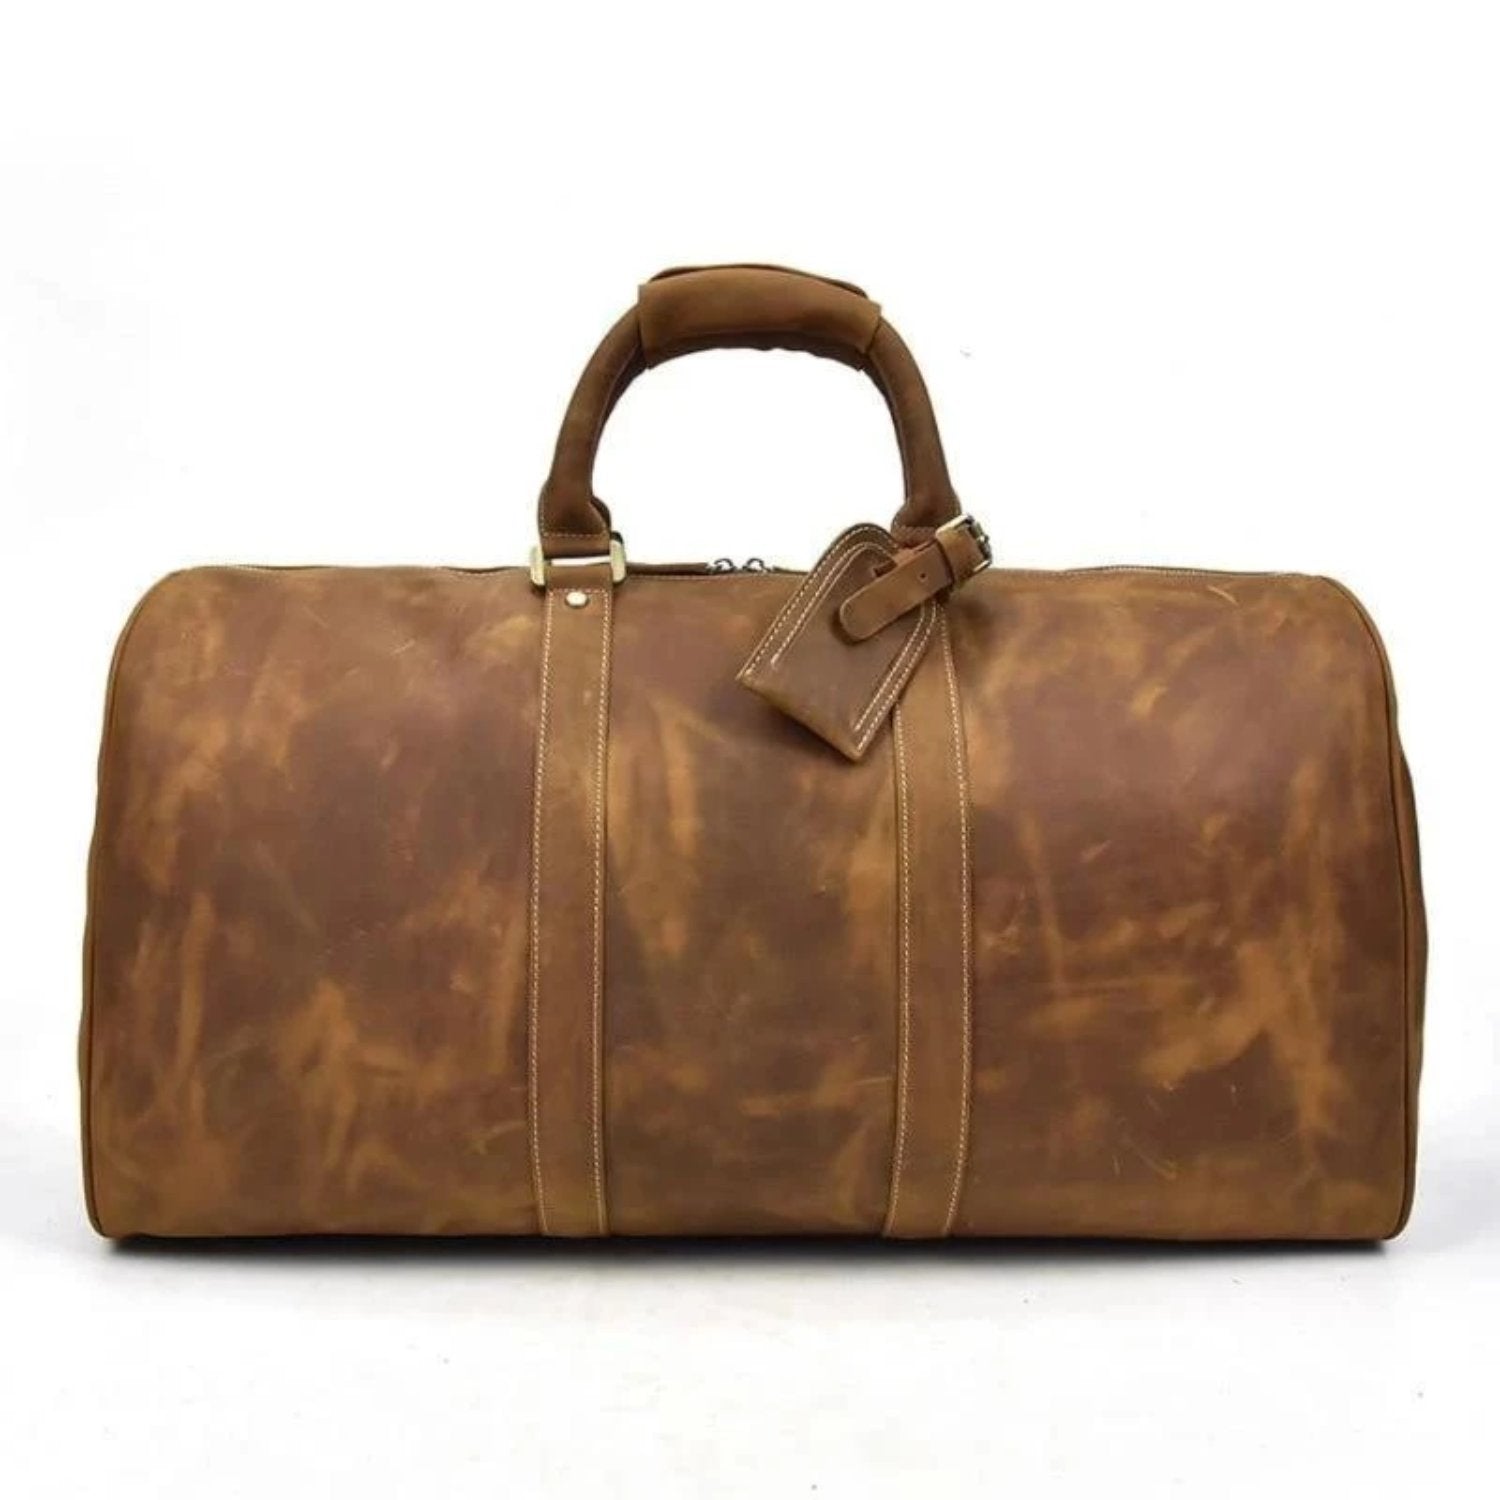
In our experience developing premium leather goods like The Dagny Weekender, we've found that the choice of tanning method significantly impacts the final product's quality and characteristics. For our weekender bags, we exclusively use full-grain leather processed through traditional vegetable tanning methods.
This choice ensures not only the leather's durability and natural beauty but also its ability to develop a unique patina over time, making each bag truly one-of-a-kind. The multiple interior pockets and structural integrity required for our weekender bags demand leather that maintains its strength while remaining supple enough for daily use.
egetable Tanning
This traditional method uses tannins extracted from plant materials such as oak or chestnut bark. It’s a time-intensive process that can take several months, resulting in durable leather with a natural finish. However, vegetable tanning may discolor fur and is better suited for creating leather rather than preserving hides.
Brain Tanning
This ancient method uses the oils from animal brains to tan hides. While effective, it poses risks like exposure to prion diseases such as Chronic Wasting Disease (CWD) in deer and elk. Due to these concerns, alternative sources, such as pig brains, are often used. The process typically involves applying the brain solution and smoking the hide for preservation and flexibility.
Egg and Oil Tanning
Similar to brain tanning, this method uses raw eggs and oil to create a soft, pliable leather. While less common, it is a natural alternative for small-scale tanning.
Alcohol and Turpentine Tanning
A mixture of ethanol and turpentine is sometimes used, though it can leave leather dry and carries strong odors. Its effectiveness and practicality are less established, making it a less popular choice.
Salt and Alum Tanning
A simple and accessible method using common salts like ammonium aluminum sulfate. This approach is often used for softer leathers but lacks the durability of other tanning methods.
Chrome Tanning
The most widely used industrial tanning method, it relies on chromium sulfate to produce strong, water-resistant leather. While efficient, it generates hazardous waste, raising environmental concerns.
Glutaraldehyde Tanning
An alternative to chrome tanning, this method uses aldehyde compounds to treat hides. However, its toxicity and environmental impact make it unsuitable for small-scale or sustainable tanning practices.
Preparation and Initial Treatment of Hides
The art of hide tanning and the initial treatment of animal skins is a critical step in the tanning process that sets the foundation for quality leather production. Traditional methods of Tanning Hides, whether through brain tanning, vegetable tanning, or chrome tanning, all begin with proper preparation. Initially, the raw hide or animal hide must be thoroughly cleaned on a flat surface to remove any bits of tendon, residual hair, or blood, which can lead to bacterial growth and undesirable odors. This cleaning process often requires several gallons of clean water and non-iodized salt (typically using 1 pound of salt per gallon of water) to prevent spoilage.
The hide tanning journey continues with a process called liming, where hides are soaked in alkaline solutions containing calcium hydroxide that promotes hair slippage and softens the hide skin, making cleaning easier. Various types of hides, from deer hide to cow hide and even fish skin, can be processed this way. Following this, it's essential to neutralize the alkalinity with an acid solution - which could be derived from tannic acid, oak bark, or other tanning agents - ensuring that the fibers of the hide are ready to absorb tanning oils effectively. Some tanners use alternative methods like alum tanning or the brain tanning method, where the animal brain is used to create a natural tanning solution.
The careful execution of these preliminary steps, whether using ancient methods or modern tanning chemicals, not only enhances the appearance of the finished piece of leather but also profoundly affects its durability and overall utility. This slow process, when done correctly with proper safety glasses and eye protection, ensures that the end product becomes a supple leather that meets the high standards expected in the leather industry.
Steps of the Leather and Hide Tanning Process

Hide Tanning may be broken down into several phases, depending on where you get your information. I've attempted to condense them here. Also, don't forget to check out the discussion that follows this article. This page now has a plethora of information.
There appears to be a considerable misunderstanding as to what it means to maintain, tan, or break a hide among the various authorities. The stages on how to tan hides may be divided into many sections, some of which are left out, or they may be combined into a single section.
- Skinning
- Fleshing – remove all fat and tissues
- Preserving/Curing – freeze or salt – salt (non-iodized), alum – inhibit bacterial activity to keep hides fresh salt and leather in equal proportions
- Washing/De-greasing – If the hide is very fatty, it might need to be washed
- De-hiring – if you want leather – lime – skip this step if you want to tan a hide with the fur left on
- Thinning (if the hide is thick) – Dry Scraping
- Tanning – Pickling – Neutralizing – Uses an acid tanning solution to prepare the cells of the hide for tanning (Pickle bath only if the hide is new) – test for completeness, cut a little piece from the edge, examine to see whether the color has fully permeated the hide – or put a small piece in boiling water if it curls, it is not ready. It needs to be well washed and neutralized, and you should be cautious about where you discard the wastewater. Acid types include battery acid and oxalic acid.
-
Breaking & Oiling
That deer hide (hide-on) looks great, and the young man clearly understands what he's doing.
Post-Tanning Care and Finishing Techniques
|
Step
|
⚙️ Action
|
Caution / Note
|
Purpose / Result
|
|---|---|---|---|
| Rinsing | Thoroughly rinse the tanned hide in clean water. | Ensure all excess tanning agents are removed. | Removes residue and prepares the hide for drying. |
| Drying | Employ gentle drying techniques. | Avoid direct sunlight or high heat; these can damage the leather’s integrity. | Removes moisture without causing damage. |
| Conditioning | Apply an appropriate leather conditioner. | Use a conditioner suitable for the leather type. | Maintains suppleness and prevents cracking. |
| Finishing (Optional) | Buffing or applying a protective top coat. | Ensure the hide is completely dry and clean before applying coats. | Enhances aesthetic appeal and provides a barrier against moisture and dirt. |
| Storage | Store the finished hide in a cool, dry place. | Store away from direct exposure to light. | Ensures the longevity of the leather and prevents degradation. |
After the tanning process is complete, it's crucial to focus on post-tanning care and finishing techniques to ensure the longevity and quality of the hide. Begin by thoroughly rinsing the tanned hide in clean water to remove excess tanning agents, after which gentle drying techniques should be employed.
Avoid direct sunlight or high heat, as these can damage the leather’s integrity. Once dried, conditioning the hide with an appropriate leather conditioner helps maintain its suppleness and prevents cracking.
Additionally, you may want to employ finishing techniques such as buffing or applying a protective top coat, which not only enhances the aesthetic appeal but also provides a barrier against moisture and dirt. Finally, storing the finished hide in a cool, dry place, away from direct exposure to light, will further ensure that your hard work stands the test of time.
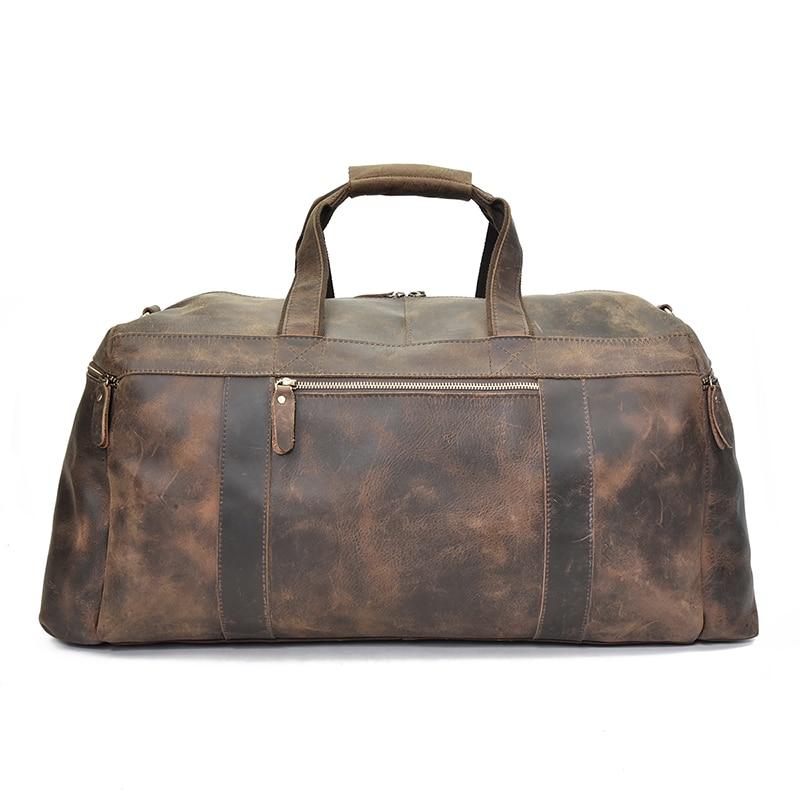
The importance of proper finishing techniques is evident in premium leather products like The Endre Weekender, where the leather's natural characteristics are preserved while ensuring durability for daily use. The bag's cotton lining and carefully finished leather demonstrate how proper post-tanning care can result in a product that maintains its quality while developing a unique character over time.
Salt Hides to Preserve for Tanning

Tanned hides can be stored in a corner for a while if they are drily salted, but wet salted skins need to be packed up tight to avoid bacteria growth. When you begin the tanning process after using dry salted hides, it appears to be more difficult.
The hide must be refrigerated or salted if tanning can't commence as soon as it's removed from the animal. Without refrigeration, salt would appear to be the only alternative if out in the field. However, some sources recommend using a lot of salt to cure the hide and set the fur, while others advise "Don't Salt!". According to one source, unless you're an expert salter, you should avoid doing so since it might damage your hide. It would have been helpful if they had indicated that salt may damage a hide so we could be on the lookout for it.
Another option is to salt with either dry or wet salt. They can be stored in a corner for a while if they are drily salted, but wet salted skins need to be packed up tight to avoid bacteria growth. When you begin the tanning process after using dry salted hides, it appears to be more difficult. Research on salt diffusion in cured meat, which can provide insights relevant to hide salting practices, suggests that the initial salting technique is crucial for moisture removal and preservation. The study found that the diffusion coefficient of sodium declines over prolonged curing times, emphasizing the importance of proper initial salting (Bertram et al., 2005).
As a result of bacterial development, fur might start sliding out (falling out) quite fast in warm temperatures. I intend to salt bath the hide as soon as possible, but I need to do an additional study on salting hides so I can avoid any potential problems. However, if you must salt a hide, do not use iodized salt or rock salt, since the crystals are excessively big and contain an excessive number of contaminants in rock salt.
Pickling salt is a fine-grained salt. The hide must be fully coated in salt, and a reasonable rule of thumb is to use about the same quantity of salt as the animal hide weighs in grams. Research published in 2019 suggests that for effective curing, it is recommended to use salt in quantities equivalent to approximately 10% of the hide's weight in grams. This optimal salt quantity helps ensure proper moisture absorption and inhibition of bacterial growth (Aheto et al., 2019).
Environmental and Health Implications of Tanning
The tanning process, while essential for producing durable leather, can lead to significant environmental and health implications if not managed properly. Traditional tanning methods often utilize hazardous chemicals, such as chromium salts, which can contaminate water systems and pose risks to both aquatic life and human health. These carcinogenic substances can persist in the environment, leading to soil degradation and water pollution.
Moreover, workers in the tanning industry may be exposed to these toxic chemicals, resulting in health problems ranging from respiratory issues to skin diseases. Therefore, it is crucial for tanneries to adopt sustainable practices that minimize reliance on harmful chemicals, such as utilizing plant-based tanning agents or implementing advanced waste management systems to mitigate their ecological footprint. By prioritizing safer, eco-friendly methods, the tanning industry can reduce its environmental impact while also safeguarding the health of its workers and nearby communities.
Eco-Friendly Tanning: Sustainable Practices and Alternative Materials
Eco-friendly tanning methods have gained significant traction as consumers seek more sustainable options in the leather industry.
Traditional tanning processes often involve harsh chemicals that can harm the environment, but a growing number of tanners are exploring vegetable-based or plant-derived tannins that are not only safer for the ecosystem but also produce high-quality leather. These sustainable practices resurrect time-honored techniques that utilize natural substances like tree bark, leaves, and berries to create a durable and aesthetically pleasing end product.
Furthermore, the integration of alternative materials such as mushroom mycelium and synthetic bio-engineered leathers is on the rise, offering innovative solutions that minimize wildlife impact and reduce waste. By prioritizing eco-friendly tanning, the industry not only responds to consumer demand for sustainable fashion but also paves the way for a greener future in leather production.
Our Expertise in Traditional Leather Crafting and Tanning

At Steel Horse Leather, our deep understanding of leather processing and tanning comes from years of hands-on experience working with master artisans who have dedicated their lives to this time-honored craft. Our expertise in leather selection and processing directly influences how we source and create our premium leather products, including our signature weekender bags. Through our extensive work with traditional tanning methods, we've developed a comprehensive understanding of how different tanning processes affect leather quality, durability, and character. Our commitment to leather craftsmanship extends beyond mere production.
We've established direct relationships with tanneries and carefully vetted our leather suppliers to ensure we understand every step of the tanning process. This hands-on approach has given us unique insights into both traditional and modern tanning methods, from vegetable tanning to chrome processing. Our master artisans work exclusively with full-grain leather that has been properly tanned and treated, allowing us to witness firsthand how various tanning methods affect the final product's quality, durability, and aesthetic appeal. This practical experience with leather processing and tanning techniques enables us to share valuable insights about the tanning process, from initial hide preparation to final leather treatment.
Our knowledge isn't just theoretical – it's built on years of working directly with tanners, selecting hides, and crafting finished leather goods. We've seen firsthand the differences between properly and improperly tanned leather, and we understand the crucial details that determine whether a hide will become a lasting, beautiful piece of leather or end up with defects that compromise its quality.
Frequently Asked Questions
How Long Does the Tanning Process Take?
The duration depends on the method. Vegetable tanning can take weeks to months, while chrome tanning typically takes a few days.
Can I Tan Hides at Home Without Chemicals?
Yes, you can use natural methods like brain tanning or vegetable tanning, which rely on natural oils or plant tannins instead of synthetic chemicals.
Are There Ethical Concerns With Tanning Hides?
Ethical concerns often depend on the source of the hides and how the animals were treated. Using hides from sustainably raised or naturally deceased animals can mitigate these concerns.
How Can I Prevent My Tanned Hide From Cracking Over Time?
Regularly conditioning the hide with leather oils or balms can keep it moisturized and supple, preventing cracks.
What Types of Hides Are Easiest for Beginners to Work With?
Goat, deer, or rabbit hides are easier for beginners due to their manageable size and relatively straightforward preparation process.
Conclusion
It takes practice and dedication to become an expert on how to tan hides, but it is well worth it. Families can make full use of animals grown on the homestead or hunted for sustenance if the skins are preserved.
Tanning an animal's skin can be done in a variety of ways depending on the animal's hide's size. It is possible to find hide parts large enough for a modest project – or even a larger project if the hide is stitched together from smaller animals like a squirrel, sheep or a rabbit hide.
References
Aheto, J., Huang, X., Tian, X., Bonah, E., Ren, Y., Alenyorege, E., … & Dai, C. (2019). Investigation into crystal size effect on sodium chloride uptake and water activity of pork meat using hyperspectral imaging. Journal of Food Processing and Preservation, 43(11). https://doi.org/10.1111/jfpp.14197
Bertram, H., Holdsworth, S., Whittaker, A., & Andersen, H. (2005). Salt diffusion and distribution in meat studied by23na nuclear magnetic resonance imaging and relaxometry. Journal of Agricultural and Food Chemistry, 53(20), 7814-7818. https://doi.org/10.1021/jf051017+
Du, H., Wang, Q., Liu, Q., Chen, Q., Liu, H., Xu, M., … & Kong, B. (2022). Heterocyclic aromatic amine contents and quality characteristics of bacon as influenced by nacl concentration of brine. Journal of Food Science, 87(6), 2527-2537. https://doi.org/10.1111/1750-3841.16156


