The strongest leather bonds come from three things done correctly: cleaning and lightly abrading the surface, applying a thin even layer of the right adhesive, and letting the bond cure fully before handling. Skipping any one of these steps is the most common reason leather joints peel, delaminate, or fail under stress. This guide walks through surface prep, adhesive selection, application, and aftercare, whether you are repairing cracked leather, fixing a strap, or building a new leather goods project from scratch (Paiva et al., 2015).
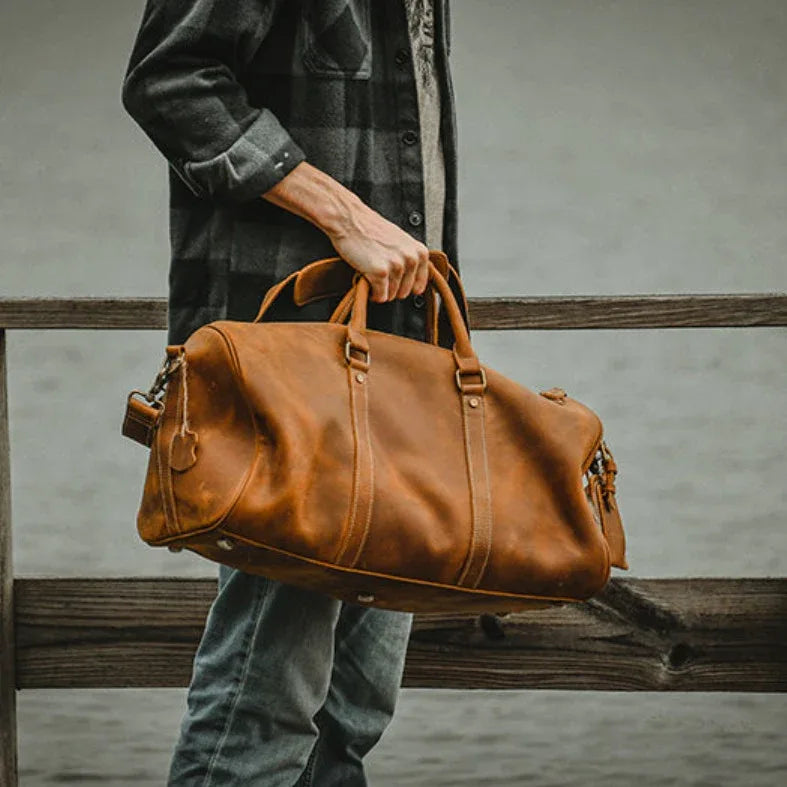
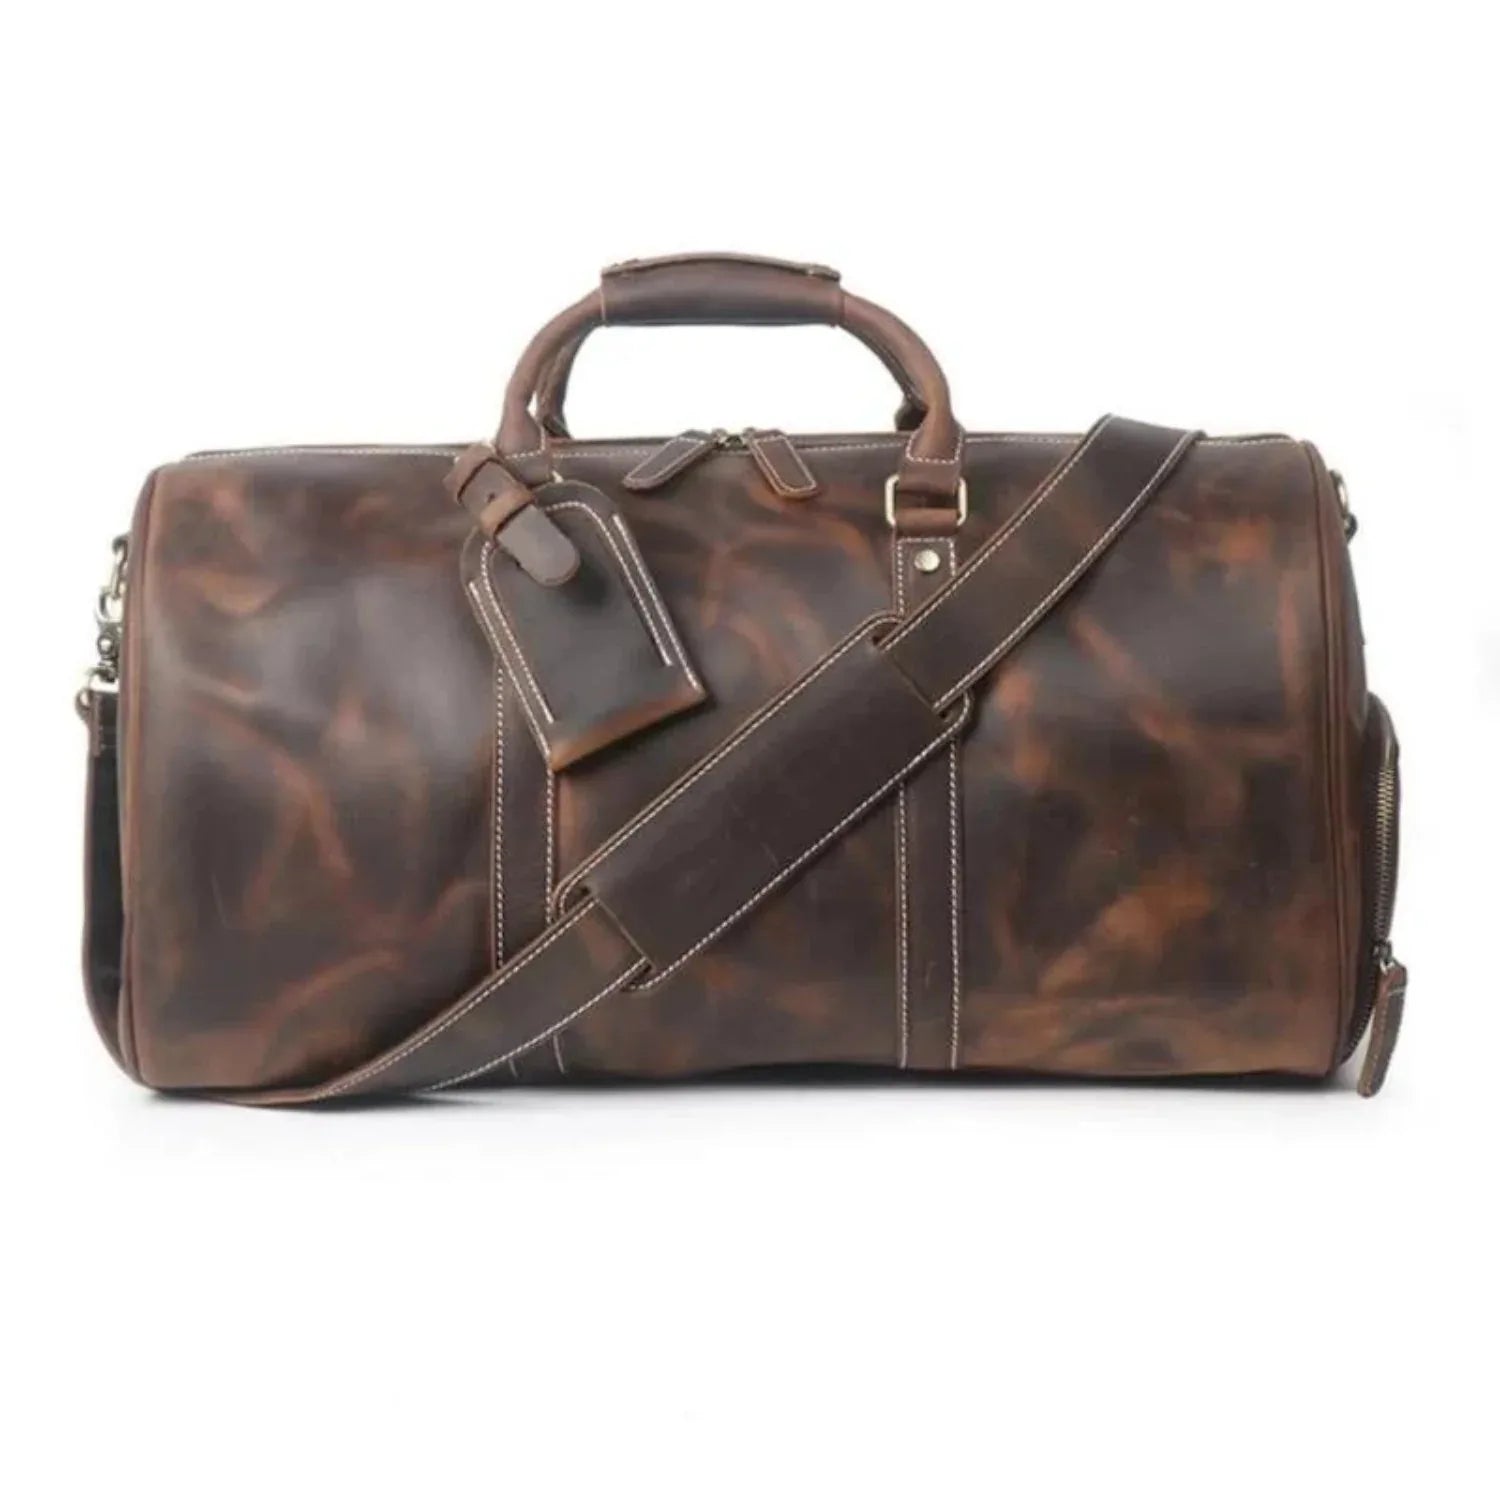
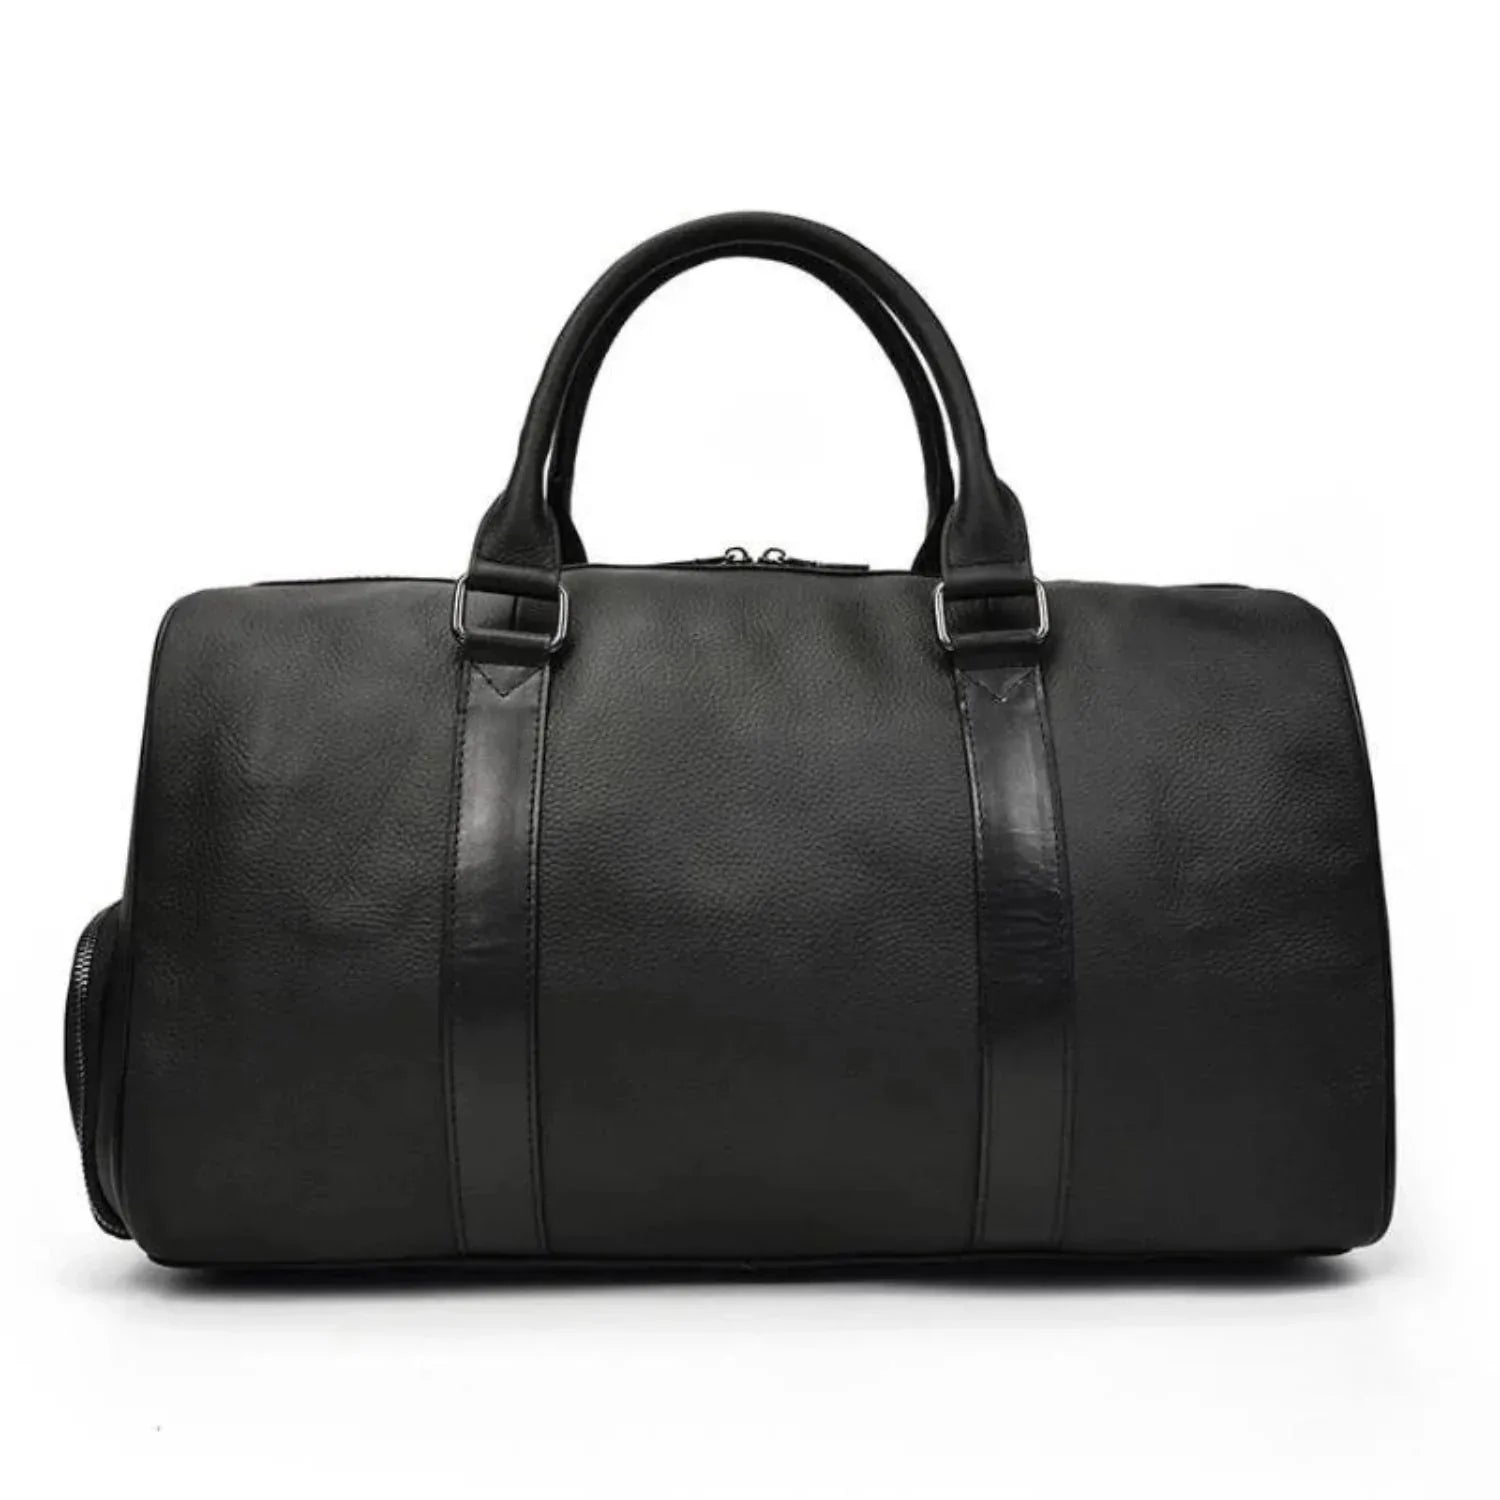
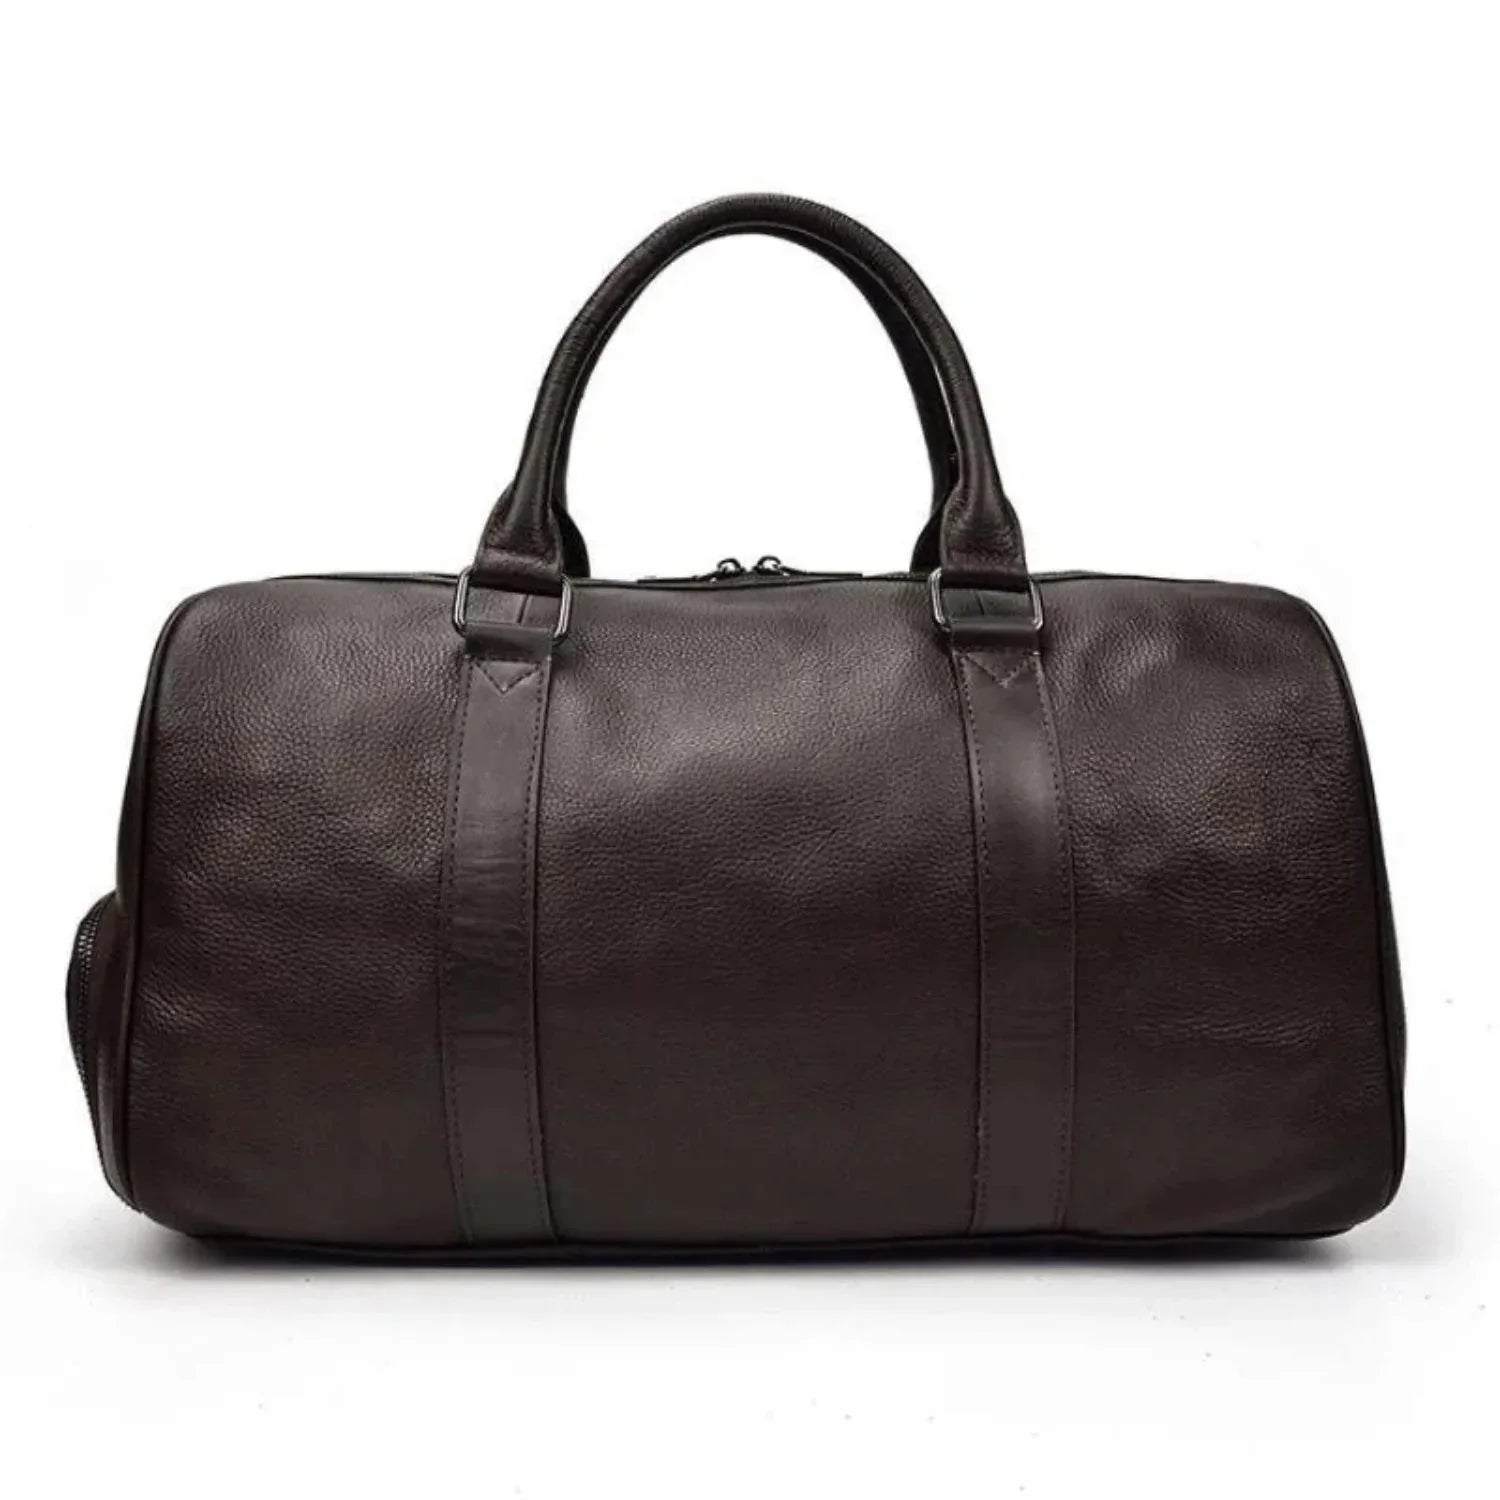
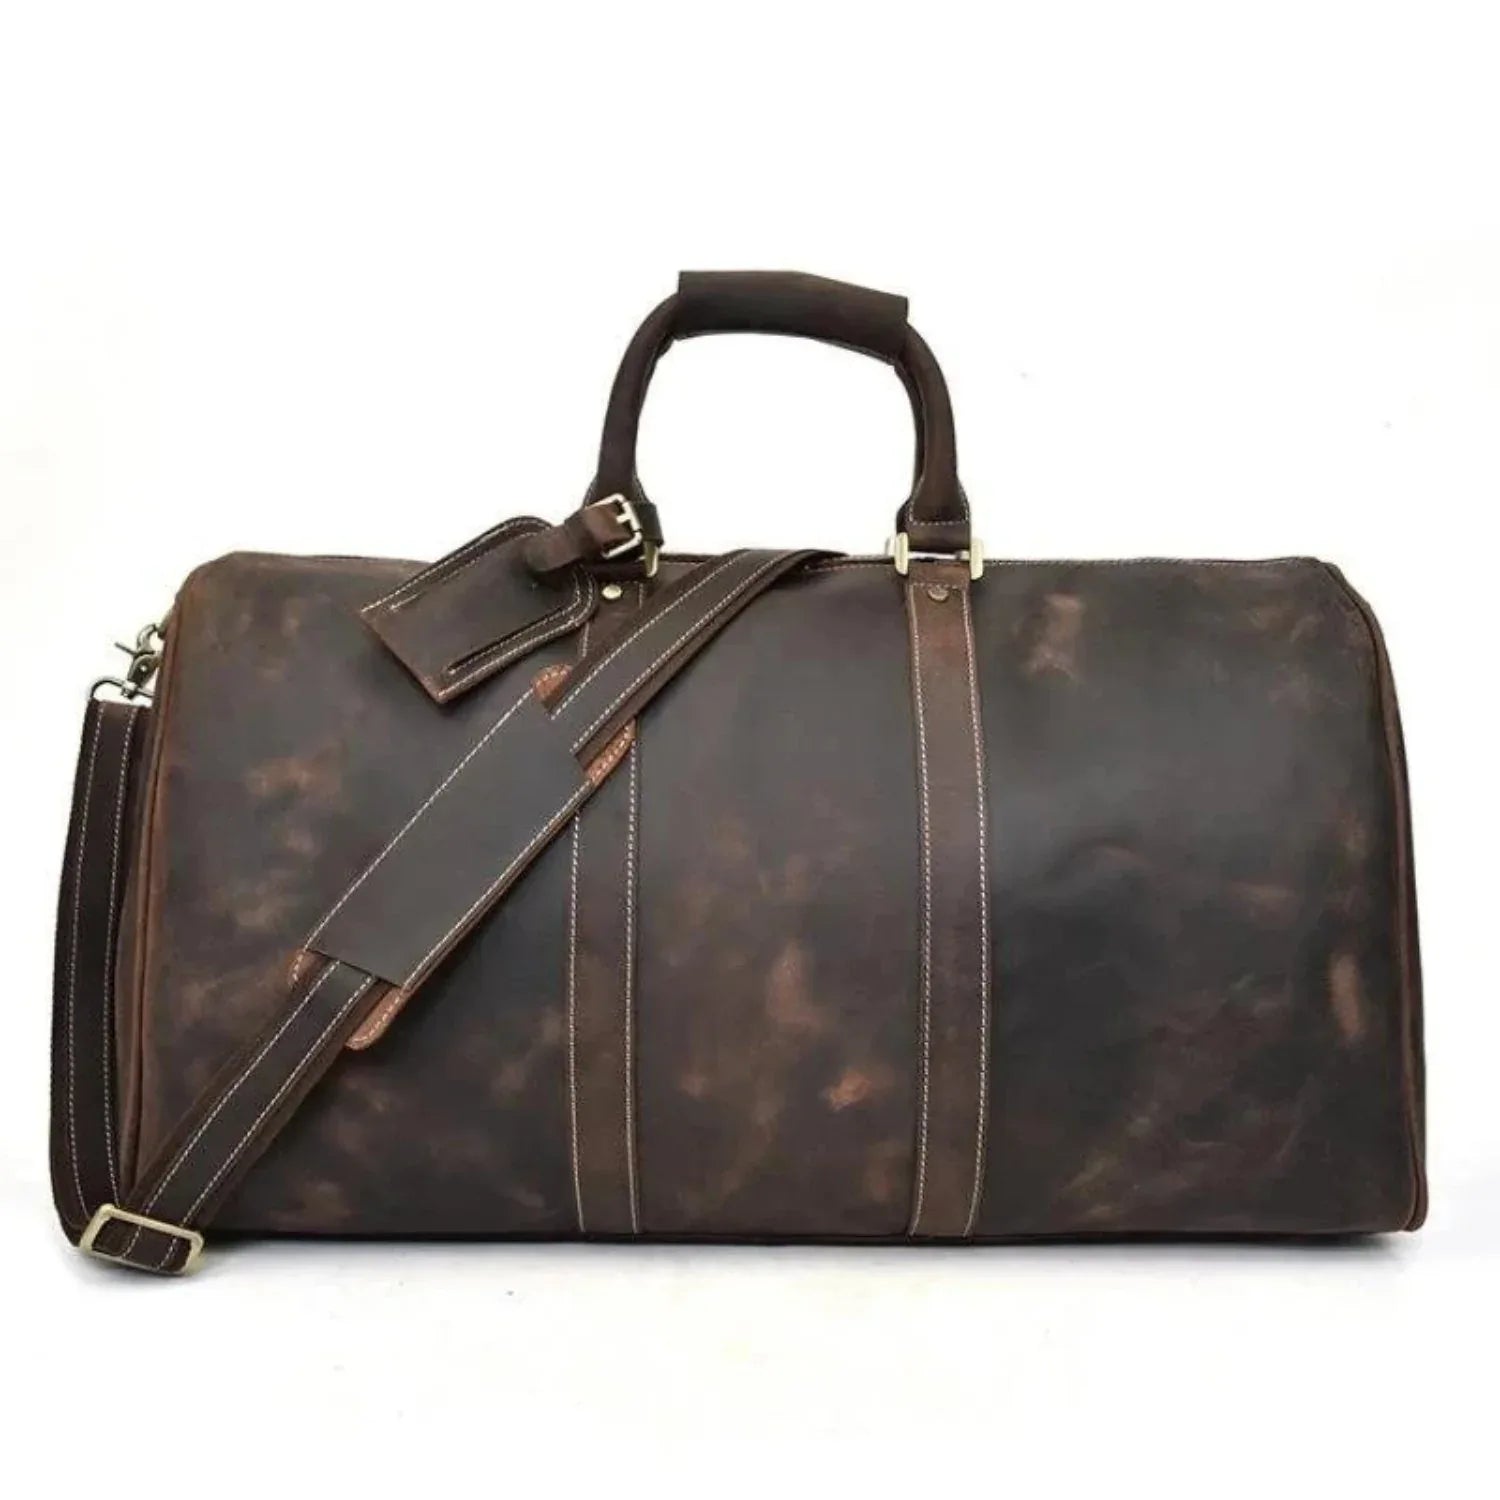
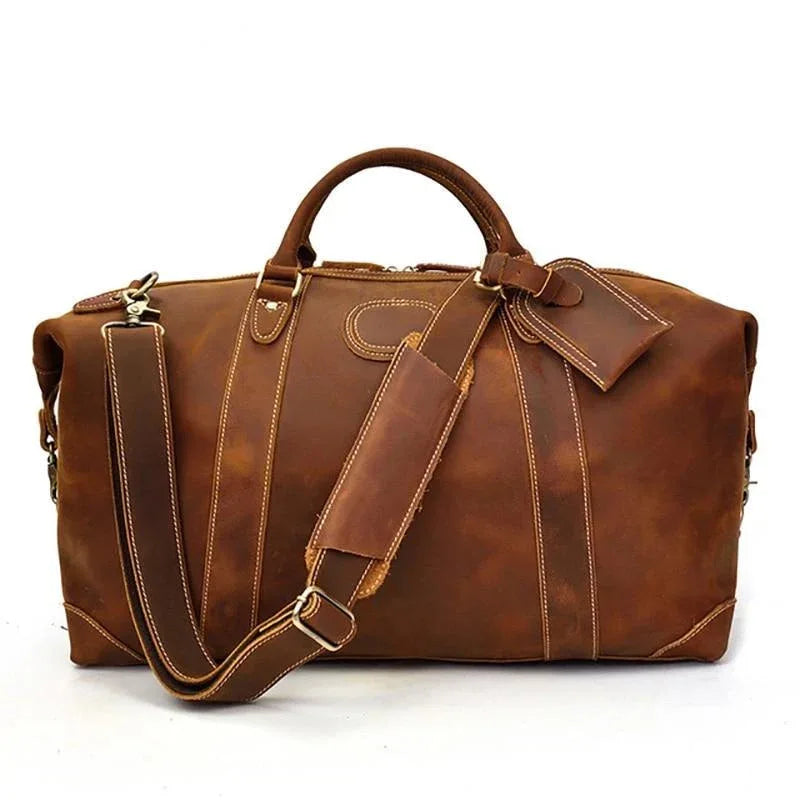
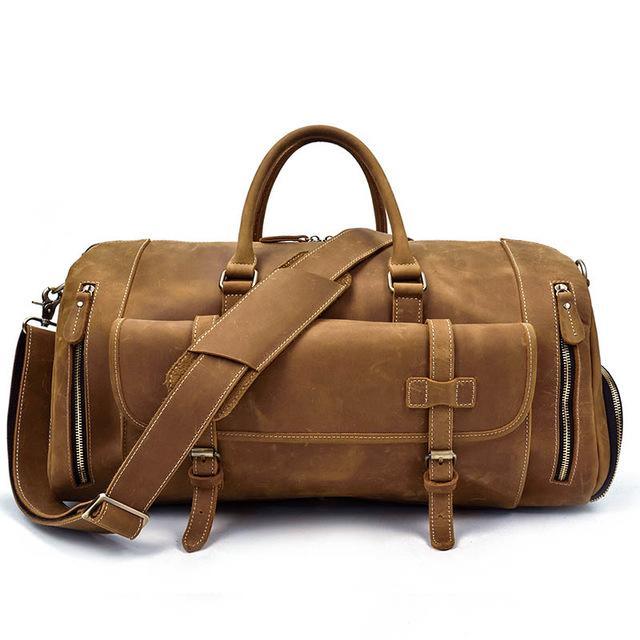
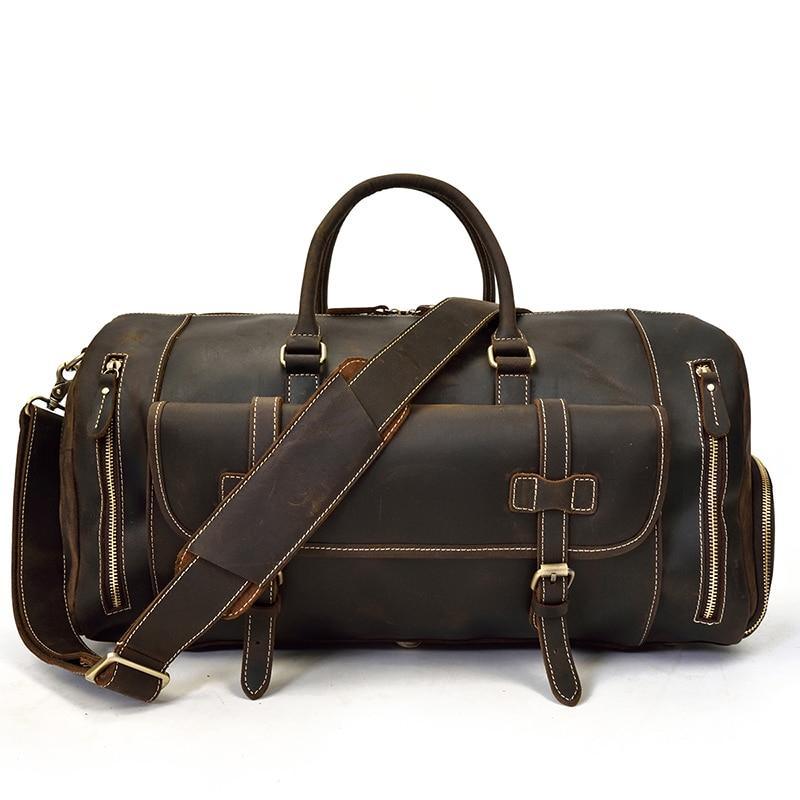
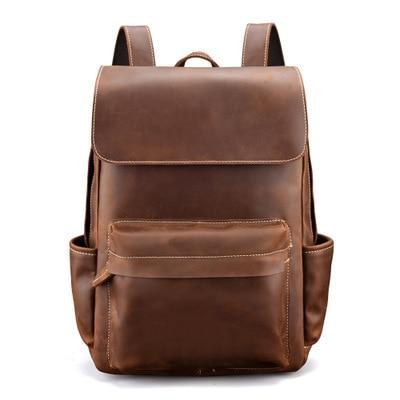
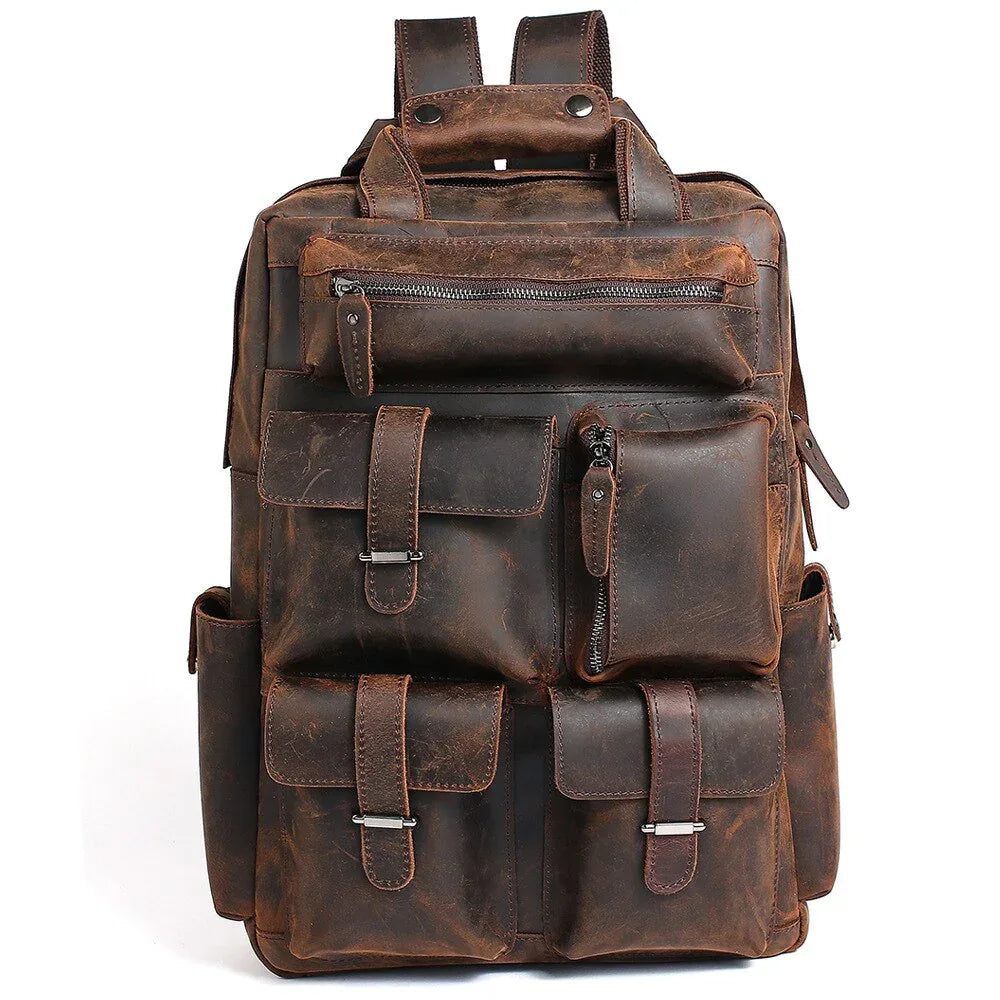
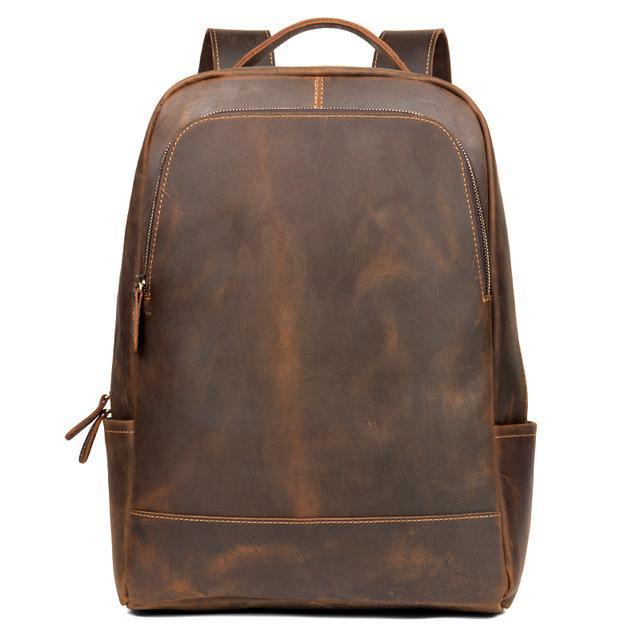
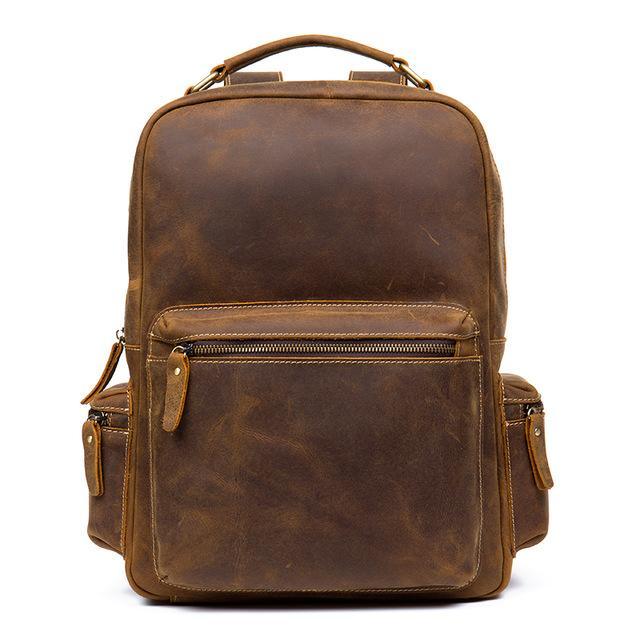
If you want to see what properly glued and stitched leather construction looks like on a finished product, browse the full leather bag collection at Steel Horse Leather.
Key Takeaways
-
Clean, dry, and lightly abraded leather surfaces are the single biggest factor in bond strength and longevity.
-
Contact cement works best for structural bonds, rubber cement suits flexible or light repairs, and water-based adhesives are safer and easier to clean up.
-
Apply glue in a thin, even layer, let it reach tackiness, and allow a full cure (often several hours) before handling or stitching.
-
Work in a ventilated space, wear gloves, and consider vegetable tanned leather or water-based adhesives to reduce chemical exposure.
How Do You Glue Leather? A Step-by-Step Guide

Gluing leather correctly comes down to seven steps: prepare the workspace, gather the right tools, prep the surface, apply adhesive thinly, let it dry to tack, clamp or press it in place, and clean up excess glue after curing. Skipping steps or rushing dry time is what causes most joint failures in both hobbyist and production settings. The same sequence applies whether you're working on leather backpacks, leather duffle bags, or a small repair job.
Before you begin, review the fundamentals of the leather gluing process, including which adhesive type matches your leather and project (Paiva et al., 2015).
1. Prepare the Work Surface
Surface contaminants such as oils, grease, dust, and moisture significantly weaken adhesive bonds and are a leading cause of joint failure (Paiva et al., 2015; Medvid et al., 2014). Wipe the leather down with a damp cloth to remove loose debris before applying any contact cement or adhesive.
If you're working with smooth leather, lightly scuff the bonding area with a fine-grit sanding block first. Remove residue from neatsfoot oil or other conditioners, since oil left on the surface is one of the most common reasons glue won't grip.
With vegetable tanned leather, clean carefully without soaking the surface. Excess moisture can raise the grain and create a weaker bonding surface.
2. Gather Your Tools
A standard leather gluing project needs: your chosen adhesive, a damp cloth, fine-grit sanding blocks, a sharp blade for trimming, basting tape or double-sided tape for dry-fitting, and jigs or fixtures to hold pieces during cure. For light repairs or attaching a patch, keep embellishing adhesive on hand for detail work.
For larger projects involving faux leather or upholstery panels, a vacuum press applies more uniform pressure than clamping by hand.
3. Dry-Fit Before You Glue
Always dry-fit pieces before applying adhesive to confirm alignment. This matters most on small hardware details such as leather cord, flat braided cord, 3mm cording, or round end caps, where even 1-2mm of misalignment is visible in the finished piece.
Once alignment is confirmed, lightly abrade smooth leather with a sanding block so the adhesive has texture to grip. Let the surface air dry fully for several minutes after cleaning before moving on (Wibowo et al., 2024).
4. Apply the Glue Thinly and Evenly
Apply a thin, uniform film of adhesive to both surfaces being joined, not just one. Research on adhesive behavior shows that thin, even coats reduce voids and improve contact quality, while heavy glue application causes wicking, trapped air, and slower, inconsistent drying (Paiva et al., 2015; Medvid et al., 2014).
Sprayable adhesives work well on larger surfaces like upholstery leather or door panels because they distribute more evenly than a brush. Dispersion and solvent adhesives each have specific application windows, so follow the manufacturer's instructions rather than a generic rule of thumb.
For repair work on damaged spots, work adhesive in with a small brush or applicator and press surfaces together firmly once they reach the correct tack. Always test on a scrap piece or hidden patch first (Paiva et al., 2015).
5. Let the Adhesive Reach Full Cure
Most contact cements need at least 30 minutes before the bond is strong enough to handle or stitch, and several hours for full cure depending on temperature and humidity (Paiva et al., 2015; Medvid et al., 2014). Rushing this step is one of the most common causes of weak seams.
Make sure both leather pieces are fully coated before pressing together. Any exposed, ungued spot becomes a weak point that can peel or delaminate later, especially on flex points like straps or gussets.
6. Clamp or Press the Pieces in Place
Once tack is reached, align the pieces and press firmly. Use jigs, basting tape, or double-sided tape to hold position while curing, and switch to a vacuum press for thicker materials or curved shapes.
Let the bond cure at least 30 minutes minimum before any handling, longer before stitching or stressing the seam. This is especially important on leather goods that flex constantly, such as boots or bag straps (Paiva et al., 2015).
7. Clean Up Excess Glue
Once cured, buff away excess adhesive with a damp cloth or fine sandpaper, particularly on visible seams. Wear gloves throughout, since solvent adhesives contain chemicals that can irritate skin (Samaran et al., 2024; Hilewitz et al., 2024).
Dispose of applicators and containers properly and keep the workspace ventilated for the whole process, not just during application.
Contact Cement vs. Rubber Cement vs. Water-Based Glue for Leather
Contact cement gives the strongest, most permanent bond and is the standard choice for structural work like bag straps, soles, and gussets. Rubber cement is more flexible and repositionable, better suited to light repairs. Water-based glue is the easiest to clean up and lowest in VOCs, but generally weaker for load-bearing seams. The table below compares them directly.
| Adhesive Type | Bond Strength | Best Used For | Cure Time | Limitations |
|---|---|---|---|---|
| Contact Cement | High shear and peel resistance | Straps, soles, structural bag seams | 30 min handling, hours for full cure | Strong VOC odor, needs ventilation, hard to reposition once set |
| Rubber Cement | Moderate, flexible bond | Light repairs, patches, faux leather | 15-30 minutes | Not suited to load-bearing seams, can degrade over years |
| Water-Based Glue | Lower shear strength | Light craft work, decorative bonding | Longer open time, slower full cure | Lower VOCs but weaker under stress or heat |
| Solvent Adhesives | High initial tack | Shoe and boot repair, high-shear joints | Fast drying, quick handling strength | Can attack certain leather dyes and finishes, test first |
| Dispersion / Spray Adhesive | Even, moderate bond over large area | Upholstery leather, door panels, large flat pieces | Varies by product | Overspray risk, needs good ventilation |
What Should You Consider When Choosing Glue for Leather?
Five factors determine the right adhesive for a leather project: adhesive type, leather surface type, water resistance needed, drying speed, and how easy the product is to apply. Getting any of these wrong is a common reason DIY repairs fail faster than professional ones.
| Factor to Consider | Why It Matters | Best Glue Types and Tips |
|---|---|---|
| Adhesive Type | Determines bond strength, flexibility, and safety | Contact cement for strong instant bonds, rubber cement for flexible light repairs, water-based glue for easy cleanup, solvent adhesives for shoes and boots, dispersion or spray for large surfaces. Always test on scrap first. |
| Leather Surface Type | Different leathers absorb and bond differently | Smooth leather needs light abrasion, vegetable tanned is more absorbent, chrome-tanned is less absorbent, faux leather backing may react poorly to solvents. Test on a scrap piece every time. |
| Water Resistance | Essential for shoes, boots, and outdoor items | Hot melt, solvent, hybrid, and vinyl adhesives tolerate moisture best. Test bond strength after water exposure before relying on it. |
| Drying Speed | Affects workflow and handling time | Solvent adhesives and contact cement dry fast, water-based glue has longer open time. Avoid petroleum solvents on delicate or dyed leather. |
| Ease of Application | Matters most for beginners and detail work | Brush-on contact or rubber cement gives easy control, spray adhesives suit large areas, fine-tip embellishing glue works for cording and small details. |
Adhesive Type
Contact cement is the most common structural choice because it forms an immediate, strong bond once two coated surfaces are pressed together. Rubber cement is more flexible and works for light repairs or faux leather patches. Water-based glue is lower in VOCs and easier to clean up, making it a reasonable choice for hobby projects (Ahmed et al., 2021).
Solvent adhesives give high initial tack and are common in professional shoe repair for leather shoes and boots that need high shear resistance. Some solvent formulations can attack certain dyes and finishes, so test on a hidden area first (Paiva et al., 2015; Medvid et al., 2014). Dispersion and spray adhesives suit upholstery leather and door panels where even coverage over a large surface matters most.
Leather Surface Type
Smooth leather needs light abrasion before bonding for adequate mechanical grip. Vegetable tanned leather has a more open grain and absorbs adhesive differently than chrome-tanned leather (Wibowo et al., 2024; Ahmed et al., 2021). Faux leather backing can react differently to solvent adhesives than genuine leather, so always test on a scrap patch before the final application (Paiva et al., 2015).
Water Resistance
Leather goods used outdoors or exposed to moisture, particularly boots and travel bags, need moisture-tolerant adhesive (Paiva et al., 2015). Hot melt, solvent, hybrid, and vinyl formulations hold up best under wet conditions. Note this refers to water resistance, not waterproofing. Even a well-bonded seam can eventually let moisture through with prolonged soaking, so test performance under wet conditions before trusting it on a finished piece.
Drying Speed
Avoid petroleum-based solvent adhesives on delicate or dyed leather, since they can damage the surface over time. Water-based glue has a longer open time but is safer and easier to clean up. Solvent adhesives and contact cement dry faster and reach handling strength sooner, useful in production repair settings (Medvid et al., 2014).
Application Ease
Brush-on contact adhesive and rubber cement are easiest to control for most patch and repair work. Spray adhesives cover large areas quickly but need care to avoid overspray. Embellishing adhesive in small applicator bottles suits decorative details, and a fine-tipped applicator gives more precise placement on leather cord or 3mm cording (Paiva et al., 2015).
Tips for Successful Leather Gluing

Consistent results come down to conditioning the leather correctly, cleaning thoroughly, applying thin coats, and being patient with cure time. These principles apply across all types of leather projects.
Is the Leather Soft Enough to Bond Properly?
Confirm the leather is supple and free from stiffness that could crack during bonding. Conditioning vegetable tanned leather with neatsfoot oil beforehand can restore flexibility, but let the oil fully absorb and the surface dry before gluing (Ahmed et al., 2021). Avoid over-conditioning smooth leather that will be bonded, since residual oil reduces adhesion. See our guide on softening leather effectively for more detail.
Did You Clean the Bonding Area Thoroughly?
Surface contaminants are a primary cause of adhesive bond failure in leather work (Paiva et al., 2015; Medvid et al., 2014). Remove all dust, oil, grease, and old adhesive residue before applying fresh glue. If a piece has been through a shoe repair shop before, check for leftover solvent adhesive or rubber cement residue that could interfere with new glue.
Are You Applying a Thin Enough Film?
A thin, even film on both surfaces beats a thick coat every time (Paiva et al., 2015). Thick glue traps air and prevents proper film formation, which weakens rather than strengthens the joint. Use a brush, foam applicator, or spray adhesive depending on project size, and let both surfaces reach proper tack before pressing together.
Did You Choose the Right Glue for the Job?
Bags that see daily wear, like leather work bags or leather messenger bags, need adhesives with high shear and peel resistance (Paiva et al., 2015). Contact cement and solvent adhesives perform best structurally, while water-based glue and rubber cement suit light repairs and decorative work. Factor in the heat, moisture, and flexing the finished piece will actually face.
Bond performance depends on the combination of leather type, adhesive, prep quality, and joint design, not any single factor alone. A bond that tests fine on a flat sample can still fail on a piece that flexes constantly, like a strap or gusset, so always test under realistic conditions (Paiva et al., 2015; Medvid et al., 2014).
Are You Giving the Glue Enough Time to Cure?
Follow the manufacturer's cure time exactly before handling, stitching, or stressing the bond. Incomplete drying is one of the most common causes of squeaks, delamination, and surface wrinkling later on (Medvid et al., 2014). Keep newly glued pieces away from direct heat, sunlight, and humidity while curing.
Environmental and Health Considerations When Gluing Leather
Solvent adhesives and contact cement release volatile organic compounds (VOCs) that require proper ventilation during use (Ahmed et al., 2021). Wear gloves and work in a ventilated area to limit chemical exposure, especially on larger projects.
Some finished leather goods can also carry residual chemicals from the tanning process. Documented cases of allergic contact dermatitis have been linked to biocides like TCMTB found in some leather products (Samaran et al., 2024), and chrome-tanned leather has been associated with sensitization reactions in some individuals (Hilewitz et al., 2024). Vegetable tanned leather processed through eco-friendly methods is a reasonable alternative for anyone concerned about this (Ahmed et al., 2021; Pane & Kusuma, 2023).
Halal certification and eco-friendly processing are also becoming more relevant across the leather goods industry (Pane & Kusuma, 2023; Rohman, 2021). Knowing the tanning method behind your leather helps you pick a compatible adhesive, since vegetable tanned and chrome-tanned leather can respond differently to the same adhesive chemistry (Wibowo et al., 2024).
How Do You Care for Glued Leather After It Cures?

Once the adhesive fully cures, apply a protective conditioner suited to the leather type to guard against moisture and abrasion. Avoid saturating bonded seams with conditioner, since excess oil can weaken the adhesive over time (Ahmed et al., 2021). For step-by-step guidance, see our DIY leather conditioner guide.
Clean leather goods with appropriate solvent-based cleaners and air dry away from direct sunlight or heat. Store items in cool, dry conditions to protect both the leather and the adhesive bonds. If you're dealing with scratches or scuffs around a repaired seam, our guide on fixing scratched leather covers quick fixes.
If you're shopping for finished pieces rather than repairing your own, explore handcrafted options like The Taavi Tote, the Erling Leather Sling Bag, or browse the full leather crossbody bags collection at Steel Horse Leather, where seams and edges are constructed to hold up to daily use.
Full-Grain Leather Bags Built With Proper Bonding and Stitching Techniques
Every bag mentioned below uses full-grain leather and combines adhesive bonding with stitched seams for structural strength, not glue alone. This section highlights specific products relevant to the repair and construction techniques covered in this guide.
Backpacks
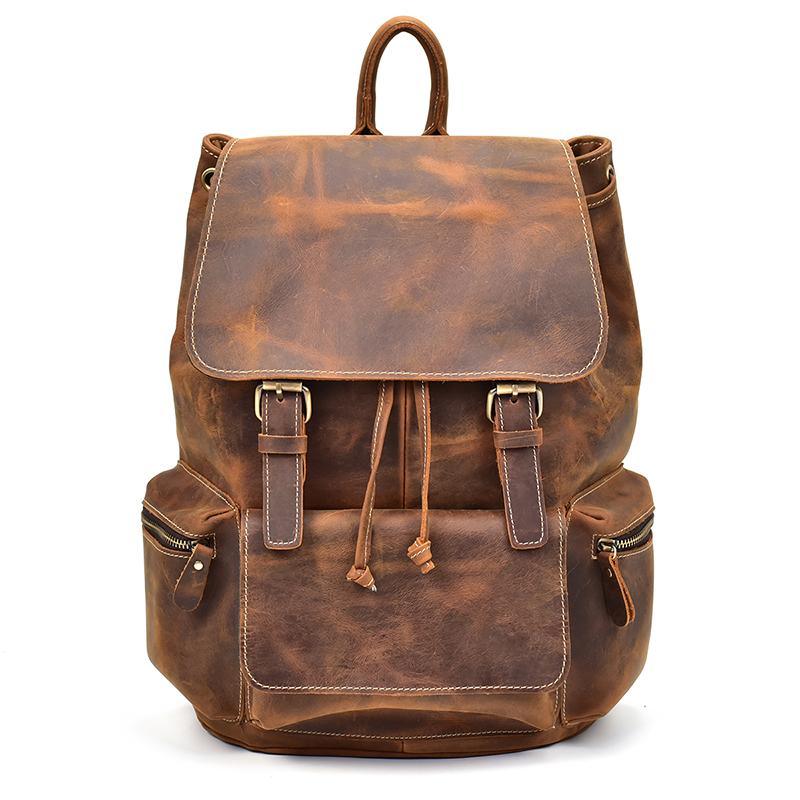
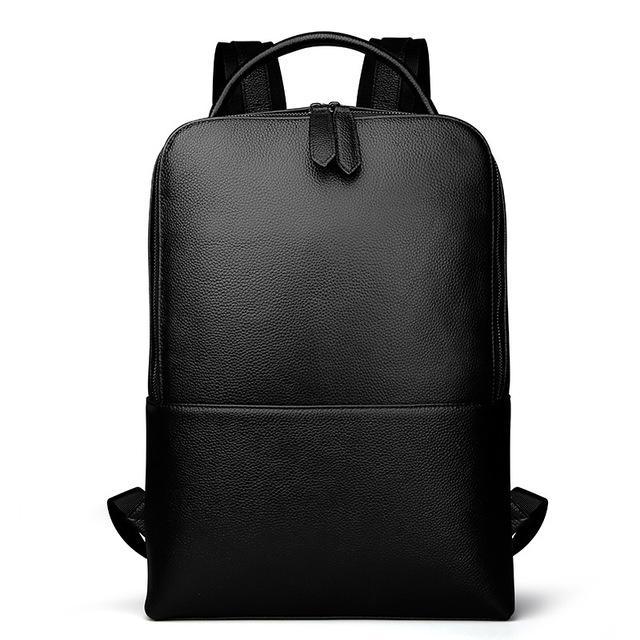
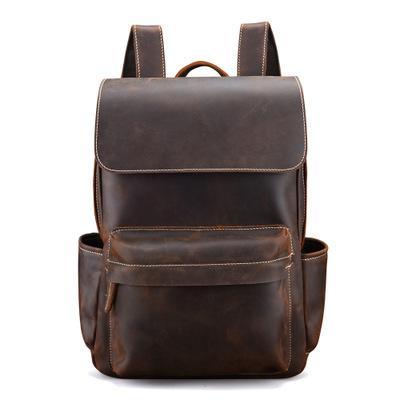
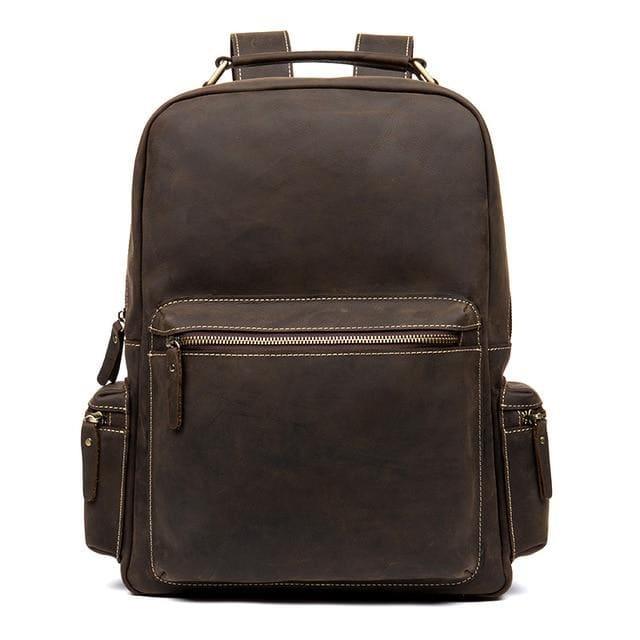
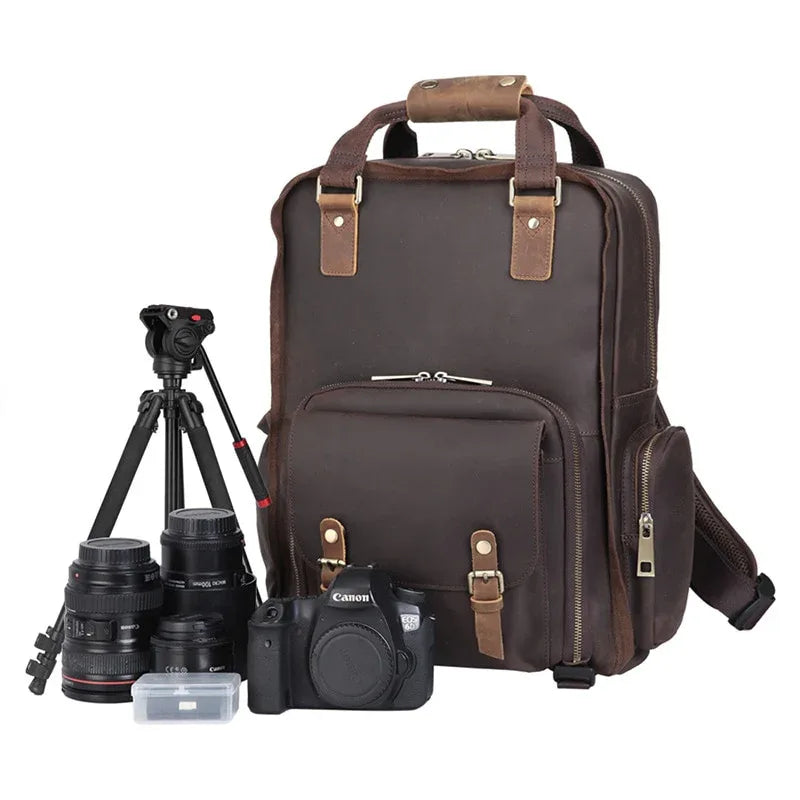
The Skald Black Pebbled Leather Backpack is a slim, pebbled-grain option, while the Icarus Backpack and Tove Backpack offer vintage and sharp-edged silhouettes respectively. For camera gear, the Mann Bag and Gaetano Backpack with tripod holder are built for equipment transport. Browse the full leather backpacks collection or see our picks for the best leather backpacks for men and backpacks with laptop compartments.
Weekenders and Duffle Bags
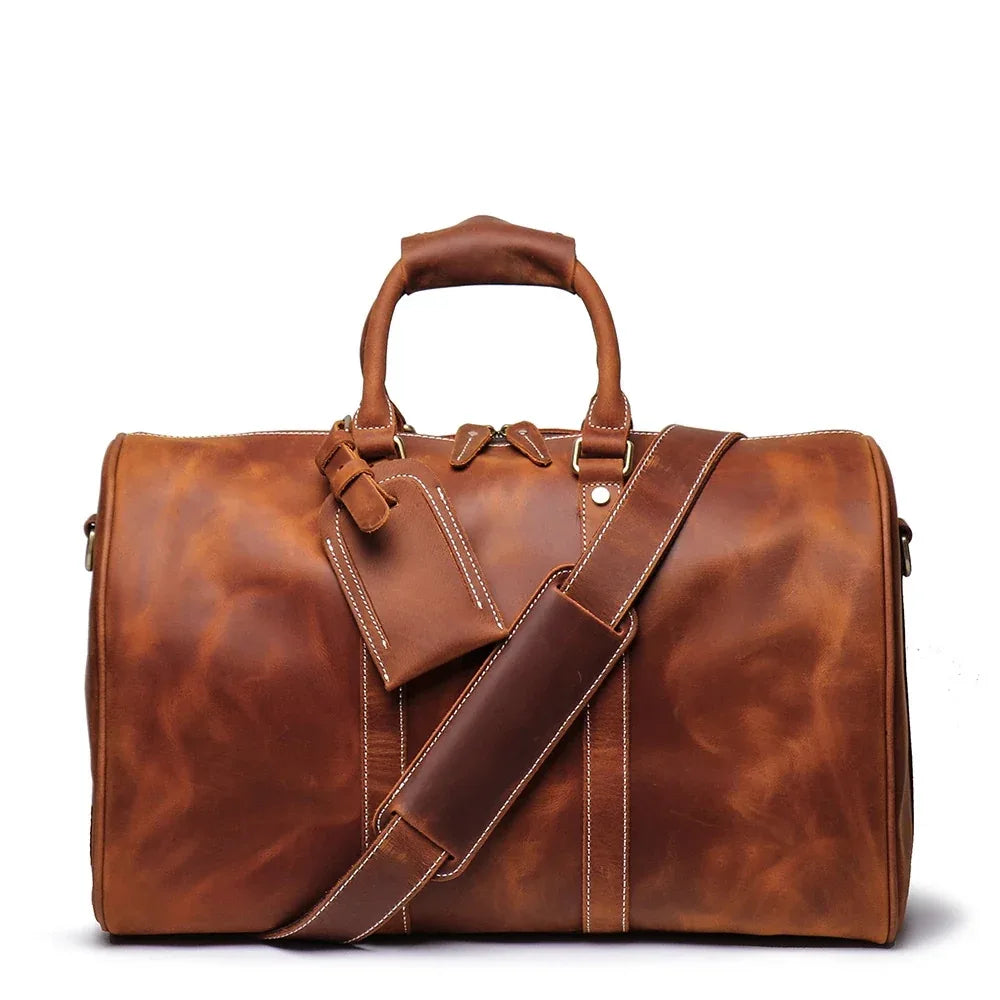
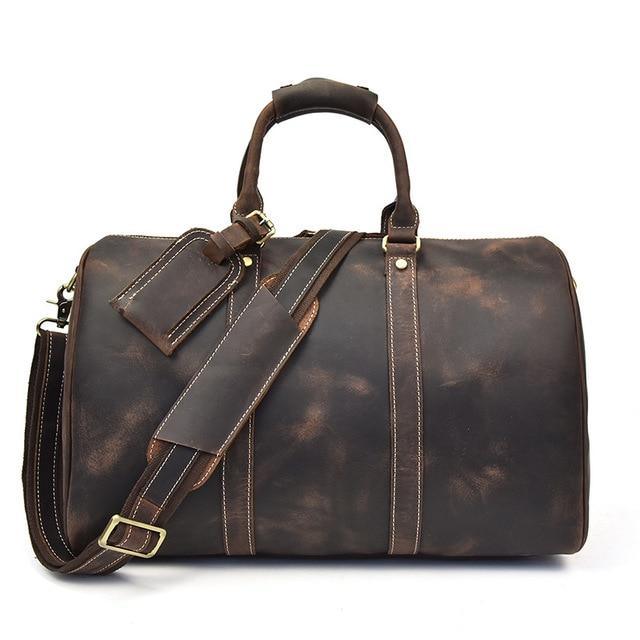
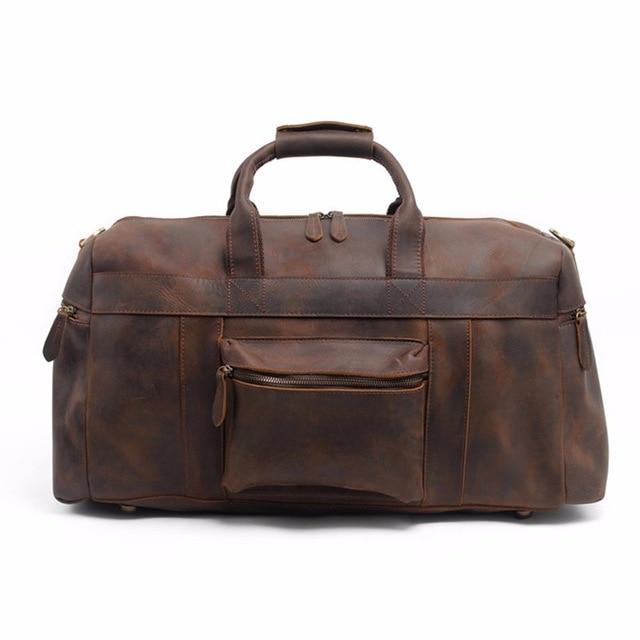
For weekend travel, the Endre Weekender, Brandt Weekender (small), and Bjarke Weekender all use vintage full-grain leather. The Eira Duffle Bag and Colden Duffle Bag (large capacity) suit longer trips. See our roundup of the best leather duffle bags or check all leather duffle bags.
Messenger Bags and Briefcases
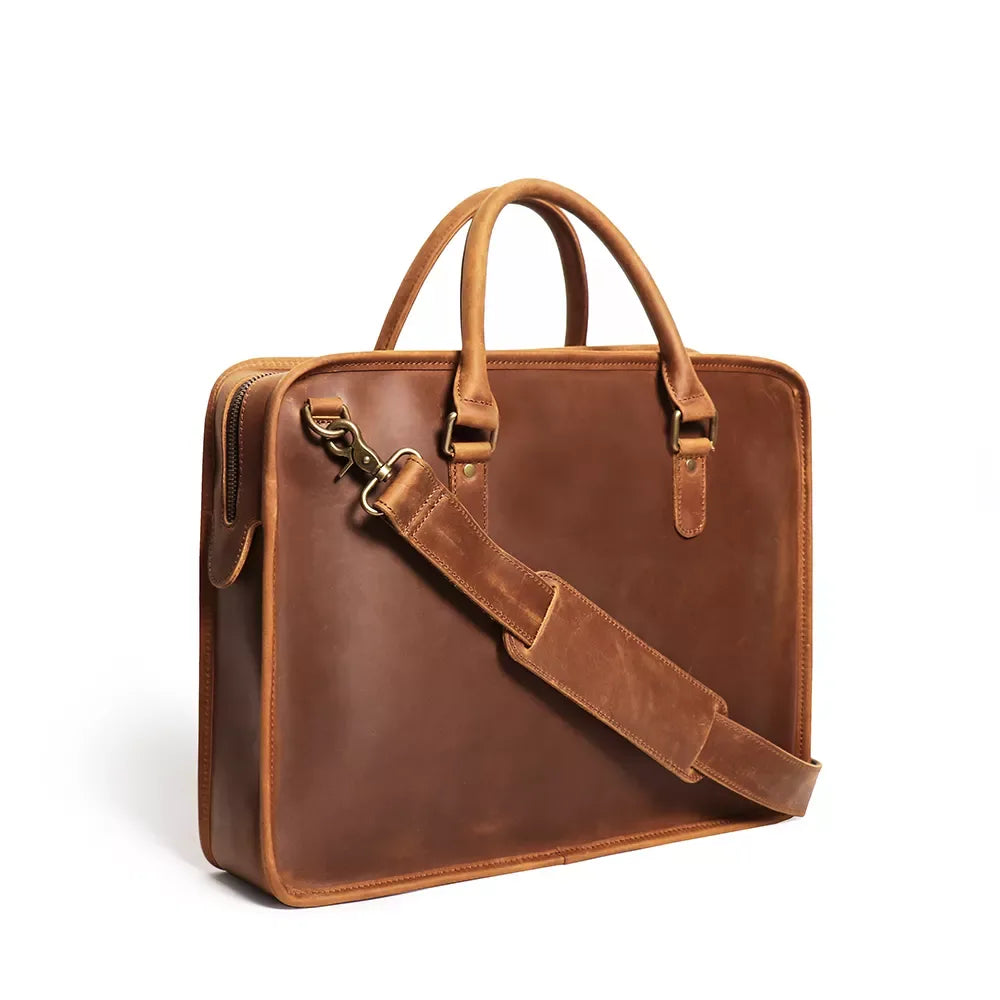
The Welch Briefcase and Hemming Leather Laptop Bag are built for daily commuting, while the Faust Camera Bag doubles as a messenger-style camera carrier. Compare styles in our guide on messenger bags vs. briefcases, or browse leather briefcases and leather laptop bags.
Accessories and Corporate Gifts
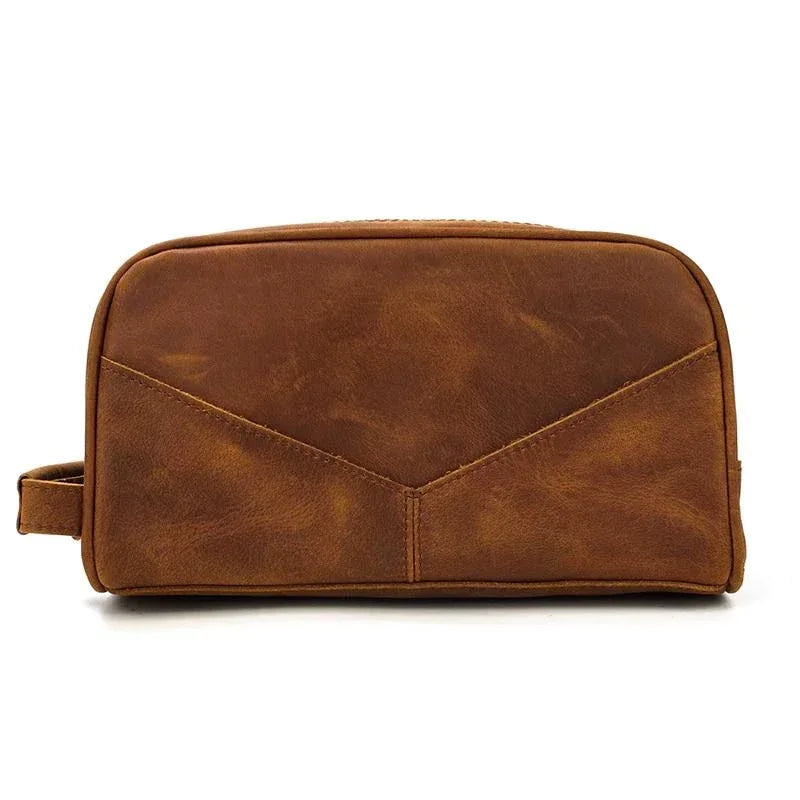
For everyday carry, see the Pathfinder Bifold Wallet, Cael Coin Purse, and Wagner Leather Waist Bag. For travel, the Wanderer Toiletry Bag and Dado Leather Dopp Kit are popular choices, along with the Nomad Toiletry Bag. These also make practical corporate gifts, viewable in the corporate leather gifts collection.
Conclusion
Gluing leather successfully comes down to four things done in order: proper surface prep, the right adhesive for the job, a thin even application, and patience during cure time. Whether you're repairing leather shoes or boots, attaching a patch, or assembling a complete leather goods project, these principles don't change.
Choose the adhesive that matches your leather type and end use, clean and prep thoroughly, apply a thin film, let it cure fully, and finish with proper cleanup and conditioning. Following this sequence, backed by the research cited throughout this guide, produces stronger and more durable bonds than rushing any single step (Paiva et al., 2015; Medvid et al., 2014).
References
Ahmed, M., Maraz, K., & Khan, R. (2021). Untitled. Scientific Review, (73). https://doi.org/10.32861/sr.73
Hilewitz, D., Trattner, A., Noyman, Y., Mimouni, D., & Snast, I. (2024). Potassium dichromate sensitivity presenting as tefillin dermatitis: A retrospective cohort study. Contact Dermatitis, 91(3), 222-227. https://doi.org/10.1111/cod.14627
Medvid, O., Kozar, O., & Oliynykova, V. (2014). Impact of microwave energy and leuconate hardener on the adhesive joint strength. Chemistry & Chemical Technology, 8(4), 419-422. https://doi.org/10.23939/chcht08.04.419
Paiva, R., Marques, E., Silva, L., António, C., & Arán-Aís, F. (2015). Adhesives in the footwear industry. Proceedings of the Institution of Mechanical Engineers, Part L: Journal of Materials Design and Applications, 230(2), 357-374. https://doi.org/10.1177/1464420715602441
Pane, S., & Kusuma, S. (2023). The comprehension of halal certification for leathercraft industry in the local business. Likuid Jurnal Ekonomi Industri Halal, 3(2), 19-29. https://doi.org/10.15575/likuid.v3i2.28109
Rohman, E. (2021). Selection of raw materials for leather jacket using the analytical hierarchy process (AHP) method. Turkish Journal of Computer and Mathematics Education (Turcomat), 12(11), 1454-1461. https://doi.org/10.17762/turcomat.v12i11.6060
Samaran, Q., Dereure, O., & Raison-Peyron, N. (2024). Three cases of allergic contact dermatitis to 2-(thiocyanomethylthio)benzothiazole in leather items. Contact Dermatitis, 92(4), 299-303. https://doi.org/10.1111/cod.14737
Wibowo, R., Wulandari, D., & Yuliatmo, R. (2024). Assessing the efficacy of chicken fat as a fatliquoring agent in the tanning process of puffer fish skin. IOP Conference Series: Earth and Environmental Science, 1360(1), 012033. https://doi.org/10.1088/1755-1315/1360/1/012033
Frequently Asked Questions
What is the best glue for leather shoes and boots?
Contact cement and solvent adhesives are generally the most effective for leather shoes and boots because they provide high shear and peel resistance under regular wear (Paiva et al., 2015). For wet or outdoor use, choose a water-resistant formulation and test it on a hidden patch first. A professional shoe repair shop typically uses contact adhesive for structural sole bonds.
How long does contact cement take to dry on leather?
Most contact cement needs at least 30 minutes before the bonded leather can be handled or stitched (Paiva et al., 2015; Medvid et al., 2014). Full cure can take several hours depending on adhesive type, temperature, and humidity. Always check the product label since formulations vary significantly.
Can I use rubber cement on faux leather?
Yes, for light repairs and temporary bonds, but it won't match the long-term strength of contact cement or specialized adhesives. Faux leather's synthetic backing can react differently to solvent-based formulations, so test on a small, hidden area first (Paiva et al., 2015). For structural repairs, a water-based glue or dispersion adhesive often performs better on synthetic materials.
What's the difference between contact cement and rubber cement for leather?
Contact cement creates an instant, permanent bond and is preferred for structural applications like shoes, boots, and leather bag assembly (Paiva et al., 2015). Rubber cement forms a more flexible, repositionable bond better suited to light repairs and temporary positioning. For load-bearing seams, contact cement is the stronger choice, but both need thin, even application.
How do I prepare smooth leather for gluing?
Lightly abrade the surface with a fine-grit sanding block to create texture for mechanical grip (Paiva et al., 2015). Wipe with a clean damp cloth to remove dust, then let it dry fully before applying adhesive. Remove any conditioning residue like neatsfoot oil first, and dry-fit with basting tape before final gluing.
Is vegetable tanned leather different to work with when gluing?
Yes. Vegetable tanned leather has a more open grain than chrome-tanned leather, so it can absorb adhesive differently and may need slightly different prep (Wibowo et al., 2024; Ahmed et al., 2021). Test your adhesive on a scrap piece first, and avoid over-conditioning with neatsfoot oil before bonding. For examples of vegetable tanned leather goods, browse the Steel Horse Leather collection.
What health precautions should I take with leather adhesives?
Solvent adhesives and contact cement contain VOCs that can irritate skin and airways during use (Ahmed et al., 2021). Work in a ventilated area, wear gloves, and avoid prolonged skin contact. Some finished leather products also carry allergenic residues like biocides or chromium compounds, so wash hands after handling (Samaran et al., 2024; Hilewitz et al., 2024). Water-based glue is generally the lower-risk option for home use.
Can I repair a bag strap or handle with glue alone?
Glue alone is usually not enough for load-bearing seams like straps and handles, which is why most well-made bags combine adhesive with stitching. For guidance on repairing a strap or panel, see our guide on repairing and restoring a leather backpack or repairing leather messenger bags.
All of our bags at Steel Horse Leather are crafted from full-grain crazy horse leather, built to develop a rich patina over time. Browse our Leather Bags.