Is it possible to repair cracked leather? It's one of the most frequently asked questions we get as leather experts. The answer depends on the type of damage, but restoration will always work wonders. Of course, nothing beats the charm or sophistication of genuine leather, and the last thing you want to see is your prized leather bag or briefcase steadily losing its luster.
Key Takeaways
-
Understanding the science of leather composition is crucial for proper care and maintenance
-
Regular conditioning is essential for preventing leather cracks and maintaining leather quality
-
Different types of cracks require different repair approaches, from simple conditioning to complex filling and dying
-
Prevention through proper storage and maintenance is more effective than repairs
-
Professional help should be considered for valuable items or severe damage
The Science Behind Leather Cracking

Before we get into how to repair cracked leather, it's important to understand some of the science behind the skin. Leather, like any natural material, can become worn and degraded over time. It is, by definition, animal skin, which can dry out and crack.
When leather splits, it is due to microscopic changes in the material: leather is made up of countless tiny interwoven fibres packed tightly together, with denser connected fibres near the surface and looser connected fibres further in. These fibers will eventually dry out, causing chafing and a worn appearance.
Research has shown that leather's remarkable durability and strength come from its fibrous protein structure, particularly collagen, which creates this tightly interwoven network of fibers. This structural composition is fundamental to understanding how to properly care for and maintain leather products (Boahin et al., 2011).
Throughout the animal's life, the skin is kept nourished with replenishing natural oils. When an animal skin is turned into leather, tanning compounds replace the water in the skin's protein. Depending on the type of leather, lubricating oils and waxes may be used to maintain flexibility. An oil and wax treatment is a common finishing step, particularly for vegetable-tanned leathers. Vegetable-tanned leathers, especially Italian leathers, are among the best-lubricated leathers available.
If you have dry skin, you are aware that a lack of water and natural oils in the skin's upper layers will result in rough and dry patches. Leather is no exception. Similarly, if you fail to moisturize your skin for an extended period of time, your skin will suffer more damage. As the leather flexes and moves, the packed fibers can constantly rub against one another due to moisture loss. These fibres eventually become rigid and tight, creating cracks at the stress points.
Common Causes of Leather Damage
Cracks in leather are common when it dries out or is exposed to sunlight. The leather fibers abrade one another. Although the damage is irreversible, several cracking areas can be easily concealed by rehydrating the leather with a quality leather conditioner. Deeper cracks must be filled in or dyed to fit in with the leather's coloring. A valuable piece of leather can be revitalized with due care.
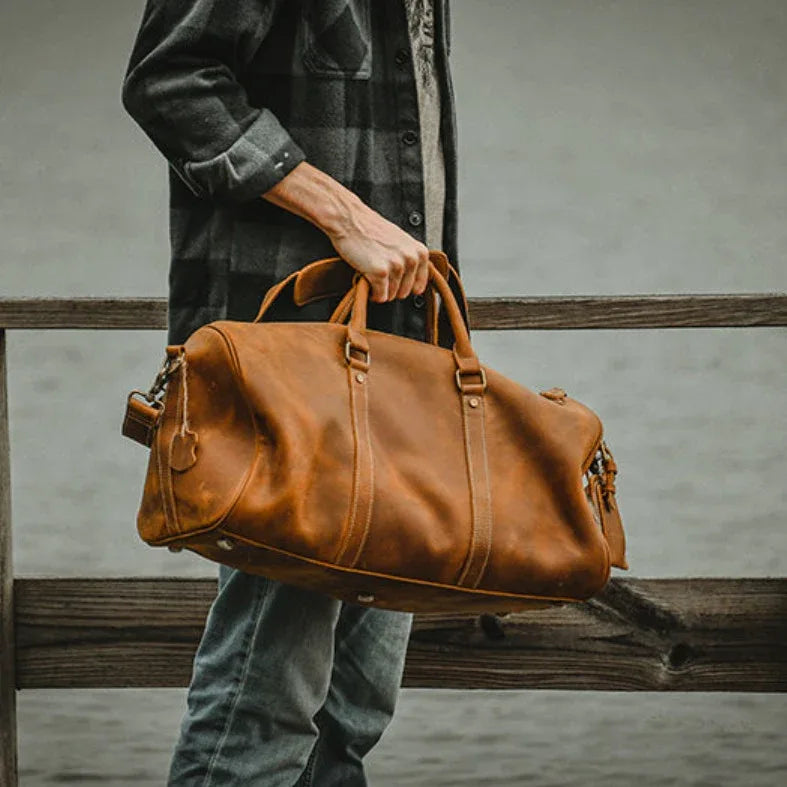
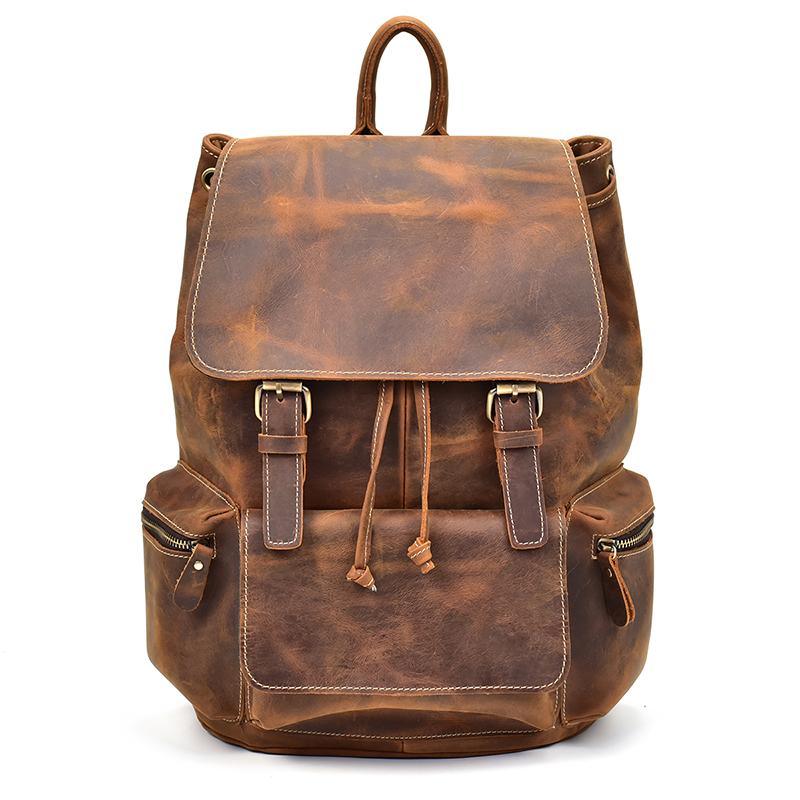
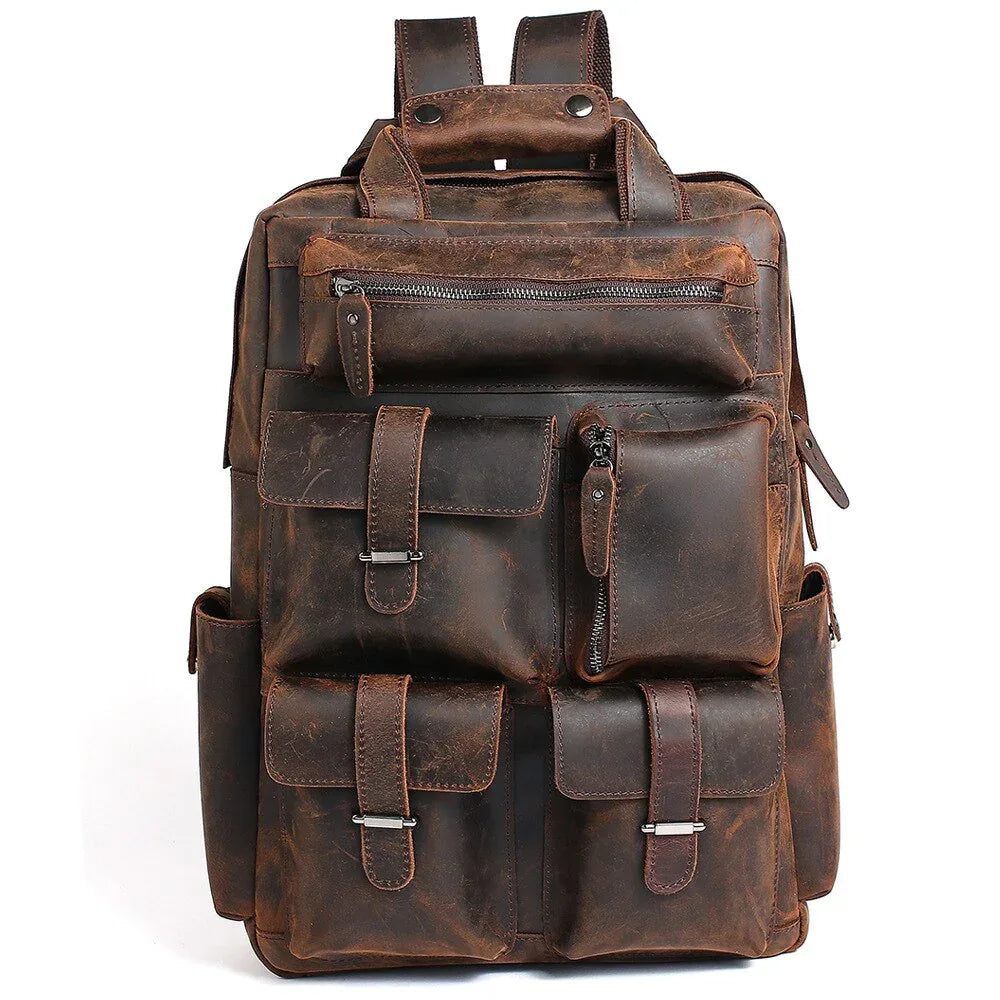
In our experience developing The Hagen Backpack, we encountered various challenges with crazy horse leather, which naturally develops a unique patina over time. This premium cowhide leather is particularly susceptible to showing natural creases and lines, which actually enhance its antique appearance. During our quality control process, we learned to distinguish between these desirable characteristic marks and actual damage that requires intervention.
Additional causes of cracking leather repair situations include:
-
Improper storage: Storing leather items in areas with low humidity or near heat vents accelerates fiber drying.
-
Dirt or dust buildup: Accumulated dirt or dust on the surface can act as an abrasive, slowly wearing down the leather's protective finish.
-
Chemical exposure: Harsh cleaning products that strip away natural oils and tanning compounds can leave leather vulnerable to cracking.
-
Infrequent conditioning: Skipping regular leather care routines leads to progressive dryness and eventual surface breakdown.
Initial Preparations Before Repairing Cracked Leather
Before diving into the cracked leather repair process, it's crucial to ensure that you start with the right preparations. Begin by assessing the extent of the damage, and identify any deep cracks, scuffs, or general wear that may require attention. It's also important to clean the leather thoroughly with a gentle leather cleaner to remove dirt or dust and oils that could interfere with the repair products.
Next, consider the environment in which you'll be working. A well-lit area is preferable, as it allows for better visibility of the damaged spots. Additionally, gather all necessary tools and materials beforehand. This typically includes a leather conditioner, leather filler compounds, a palette knife, superfine sandpaper, and a soft cloth. Taking these steps not only streamlines the repair process but also increases the chances of achieving a seamless and professional finish.
It is also a good idea to have a leather protector spray on hand for the final stage, as this adds a protective barrier against future damage once your repairs are complete.
Repairing Cracked Leather
Cracks are permanent by definition, since the fibres, the very structure of the leather, have been destroyed. But it's not just bad news. The good news is that many cracks are easy to conceal, and the repair can be done quickly, by using leather conditioners to reinforce the fibers around the cracked leather.
Fixing Light Leather Cracks
The first port of call should always be a good conditioner that not only strengthens the fibres covering the cracks, but also aids in the blend of the scar with the rest of the leather. On cracked leather, the results can be amazing. A scratch or light crack can be smoothed away and made to appear like a normal imperfection.
Step-by-Step Process for Light Cracks
Step 1: Clean your leather To remove any dirt or dust, use a smooth, dry brush or soft cloth to clean the surface of the cracks and surrounding leather. Then, using a shoe dauber (or any tiny, fine-bristled brush), apply leather cleaner or saddle soap to the leather cracks, thoroughly cleaning them. Saddle soap contains mild soap and softeners, and after cleaning the broken leather surface, it should be soft and flexible enough to proceed to the next level.
Step 2: Smooth it For this stage, you can use a cracked leather repair compound, but we suggest dabbing the cracking areas with mink oil or neatsfoot oil. Some craftspeople also use coconut oil as an accessible alternative, though it should always be spot-tested first, as it can slightly darken certain leather types. Smooth the oil into and over the cracks with gentle pressure. This can be done with a soft cloth or even the back of a spoon. Continue to apply to the broken surface until the cracks become less visible. Wipe away any excess oil with a soft cloth. (First, spot test the oil in an inconspicuous place to see whether it has any impact on the color of the leather.)
Step 3: Repeat You may be satisfied with the softer look and texture of the cracking areas at this stage, but don't forget to apply a leather conditioner to the treated surface area as well as the surrounding leather surface with a soft cloth. To maintain the leather bag in good shape and avoid further drying and cracking, apply conditioner to the entire bag once a month.
It is much easier to read about how to patch cracked leather than it is to do it. Please test any cleaner, repair compound, oils, or conditioner you want to use on a small area first. And congratulations on your efforts to get the cracked leather back to life.
Repairing Deep Leather Cracks
Tip: Dry in shade with a fan. Avoid direct sun. Best for bags, wallets, and seats with deep cracks.
If your leather is porous and has deep cracks, using a conditioner alone is unlikely to help because the conditioner would simply soak into the leather. But all is not lost. With a little more elbow grease, you can repair cracked leather and restore it to its former glory.
Method 1: Using Filler to Repair Leather Cracks
Step-by-Step Process:
Step 1: Clean
Wash some dirt away with a soft cloth or sponge and saddle soap or leather cleaner. Again, test the cleaner on a small area first, then blend any soap with water first.
Step 2: Dry overnight
Wait overnight for the leather to dry completely. If there is some moisture on the leather, the leather filler will not settle into the cracks. Wipe away any excess moisture with a dry soft cloth to ensure that it dries quickly.
Step 3: Smooth
Smooth out the cracks with a piece of superfine sandpaper, using gentle pressure as you go. Stop when you have a smooth-to-the-touch finish. Then, using a dry rag, clean away any dust. Avoid using harsher, coarser sandpaper because it can leave marks.
Step 4: Apply leather filler
With a palette knife, spread the leather filler over the holes, then brush in the paste to fill in the gap. More should be applied before the crack appears to be filled.
Step 5: Remove excess paste
Scrape off the excess paste with the palette knife's edge tipped sideways. Continue doing so until no more overspill is visible.
Step 6: Let the leather dry for six hours
This ensures that the filler sets and solidifies. A well-ventilated space or the open air can aid in the drying of the leather. However, avoid direct sunlight and keep the leather away from direct heat, as these factors will dry out the material and cause additional cracks. As the filler dries, it can shrink, necessitating another coat.
Method 2: Blending Cracks with Leather Dye
A leather dye may be used to repair cracked leather, but a mixture of a leather filler and dye works better for deep cracks. If the interior of a crack is lighter in color than the outside, a dye is your best bet.
Step-by-Step Process:
Step 1: Prepare the surface with filler
If required, repeat the steps above to add leather filler. Allow the treatment to dry.
Step 2: Sand and smooth
To prepare the surface for the dye, sand the leather with superfine sandpaper and wipe it clean. Gently brush along the grain of the leather until it is smooth to the touch. Wipe away any dirt and dust, as these can interfere with the color's absorption.
Step 3: Apply the dye
Select a leather dye that closely matches the color of your piece. Using a color-fast sponge or applicator pad, apply a thin coat of the dye to the cracks. Rub the cracks to ensure that the dye is evenly distributed.
Step 4: Let it dry
Allow the dye to dry for two minutes with a hairdryer set on low, moving the dryer back and forth around the cracks to keep the leather from drying out.
Step 5: Blend the cracks
If necessary, blend the cracks with many coats of dye. Up to five treatments can be needed depending on the severity of the crack. Dab the dye directly into the crack with each treatment, then rub the surrounding area to mix it together. Each time, use a hairdryer to dry the dye.
Step 6: Seal the deal
Using a leather sealer to treat the cracks helps to preserve and condition the dye. Spray the sealer directly onto a sponge and rub it into the affected region, covering the dye with a second coat if necessary. Finish with a leather protector spray for added durability and long-term surface protection. This should help to keep stains and more damage at bay. Cure the sealant with a hairdryer for two minutes, moving the dryer back and forth across the crack.
Prevention and Maintenance
In a nutshell, avoidance is the best method of treatment. When you receive your leather items, keep them away from direct heat and sunlight, and avoid storing them in excessively dry areas. Investing in a quality leather conditioner is important for leather care, as it prevents the skin from drying out and cracking.
Studies confirm that preventative measures are significantly more effective than repairs when it comes to leather maintenance. Keeping leather away from direct sunlight and heat sources, combined with regular moisturizing, is critical for maintaining the material's integrity and avoiding irreversible damage (Cesare et al., 2018).
Tips for Leather Care
-
Apply a leather conditioner every 3 months to keep the leather from cracking. Leather cracks when it dries, so a good conditioner can keep the majority of the damage at bay.
-
Keep leather items away from direct sunlight and heat sources. Heat causes leather to dry out, which causes cracks. If your leather pieces seem to crack often, it may be due to heat exposure.
-
Use a leather protector spray after conditioning to create a barrier against moisture loss and environmental damage.
-
Seal rips and tears with leather glue. Simply spread the glue and press the torn piece down to secure it. The tear can then be blended in with leather filler or dye.
-
Regularly wipe down leather items with a soft cloth to prevent dirt or dust from embedding into the surface and abrading the finish over time.
-
To fix faux leather, use leather dye or paint.
-
Consider taking your leather product to a specialist if it is expensive or heavily damaged. Leather repair services can make substantial repairs or even reupholster pieces to keep them in good condition.
Rehydrating Leather as a Method to Repair
Rehydrating leather is a crucial step in the cracked leather repair process, aimed at restoring the material's natural oils and flexibility. Over time, leather can become dry and brittle, leading to unsightly cracks. By using a high-quality leather conditioner or moisturizer, you can deeply penetrate the leather fibers, allowing them to regain their suppleness.
Options like mink oil, neatsfoot oil, and coconut oil are popular choices for rehydration, each delivering natural oils back into the leather's fiber structure. It's essential to apply the conditioner evenly with a soft cloth, focusing on the areas with visible damage. Let the product absorb thoroughly before wiping off any excess, as this will ensure optimal hydration without leaving a greasy residue. Regular rehydration not only aids in immediate repairs but also extends the lifespan of your leather goods, preventing future cracks and preserving their beauty.
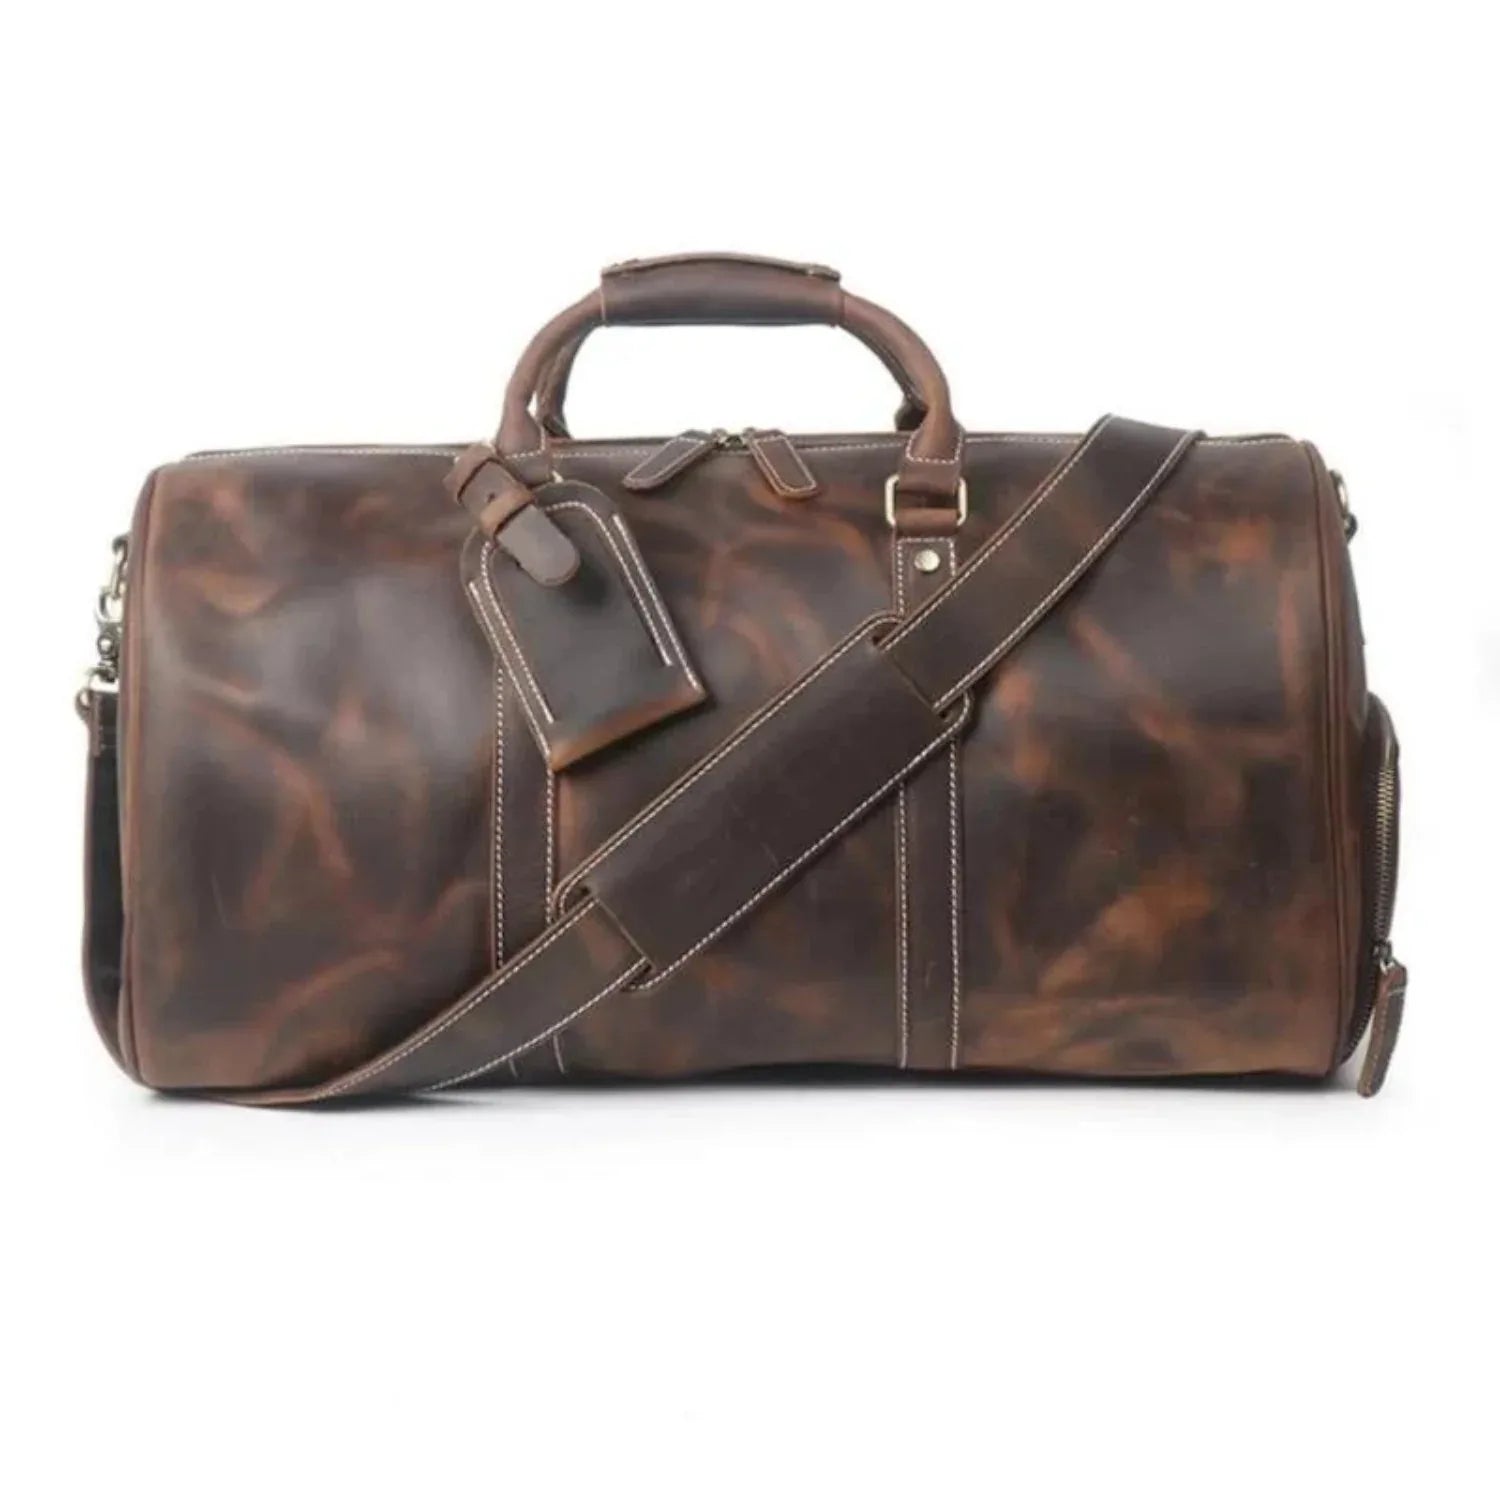
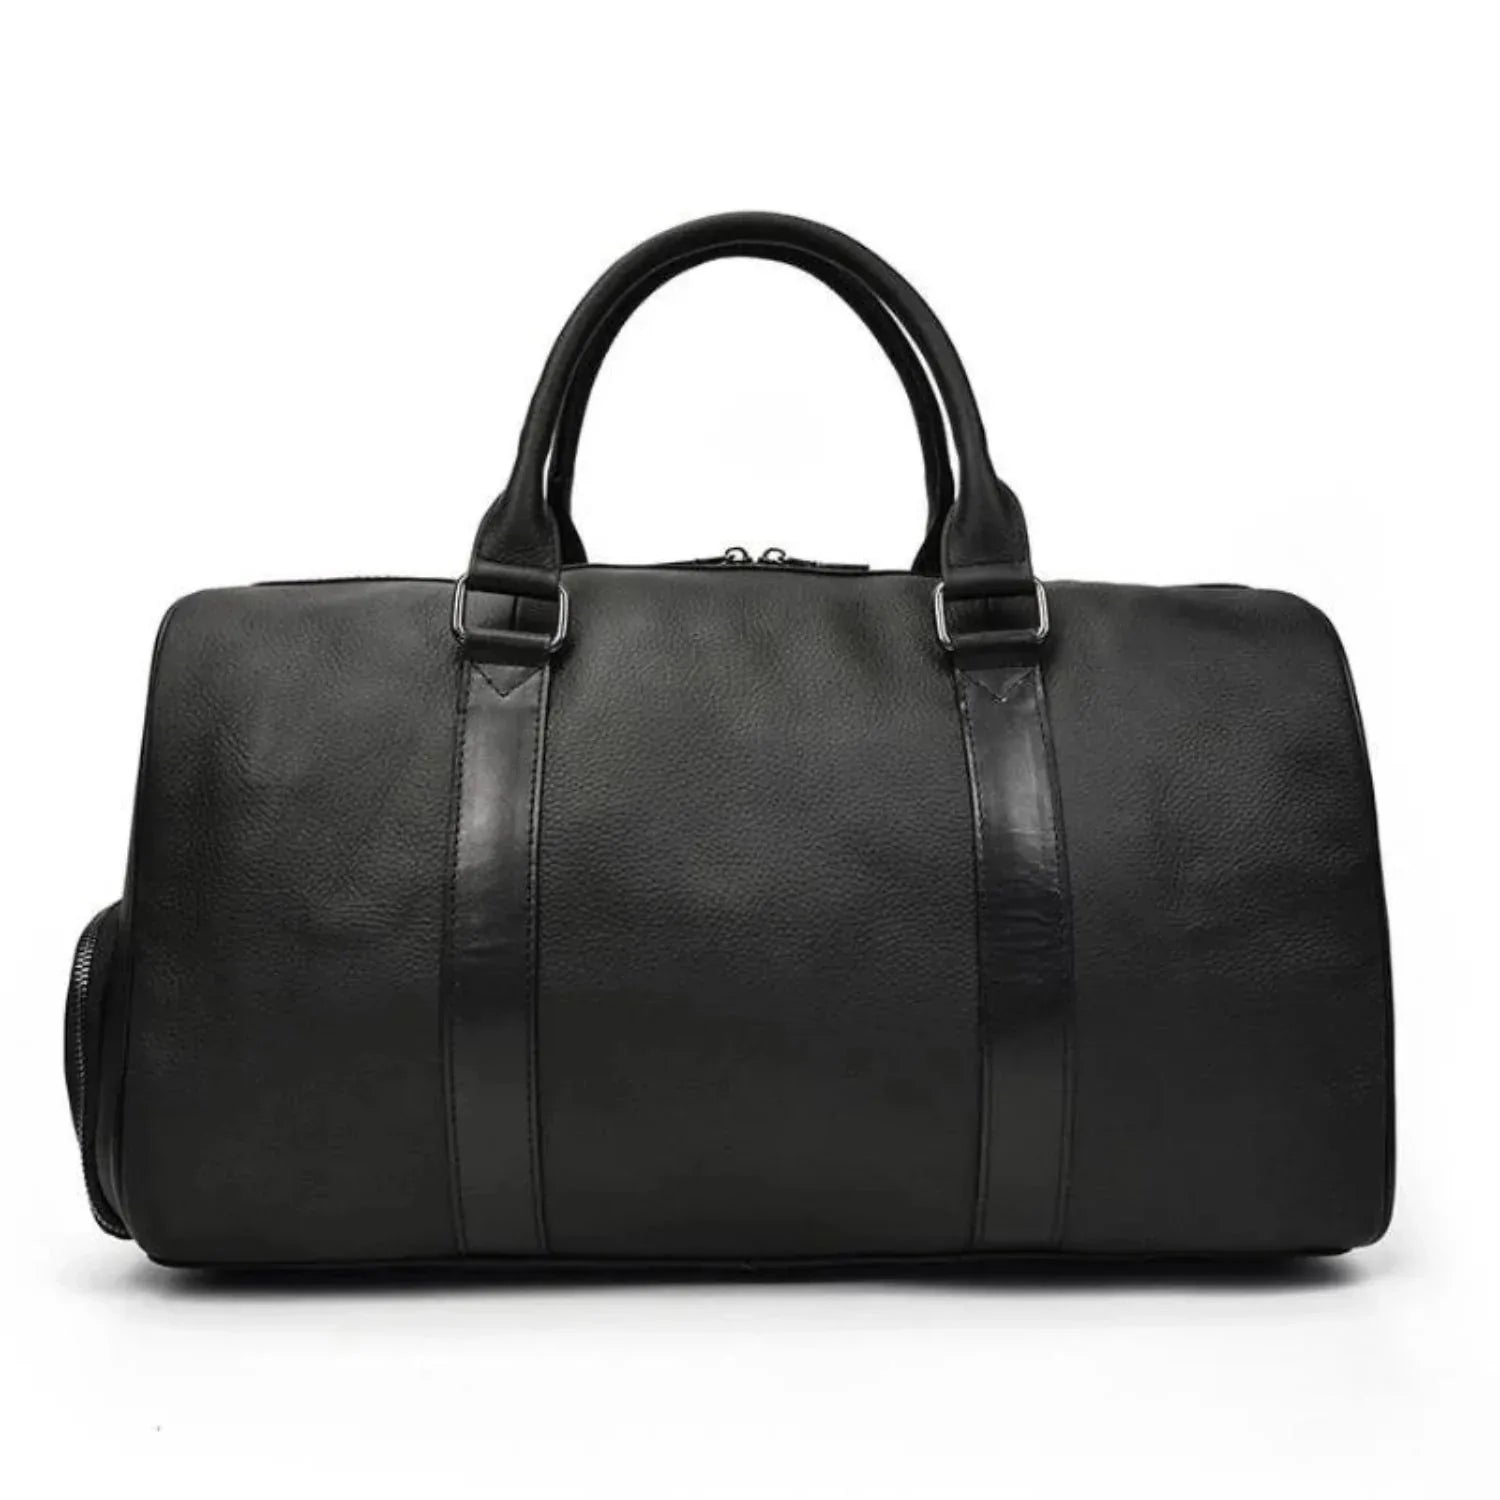
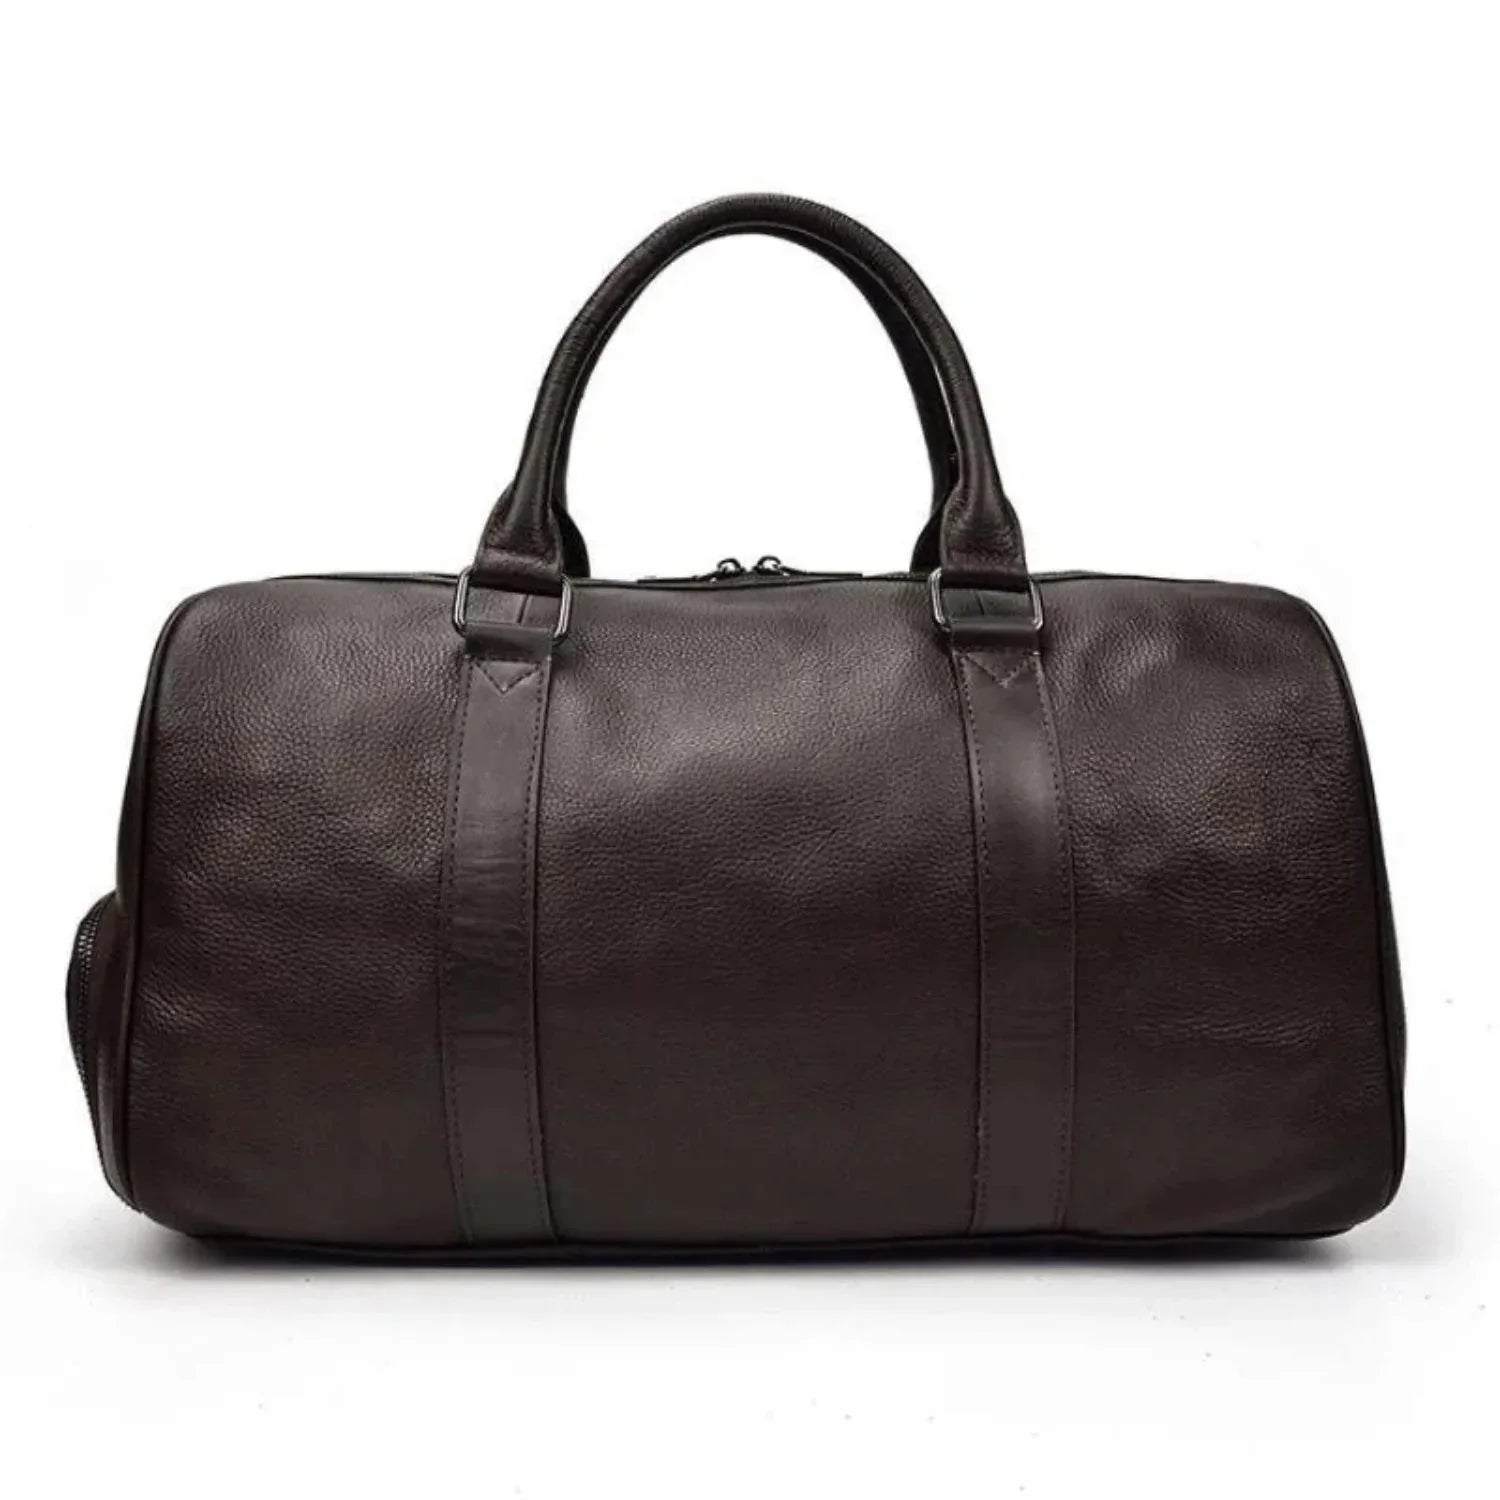
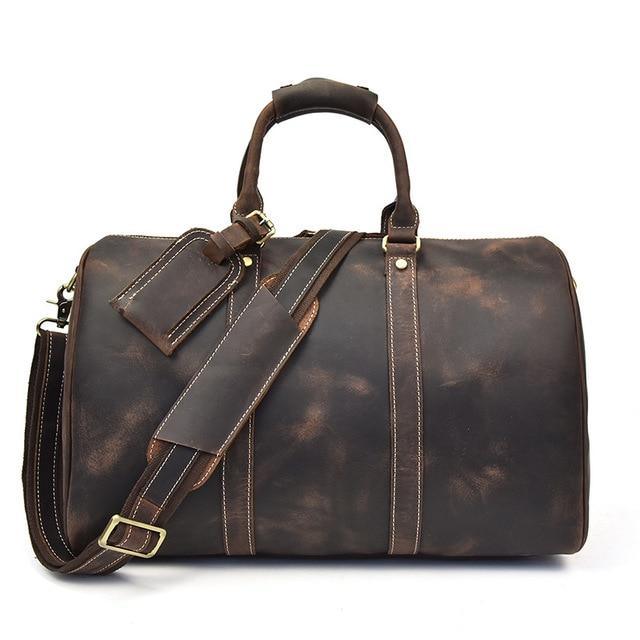
If you're looking for premium leather items that are crafted to age beautifully with proper care, browse our range of leather duffle bags and leather messenger bags, all made from full-grain leather designed to last for decades with the right maintenance.
Professional Versus DIY Leather Repair
| Aspect ⚖️ | Professional Leather Repair 👨🔧 | DIY Leather Repair 🛠️ |
|---|---|---|
| Best For 🎯 | Deep cracks, color damage, large areas, valuable items (sofas, car seats, luxury bags) | Minor scratches, small cracks, light scuffs, surface wear |
| Quality of Results ⭐ | Excellent color matching, smooth finish, long-lasting repair using professional tools & materials | Good for minor issues, but risk of visible mistakes or uneven results |
| Tools & Materials 🧰 | Palette knife, superfine sandpaper, professional leather filler, dye, high-grade conditioners | Basic leather repair kit, cleaner, filler, sealer, soft cloths |
| Skill Level Required 🧠 | High expertise — years of experience in leather properties and techniques | Basic knowledge sufficient for small repairs |
| Time & Effort ⏱️ | Professionals handle everything efficiently with superior results | Time-consuming • Requires proper drying time between coats |
| Risk Level ⚠️ | Very low — experts know how to avoid further damage | Higher risk of making damage worse, especially on valuable leather |
| Cost 💰 | Higher upfront cost but better long-term value | Cheaper initially, but may need redoing if done incorrectly |
| Best Recommendation 🎯 | Choose for deep cracks, expensive items, car seats, sofas, or when perfection matters | Suitable only for minor surface damage when you have good technique |
When it comes to leather repair and the beauty of leather, the choice between professional services and a DIY approach often depends on the type and extent of the damage. Whether dealing with cracked leather, leather car seats, or other leather items, professional leather repair services bring years of expertise, specialized tools like a palette knife and superfine sandpaper, and high-quality leather products to ensure proper care. They can address issues ranging from light cracks to deeper cracks, using premium leather conditioner and leather filler for a consistent color and smooth surface.
For cleaning and maintenance, using saddle soap with water and a clean soft cloth can help preserve leather accessories. Professional specialists can effectively treat dry leather using a high-quality leather conditioner and leather oil, ensuring the conditioning process penetrates the leather fibers. They're equipped to handle everything from surface cracks in a leather sofa to damaged seat leather, often delivering a subtle sheen and near-perfect finish using techniques like applying leather dye with a shoe dauber or leather filler with a palette knife.
Research in leather processing has demonstrated that professionals possess specialized knowledge of leather's physical properties and treatment methods, enabling them to achieve superior results in color matching and surface finishing, particularly for valuable or extensively damaged pieces (Thanikaivelan et al., 2003; Jayakumar et al., 2022).
On the other hand, DIY cracking leather repair can be viable for minor cracks and scuffed leather, especially if you're equipped with a good leather repair kit and basic knowledge of leather care. The process might involve using a leather cleaner, followed by leather filler and a leather sealer, allowing proper drying time between coats of dye. However, without proper techniques and understanding of leather type, whether it's real leather, faux leather, or vegetable-tanned leathers, there's a risk of making the damage worse. Therefore, it's essential to assess the severity of the problem before deciding which route to take, considering factors like heat exposure and the need for deeper conditioning to maintain the prized leather's integrity. For beloved leather items, balancing cost-effectiveness with preserving the original leather's quality often means choosing professional leather repair services for significant restoration work.
Why Trust Our Leather Repair Expertise?

As master artisans with decades of collective experience in leather craftsmanship, we bring unparalleled expertise to the art of leather repair and maintenance. Our deep understanding of leather comes not just from repairing damaged pieces, but from our hands-on experience creating premium leather goods from scratch. We work extensively with various types of leather through every stage of the tanning process, giving us comprehensive insight into how different leather types respond to various treatment methods. When we provide advice on leather care, it comes from a place of genuine understanding and practical experience at every stage of the leather's journey.
Conclusion
Maintaining leather items requires dedication and proper knowledge of care techniques. While leather cracking can be discouraging, most damage can be effectively repaired or concealed with the right approach, whether that means applying mink oil and a leather conditioner to light surface cracks or using a palette knife, leather filler, and leather dye for deeper damage. By following proper maintenance procedures, using tools like a shoe dauber, saddle soap, superfine sandpaper, and a leather sealer, and addressing issues promptly, you can significantly extend the life of your leather items and maintain their aesthetic appeal. Remember that prevention through regular leather care, including oil and wax treatments and the use of a leather protector spray, is always better than having to perform repairs.
References
Boahin, J., Steiner, R., & Agyem, J. (2011). Adapting vat dye as an alternate dyeing agent for vegetable tanned leather. Journal of Science and Technology (Ghana), 31(2). https://doi.org/10.4314/just.v31i2.69396
Cesare, N., Corvec, G., Cam, J., Balandraud, X., & Gauffreteau, J. (2018). Tearing behaviour of two types of leather: a comparative study carried out at the local scale using the full kinematic and thermal field measurement techniques. Strain, 55(1). https://doi.org/10.1111/str.12301
Jayakumar, G., Niklesh, C., Jeyas, K., Phebe, A., & Krishnaraj, K. (2022). Physico-insight on sewability properties of crust leathers using melamine syntan and synthetic fatliquor. Journal of the American Leather Chemists Association, 117(10), 407-411. https://doi.org/10.34314/jalca.v117i10.6180
Thanikaivelan, P., Rao, J., Nair, B., & Ramasami, T. (2003). Biointervention makes leather processing greener: an integrated cleansing and tanning system. Environmental Science & Technology, 37(11), 2609-2617. https://doi.org/10.1021/es026474a
Frequently Asked Questions
Can cracked leather be fully repaired?
Cracked leather cannot be fully reversed because the fiber structure has already been damaged, but most cracks can be effectively concealed and stabilized. Light cracks respond well to a leather conditioner or mink oil, while deeper cracks require leather filler and leather dye for a near-seamless finish. With consistent leather care, further deterioration can be prevented.
What is the best leather conditioner for cracked leather?
The best leather conditioner for cracked leather is one that penetrates deeply into the leather fibers to restore natural oils and flexibility. Products containing mink oil, neatsfoot oil, or lanolin are highly effective, and coconut oil can serve as a home alternative when spot-tested first. Apply with a soft cloth every three months for optimal results.
How do I use a leather filler on deep cracks?
Start by cleaning the surface thoroughly with a leather cleaner or saddle soap and allow it to dry overnight. Use a palette knife to press the leather filler into the crack, scrape away the excess, and allow it to cure for six hours before sanding with superfine sandpaper. Finish with a leather dye to match the surrounding color and seal with a leather sealer.
Is coconut oil safe to use on cracked leather?
Coconut oil can be used on cracked leather as a natural rehydrating agent, but it must be spot-tested in an inconspicuous area first, as it may darken certain leather types. It works best as a temporary measure and should be followed up with a proper leather conditioner for long-term protection. Avoid over-application, as excess oil can attract dirt or dust over time.
How often should I condition my leather items?
Leather items should be conditioned with a quality leather conditioner at least every three months to maintain flexibility and prevent cracking. Items exposed to harsh conditions, such as frequent sunlight or heat, may need more frequent treatment. Regular conditioning is the single most effective form of leather care for prolonging the life of your leather goods.
What is the difference between a leather sealer and a leather protector spray?
A leather sealer is applied after using a leather dye to lock in color and protect the repaired area from staining and further damage. A leather protector spray, on the other hand, is a broader surface treatment applied to the entire leather item to create a barrier against moisture, dirt, and UV exposure. Both are useful tools in a comprehensive leather care routine.
When should I use professional leather repair services instead of DIY?
Professional leather repair services are recommended when dealing with extensive or deep damage, high-value leather items, or when DIY attempts have not achieved satisfactory results. Professionals have specialized knowledge of leather's physical properties and access to professional-grade leather filler, leather dye, and finishing tools. For everyday scuffs and light cracking areas, a quality DIY kit is generally sufficient. If you're looking for premium leather goods built to last, explore our full collection of leather bags crafted for durability and timeless style.
How can I prevent dirt or dust from damaging my leather?
ipe down your leather items regularly with a dry soft cloth to remove surface dirt or dust before it embeds into the grain. Store leather items in breathable dust bags away from direct heat and sunlight when not in use. Applying a leather protector spray after conditioning adds an additional layer of defense against environmental contaminants.
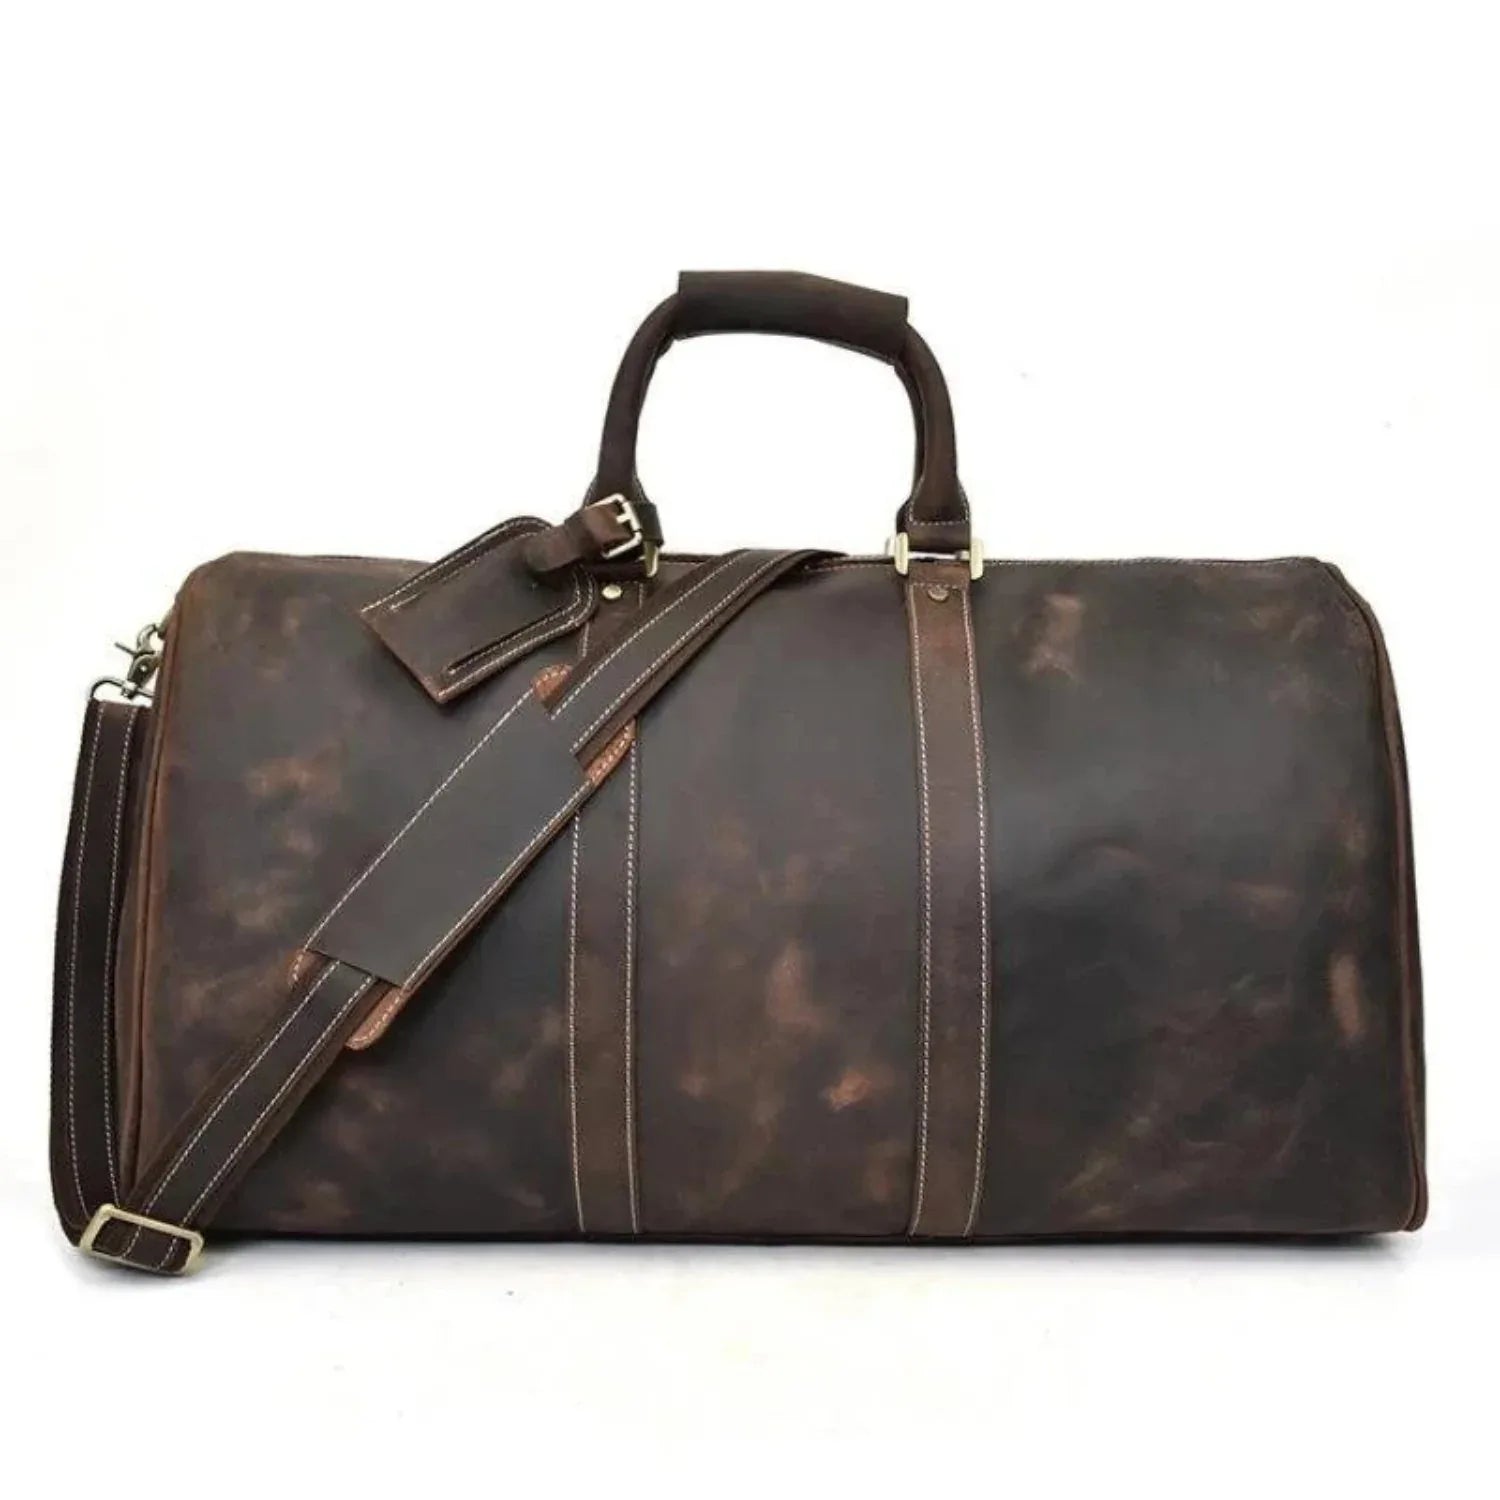
All of our bags at Steel Horse Leather are crafted from full-grain crazy horse leather, built to develop a rich patina over time. Browse our Leather Bags.